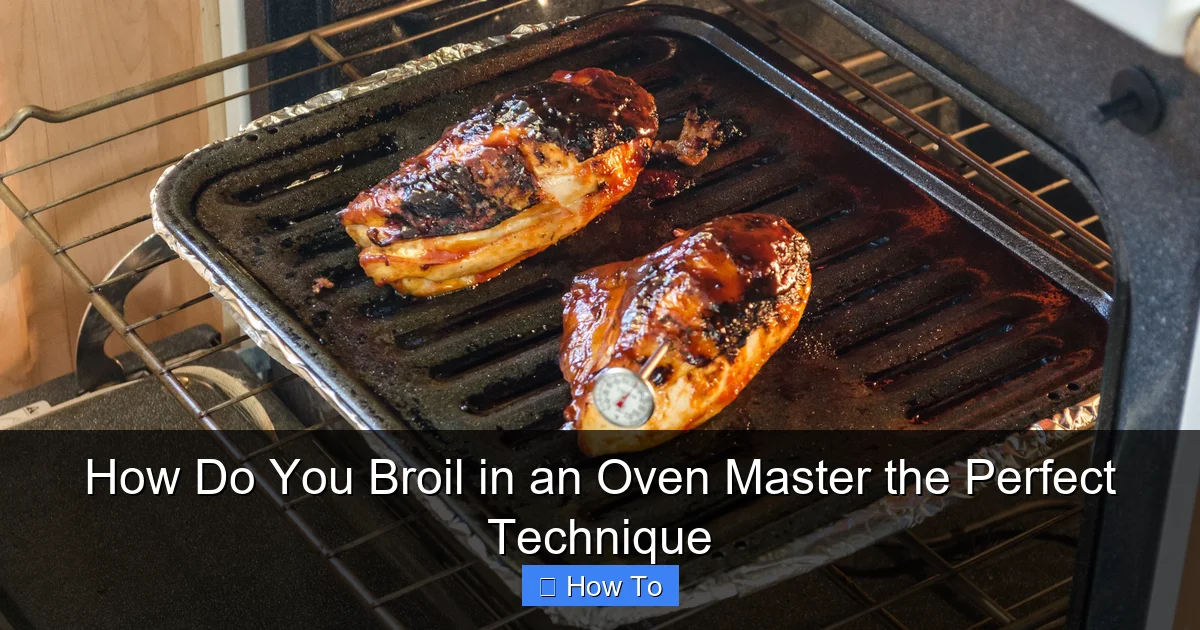
Featured image for how to broil in an oven
Image source: i.pinimg.com
Broiling in an oven is a fast, high-heat cooking method that delivers restaurant-quality sear and flavor—just position your food 4–6 inches from the broiler element and monitor closely to avoid burning. Preheat the broiler, use a broiler pan or wire rack for optimal airflow, and always leave the oven door slightly ajar to prevent overheating. Master timing and placement, and you’ll achieve perfectly caramelized, juicy results every time.
How to How Do You Broil in an Oven Master the Perfect Technique
Why This Matters / Understanding the Problem
Ever pulled a steak out of the oven expecting a juicy, caramelized crust—only to find it dry, charred, or worse, still raw in the middle? If so, you’re not alone. Broiling is a fast, high-heat cooking method that can deliver restaurant-quality results, but only if you know how to do it right.
Many home cooks skip broiling because they fear burning food or don’t understand the settings. But once you master the basics, how do you broil in an oven master the perfect technique? It’s simpler than you think—and it can transform weeknight dinners.
Broiling uses radiant heat from above (unlike baking or roasting from below), giving you a crisp exterior in minutes. Whether you’re cooking salmon, chicken, veggies, or even melting cheese on a casserole, this method saves time and adds flavor. The key is precision, not guesswork.
Let’s break down the process so you can use your broiler confidently—no smoke alarms required.
What You Need
You don’t need fancy gadgets. Most ovens already have a broiler, and the rest is basic kitchen gear. Here’s your checklist for how do you broil in an oven master the perfect technique:

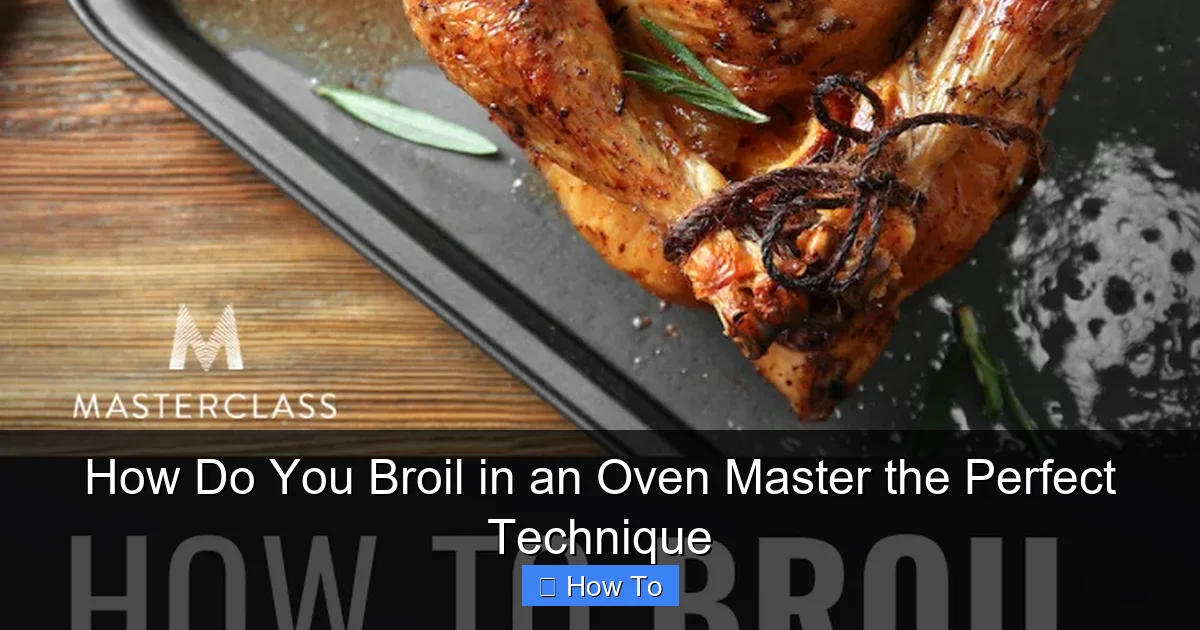
Visual guide about how to broil in an oven
Image source: i.ytimg.com
- Oven with a broil setting (upper heating element)
- Broiler-safe pan (rimmed baking sheet, cast iron skillet, or broiler pan)
- Oven mitts (high heat = hot handles)
- Meat thermometer (for proteins, to avoid overcooking)
- Tongs or spatula (to flip or remove food safely)
- Aluminum foil (optional, for easy cleanup)
- Oven-safe rack (if using a broiler pan with a top grill)
Note: Never use plastic, paper, or non-heat-safe containers. And avoid glass pans unless they’re explicitly labeled broiler-safe—they can shatter under high heat.
Step-by-Step Guide to How Do You Broil in an Oven Master the Perfect Technique
Step 1: Choose the Right Broil Setting
Most ovens have two broil options: high and low. High broil (usually 500–550°F) is best for thin cuts like chicken cutlets, fish fillets, or browning the top of a casserole. Low broil (around 400–450°F) works better for thicker items like pork chops or large chicken breasts.
Visual guide about how to broil in an oven
Image source: i.pinimg.com
Check your oven manual if you’re unsure. Some models use “Hi/Lo,” others just “Broil.” Either way, how do you broil in an oven master the perfect technique? Start with the right setting for your food.
Pro Tip: If your oven doesn’t specify, default to high for thin foods (under 1 inch) and low for thicker cuts.
Step 2: Position the Oven Rack
This step is critical. The distance between your food and the broiler element determines how fast it browns. For most foods, place the rack in the middle or second position from the top—about 4 to 6 inches below the heating element.
Too close? Your food burns on the outside before cooking through. Too far? You lose the crisp, caramelized finish that makes broiling special. For delicate foods like fish or cheese-topped dishes, go 6 inches away. For heartier meats, 4–5 inches is ideal.
Warning: Never place food directly under the broiler element unless you’re searing a thick ribeye and monitoring it every 30 seconds. Most foods need space to cook evenly.
Step 3: Prep Your Food for Broiling
Broiling works best on dry, well-seasoned surfaces. Moisture steams instead of crisping. So, pat your food dry with a paper towel before cooking. For proteins, season with salt, pepper, and a light coating of oil (olive or avocado oil works well).
For vegetables like asparagus or broccoli, toss with oil, salt, and a splash of lemon juice or balsamic. For cheese-topped dishes (like mac and cheese), make sure the top layer is evenly spread—clumped cheese burns fast.
Arrange food in a single layer on your broiler pan. Don’t overcrowd—this traps steam and leads to soggy results. If using a broiler pan, place the food on the top grill and set the drip tray below to catch grease.
Step 4: Preheat the Broiler (Yes, Really!)
Just like a grill, your broiler needs time to get hot. Turn it on and let it preheat for 5 to 10 minutes before adding food. This ensures immediate browning and consistent cooking.
While it heats, double-check your rack position and make sure the oven door is closed. Most broilers turn off if the door is open—so keep it shut until you’re ready to check or flip.
Pro Tip: Use this time to set a timer. Broiling is fast—often 5–10 minutes total—so you don’t want to get distracted.
Step 5: Place Food in the Oven and Monitor Closely
Slide your pan in carefully. Set a timer based on your food type:
- Fish (salmon, tuna, cod): 5–7 minutes (high broil)
- Chicken cutlets or thin chops: 6–8 minutes (high)
- Thick chicken breasts or pork chops: 10–14 minutes (low broil, flip halfway)
- Vegetables: 6–10 minutes (check for charred edges)
- Cheese-topped casseroles: 3–5 minutes (watch for bubbling)
Check every 2–3 minutes. Use tongs to peek at the underside or gently press meat (if safe). For even browning, flip proteins halfway through—especially chicken and pork.
Warning: Never walk away. Broiling happens in minutes. A moment of distraction can turn a golden crust into charcoal.
Step 6: Check for Doneness
Don’t rely on time alone. Use a meat thermometer for proteins:
- Chicken: 165°F
- Pork: 145°F (then rest 3 minutes)
- Steak: 130–145°F (depending on doneness)
- Fish: 145°F (or when it flakes easily)
For veggies, look for charred edges and tender centers. For casseroles, the cheese should be bubbly and golden—not black.
If the outside is browning too fast but the inside isn’t done, switch to low broil or move the rack down one level.
Step 7: Remove and Rest (When Needed)
Use tongs or a spatula to transfer food to a plate. For meats, let them rest 3–5 minutes before slicing. This keeps juices inside and improves flavor.
For dishes like broiled tomatoes or garlic bread, serve immediately—they lose crispness fast.
Let the pan cool before washing. Grease can smoke if you clean it while hot.
Pro Tips & Common Mistakes to Avoid
Pro Tip 1: Use a broiler pan with a slotted top. It lets fat drip away, preventing flare-ups and soggy bottoms. If you don’t have one, a regular baking sheet works—just line it with foil for easy cleanup.
Pro Tip 2: Add flavor with a quick marinade or dry rub. A mix of garlic, paprika, and brown sugar works great on chicken or pork. Just pat dry before broiling to avoid steaming.
Pro Tip 3: Broil in batches if cooking for a crowd. Reheat the broiler between batches to maintain heat. Cold food hitting a cold broiler = uneven results.
Common Mistake 1: Not preheating the broiler. Starting cold means your food will steam, not sear. Always wait 5–10 minutes.
Common Mistake 2: Using the wrong pan. Glass, ceramic, or plastic can crack or melt. Stick to metal.
Common Mistake 3: Ignoring the smoke alarm. Fat dripping onto the oven floor creates smoke. Use a drip tray or line the bottom with foil to catch grease.
Common Mistake 4: Broiling frozen food. Always thaw first. Frozen items cook unevenly and take longer, increasing the risk of burning.
Common Mistake 5: Skipping the thermometer. Time is a guide, not a guarantee. A $10 meat thermometer saves ruined meals.
Mastering how do you broil in an oven master the perfect technique means respecting the heat and staying attentive. It’s not a “set it and forget it” method—but the results are worth the effort.
FAQs About How Do You Broil in an Oven Master the Perfect Technique
Q: Can I broil on aluminum foil?
A: Yes! Line your pan with foil for easy cleanup. Just make sure the foil doesn’t touch the broiler element (it can melt or spark). Keep it on the pan surface only.
Q: Why does my broiler smoke so much?
A: Fat dripping onto the oven floor or heating element causes smoke. Use a drip tray, line the pan, and clean your oven regularly. If smoke is excessive, turn off the broiler and ventilate the kitchen.
Q: Can I broil with the oven door open?
A: Some older ovens require the door slightly open to keep the broiler on, but most modern ovens work with the door closed. Check your manual. Closed doors retain heat better and cook more evenly.
Q: How do I know when to flip food while broiling?
A: Flip proteins (like chicken or pork) after about half the cooking time. Look for a golden-brown crust on the top—then flip. Delicate foods like fish or veggies usually don’t need flipping unless they’re thick.
Q: Is broiling the same as grilling?
A: Similar, but not identical. Grilling uses heat from below (charcoal or gas), while broiling uses radiant heat from above. Broiling gives you that “grilled” look without needing outdoor space—perfect for rainy days.
Q: Can I broil frozen chicken?
A: Not recommended. Frozen chicken takes too long to cook through, leading to a burnt outside and raw inside. Always thaw in the fridge first.
Q: What’s the best food to start with when learning to broil?
A: Try thin salmon fillets or chicken cutlets. They cook fast (5–7 minutes), are forgiving, and show results quickly. Plus, they’re delicious with a simple lemon-herb seasoning.
🎥 Related Video: How to Broil a Steak
📺 Howcast
Watch more Beef Recipes videos: http://www.howcast.com/videos/296326-How-to-Broil-a-Steak If you love a good steak, this is a …
Final Thoughts
Broiling isn’t just for melting cheese or crisping casseroles. When you learn how do you broil in an oven master the perfect technique, you unlock a powerful tool for fast, flavorful meals. From weeknight salmon to golden-brown garlic bread, the broiler delivers speed and texture that baking just can’t match.
Remember: preheat, position the rack right, stay close, and use a thermometer. These four steps make all the difference. Don’t fear the broiler—embrace it. With a little practice, you’ll be pulling off perfectly seared proteins and caramelized veggies like a pro.
So next time you’re short on time or craving a crispy crust, skip the stove and head straight to the oven. Turn on that broiler, set your timer, and get ready for results that impress. You’ve got this!
Now go master your broiler—one golden-brown dish at a time.