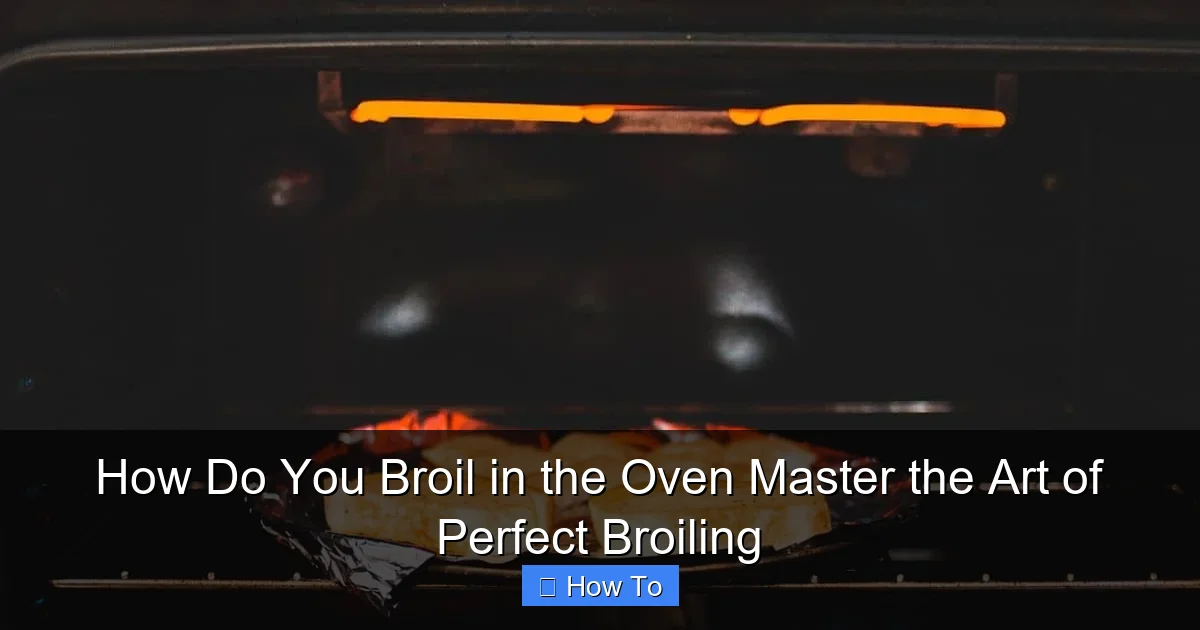
Featured image for how to broil in the oven
Image source: foodabovegold.com
Broiling in the oven is a fast, high-heat cooking method that delivers perfectly caramelized, restaurant-quality results when done right. Position your food 4–6 inches from the broiler element, preheat for 5–10 minutes, and monitor closely to avoid burning—timing varies by thickness and desired doneness. Mastering the broil setting unlocks crisp exteriors, juicy interiors, and a golden finish ideal for meats, fish, and even vegetables.
How to How Do You Broil in the Oven Master the Art of Perfect Broiling
Why This Matters / Understanding the Problem
Ever pulled a steak out of the oven, only to find it charred on the outside and raw in the middle? Or maybe your salmon came out dry and flavorless? If you’ve struggled with inconsistent results while using the broiler, you’re not alone. Learning how do you broil in the oven master the art of perfect broiling can transform your weeknight dinners from frustrating to fantastic.
Broiling is a high-heat, top-down cooking method that sears food quickly, locking in flavor and creating a delicious crust. But it’s also unforgiving—too close to the heat, and your dinner burns; too far, and it cooks unevenly. The key lies in understanding your oven’s broiler settings, timing, and technique. Whether you’re cooking meats, fish, vegetables, or even cheese-topped dishes, mastering broiling gives you restaurant-quality results at home.
This guide breaks down everything you need to know, step by step, so you can confidently use your broiler without fear. From setup to cleanup, you’ll learn how to how do you broil in the oven master the art of perfect broiling like a pro.
What You Need
Before you start, gather these tools and materials. You don’t need fancy gear—just the right setup.
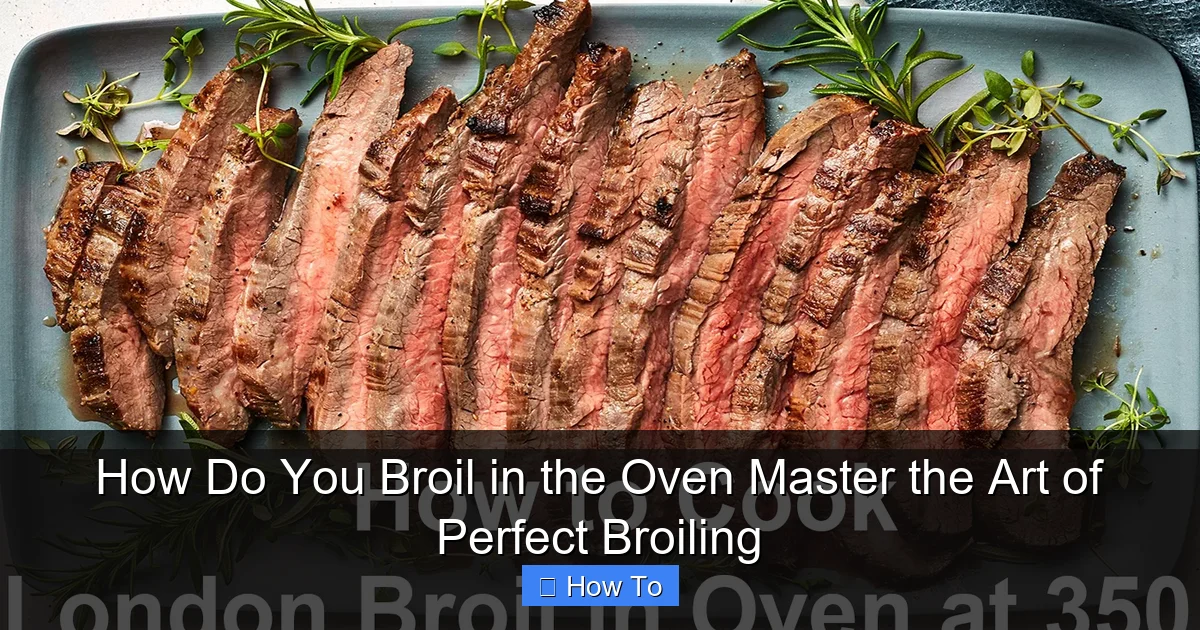
Visual guide about how to broil in the oven
Image source: acadiahouseprovisions.com
- Oven with a broiler function (most standard ovens have this; check your manual if unsure)
- Broiler-safe pan (a sturdy, oven-safe metal pan—avoid glass or ceramic, which can crack under intense heat)
- Wire rack (optional but recommended) for elevating food and promoting even browning
- Tongs or spatula for flipping food safely
- Oven mitts or heat-resistant gloves (broiling gets *hot*)
- Meat thermometer (highly recommended) for checking doneness
- Aluminum foil (optional) to line the pan and make cleanup easier
- Marinades, oils, or seasonings to enhance flavor
Bonus: Keep a spray bottle of water nearby in case of flare-ups—especially when cooking fatty meats.
Tip: Not all broilers are created equal. Some ovens have an upper heating element that runs the full width, while others have a smaller, center-only broiler. Know your oven’s layout—it affects how evenly food cooks.
Step-by-Step Guide to How Do You Broil in the Oven Master the Art of Perfect Broiling
Step 1: Choose the Right Rack Position
The distance between your food and the broiler element is *everything*. Too close, and you’ll get a charcoal briquette. Too far, and you lose the searing power.
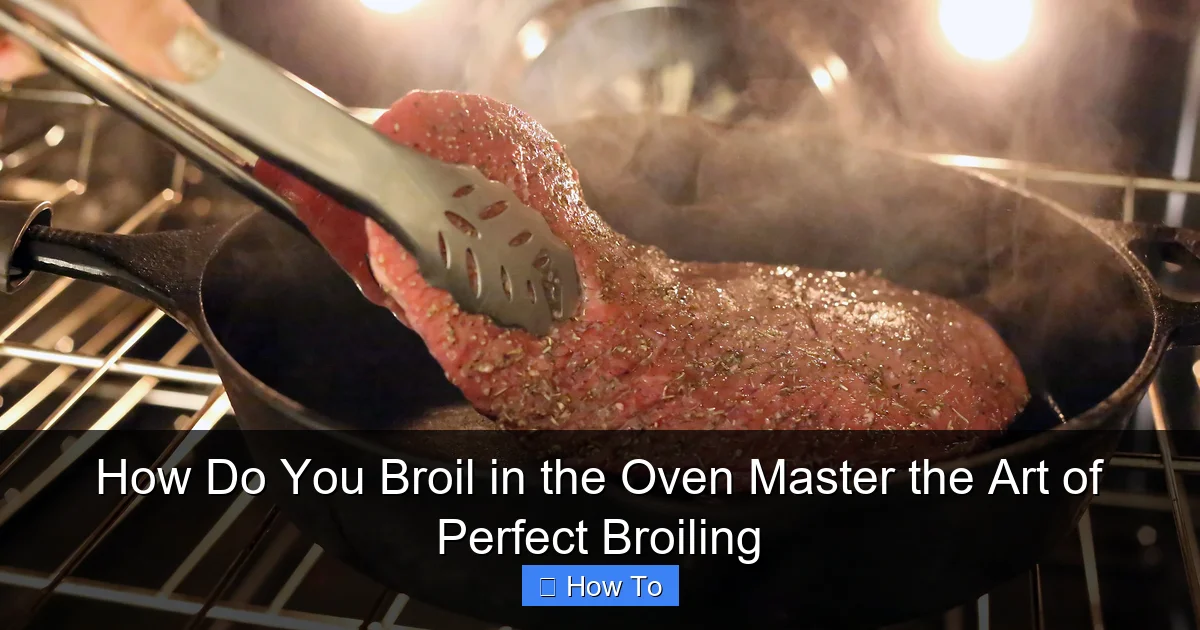
Visual guide about how to broil in the oven
Image source: i.pinimg.com
- For thicker cuts (steaks, chicken breasts, pork chops), place the rack 4–6 inches from the top heating element.
- For thinner cuts (fish fillets, hamburgers, vegetables), use the second or third slot down (6–8 inches away).
- For cheese-topped dishes (like broiled tomatoes or garlic bread), go 8–10 inches to prevent burning while melting cheese.
Warning: Never place food directly on the oven’s top rack unless your oven manual says it’s safe. Most broilers are designed to work with the food *below* the top element, not touching it.
Pro tip: Preheat your broiler for 5–10 minutes with the oven empty. This stabilizes the heat and gives you a consistent starting point.
Step 2: Prep Your Food for Broiling
Broiling works best on foods that are dry and evenly shaped. Here’s how to prep like a chef:
- Dry the surface with paper towels. Moisture = steam = soggy crust. This is crucial for steaks, chicken, and fish.
- Season or marinate your food 30 minutes to 2 hours ahead. Salt draws out moisture, so don’t overdo it right before broiling. A light oil (like olive or avocado) helps with browning.
- Pat dry again after marinating—excess liquid causes splattering and uneven cooking.
- Use a wire rack on your broiler pan. This lifts food off the pan’s surface, allowing hot air to circulate and preventing steaming. It also helps render fat from meats.
Example: For a 1-inch ribeye steak, dry it thoroughly, season with salt, pepper, and a drizzle of oil, then let it sit at room temperature for 20 minutes. This ensures even cooking.
Step 3: Set Up the Broiler Pan
Your pan setup affects cleanup and cooking quality.
- Line the bottom of the broiler pan with aluminum foil for easy cleanup. Poke holes in the foil if using a rack so drippings can fall through.
- Place the wire rack on top (if using).
- Arrange food in a single layer with space between pieces. Crowding = steam = uneven results.
- For fatty meats (like bacon or burgers), place a drip tray under the rack to catch grease and reduce smoke.
Tip: If your broiler pan is old and stained, it’s still safe to use. Just avoid plastic or non-stick pans—they can’t handle broiling heat.
Step 4: Turn On the Broiler
Most ovens have two broiler settings: High and Low.
- Use High for searing meats, fish, and vegetables (90% of the time).
- Use Low for melting cheese, toasting bread, or delicate foods that need gentle heat.
Turn the broiler on and let it preheat for 5 minutes. You’ll see the element glow red—this means it’s ready.
Warning: Never leave the broiler unattended. It’s one of the fastest ways to burn food (or start a kitchen fire). Set a timer and stay close.
Step 5: Broil and Monitor Closely
This is where how do you broil in the oven master the art of perfect broiling really comes into play. Broiling times vary wildly based on thickness and starting temperature.
- Place the pan in the oven at your chosen rack position.
- Broil for 2–5 minutes per side for thin cuts (fish, chicken tenders, veggies).
- 4–8 minutes per side for thicker cuts (steaks, pork chops, whole chicken pieces).
- Flip food halfway through for even browning. Use tongs—not a fork—to avoid losing juices.
Check doneness with a meat thermometer:
- Steak (medium): 135°F
- Chicken: 165°F
- Salmon: 145°F
- Burgers: 160°F
Example: A 1-inch salmon fillet at 6 inches from the broiler should take 4 minutes per side on High. Flip carefully—it’s delicate!
Step 6: Rest and Serve
Just like with grilling, resting is key. Remove food from the broiler and let it sit for 3–5 minutes (covered with foil). This allows juices to redistribute, preventing a dry bite.
- Steaks: Rest 5–10 minutes.
- Chicken and fish: Rest 3–5 minutes.
While resting, make a quick pan sauce with the drippings. Deglaze the broiler pan with broth or wine, add garlic or herbs, and serve over your dish.
Pro Tips & Common Mistakes to Avoid
Even experienced cooks make broiling blunders. Here’s how to stay ahead.
- Never skip preheating. A cold broiler element leads to uneven cooking. Let it glow red first.
- Don’t open the oven door too often. Every peek drops the temperature. Use the oven light instead.
- Use the right pan. Glass, ceramic, or non-stick pans can shatter or release toxic fumes. Stick to metal.
- Watch for smoke. Fatty foods drip and cause flare-ups. Keep a spray bottle of water handy, and don’t panic—just close the door and wait.
- Rotate the pan halfway through if your broiler has a “hot spot” (common in older ovens). This ensures even browning.
Pro tip: Broil vegetables like asparagus, bell peppers, or zucchini. Toss in oil, salt, and pepper, then broil 3–5 minutes per side. They come out charred and tender—perfect for salads or sides.
Common mistake: Overcrowding the pan. If food touches, it steams instead of broils. Leave at least 1/2 inch between pieces.
Bonus: For cheese-topped dishes (like broiled tomatoes), broil the base first, then add cheese and broil just until melted—usually 1–2 minutes.
FAQs About How Do You Broil in the Oven Master the Art of Perfect Broiling
Q: Can I broil frozen meat?
A: Yes, but it’s tricky. Thaw first for best results. If broiling frozen, increase time by 50% and check doneness with a thermometer. Avoid thin cuts—they’ll overcook on the outside before the center thaws.
Q: Why does my broiler smoke so much?
A: Fat dripping onto the pan causes smoke. Use a wire rack to elevate food, and line the pan with foil with holes. For fatty meats (like bacon), place a drip tray underneath. Clean your broiler pan regularly—built-up grease smokes easily.
Q: What’s the difference between broiling and baking?
A: Broiling uses direct top-down heat for quick searing and browning. Baking uses surrounding hot air for even, slow cooking. Use broiling for crusts, baking for thorough cooking.
Q: Can I broil with the oven door open?
A: Some older ovens require this, but most modern ones work with the door closed. Check your manual. Leaving the door open can waste energy and create uneven heat.
Q: How do I clean a broiler pan?
A: Soak in hot, soapy water for 30 minutes. Use a scrub brush or steel wool. For stubborn stains, make a paste of baking soda and water, scrub, then rinse. Avoid harsh chemicals—they can leave residues.
Q: Can I broil in a convection oven?
A: Yes! Convection broiling circulates heat for faster, more even cooking. Reduce time by 1–2 minutes and monitor closely. The fan helps prevent hot spots.
Q: What foods should I never broil?
A: Avoid delicate herbs, leafy greens (they burn instantly), and foods with high sugar content (like glazed carrots)—they caramelize too fast. Also, don’t broil in plastic or non-stick containers.
🎥 Related Video: Master the Art of Pan Fried Steaks
📺 ThatDudeCanCook
shorts #steak #foodie ⬇️ Get my Cookbook ⬇️ Master in the Making E-Book- https://www.thatdudecancook.com/
Final Thoughts
Mastering how do you broil in the oven master the art of perfect broiling isn’t about luck—it’s about technique, timing, and attention. With the right tools, prep, and a watchful eye, you can turn simple ingredients into restaurant-worthy meals in minutes.
Start with easy recipes: a perfectly seared steak, crispy broiled salmon, or charred asparagus. Use a thermometer, don’t rush the process, and remember—less is more with broiling. One overcooked piece doesn’t mean you failed; it means you’re learning.
Next time you’re short on time but craving bold flavor, skip the grill and fire up the broiler. With this guide in your back pocket, you’re ready to broil with confidence, every time.
Now go make something delicious—and keep that broiler clean!