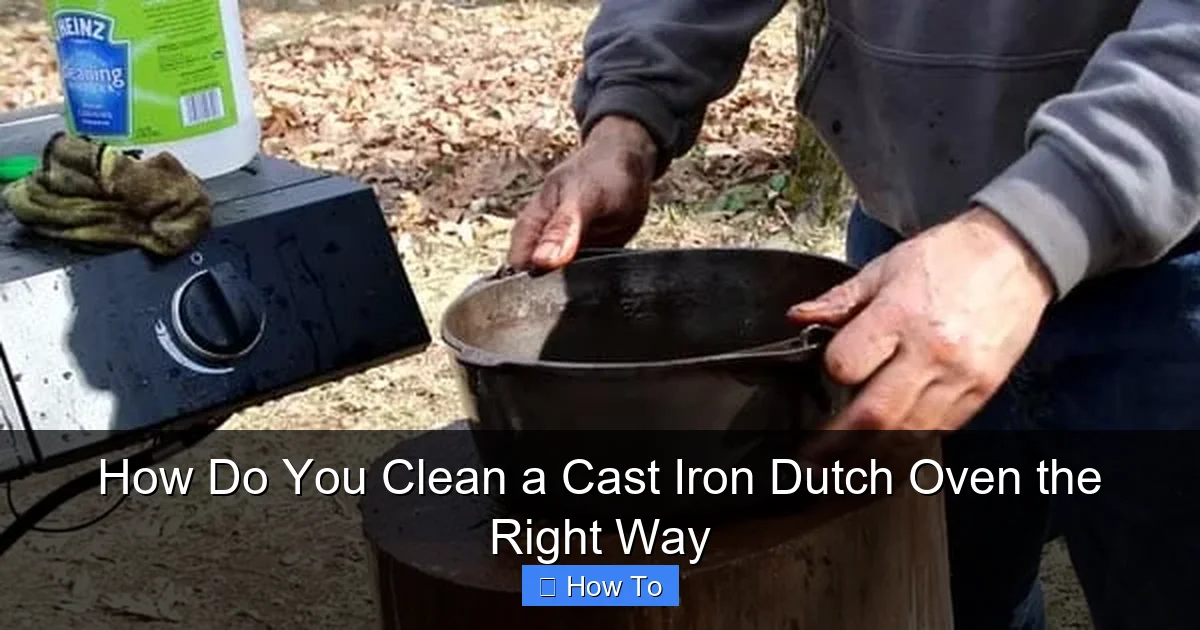
Featured image for how to clean a cast iron dutch oven
Image source: cdn-601b1dd5c1ac180faceb8f49.closte.com
Never use soap or harsh scrubbers on your cast iron Dutch oven—this can strip its seasoning and damage the non-stick surface. Instead, clean it while still warm with hot water and a stiff brush or chainmail scrubber, then dry thoroughly and apply a thin layer of oil to maintain its protective finish. Simple, proper care keeps your Dutch oven performing like new for generations.
How to How Do You Clean a Cast Iron Dutch Oven the Right Way
Why This Matters / Understanding the Problem
Cast iron Dutch ovens are kitchen workhorses—durable, versatile, and perfect for everything from slow-cooked stews to artisan bread. But if you’ve ever wondered, how do you clean a cast iron Dutch oven the right way, you’re not alone. Many home cooks fear damaging their prized cookware by using soap, scrubbing too hard, or making the mistake of soaking it overnight.
Unlike nonstick or stainless steel, cast iron needs special care. The key is maintaining its seasoning—that slick, nonstick layer built up over time from cooking oils and heat. Cleaning it the wrong way can strip this layer, leading to rust, sticking, and a ruined pot. That’s why learning how to clean a cast iron Dutch oven the right way isn’t just about hygiene—it’s about preserving your investment.
Whether you’re a beginner or a seasoned cook, this guide walks you through a simple, effective method to keep your Dutch oven in top shape—without stripping, scratching, or stressing.
What You Need
Before diving in, gather these tools and supplies. Most are already in your kitchen:
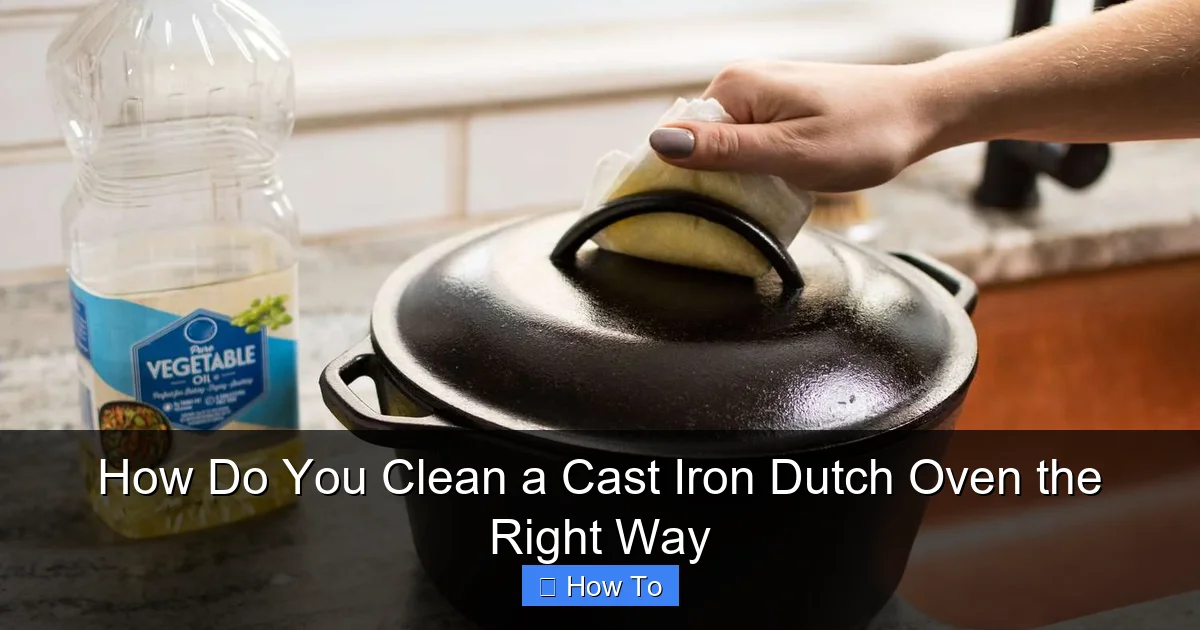
Visual guide about how to clean a cast iron dutch oven
Image source: thespruce.com
- Soft sponge or non-abrasive scrubber (avoid steel wool or harsh scouring pads)
- Warm water (never cold or hot right after cooking—thermal shock is a risk)
- Mild dish soap (a small amount is okay—modern soaps won’t ruin seasoning)
- Chainmail scrubber (optional, great for stuck-on food)
- Clean, dry towel (lint-free works best)
- Paper towels (for drying and oiling)
- Neutral cooking oil (flaxseed, canola, vegetable, or grapeseed oil)
- Stiff nylon brush (for tough residue)
- Oven or stovetop (for drying and reseasoning if needed)
No fancy gadgets required. The secret to how do you clean a cast iron Dutch oven the right way lies in timing, technique, and a little TLC.
Step-by-Step Guide to How Do You Clean a Cast Iron Dutch Oven the Right Way
Step 1: Let It Cool—But Not Too Much
After cooking, let your Dutch oven cool for 5–10 minutes. You want it warm to the touch, not scalding. This makes cleaning easier and safer.
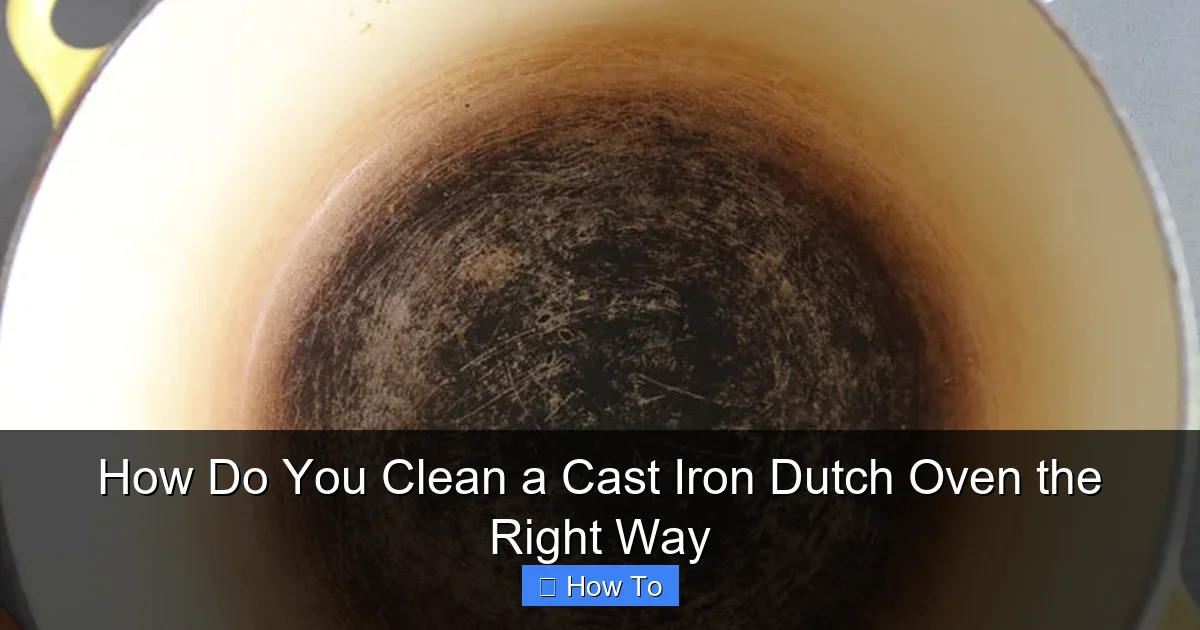
Visual guide about how to clean a cast iron dutch oven
Image source: platingsandpairings.com
Why? If you pour cold water into a hot pan, the metal can warp or crack. Also, food residue loosens more easily when the pan is warm. This step is crucial for how to clean a cast iron Dutch oven the right way—it sets the stage for a smooth, scratch-free clean.
Pro tip: If you’re in a rush, never dunk a hot pot in cold water. Wait just a few minutes. Your cast iron will thank you.
Step 2: Scrape Off Loose Food with a Silicone or Nylon Tool
Use a silicene spatula or nylon scraper to remove large chunks of food. This prevents clogging your sink and reduces scrubbing later.
For example, after a beef stew, scrape out the meat and veggies first. You’ll be left with a thin layer of stuck-on bits—perfect for the next step.
This pre-cleaning step is often skipped but makes a big difference in the how do you clean a cast iron Dutch oven the right way process.
Step 3: Rinse with Warm Water and Use a Soft Scrubber
Rinse the interior under warm running water. Use a soft sponge, nylon brush, or chainmail scrubber (a favorite among cast iron lovers) to gently scrub.
For light residue, a quick wipe with a sponge is enough. For stubborn bits, the chainmail works like magic—scrubbing without damaging the seasoning.
Yes, you can use a tiny drop of dish soap. Modern soaps are milder and won’t strip seasoning unless used excessively. Just don’t soak it!
Warning: Avoid steel wool, SOS pads, or harsh abrasives. They’ll scratch the seasoning and make sticking worse.
Step 4: Tackle Stuck-On Food (If Needed)
If food is really stuck, try a “boil water” method:
- Fill the Dutch oven with warm water.
- Bring to a simmer on the stovetop (5–10 minutes).
- Use a wooden spoon or nylon scraper to loosen the bits.
This is like a gentle steam clean. The heat softens residue without harsh scrubbing. It’s a go-to trick for how to clean a cast iron Dutch oven the right way after baking or roasting.
Never use metal utensils here—they’ll scratch the surface.
Step 5: Dry Immediately and Thoroughly
After rinsing, dry the Dutch oven immediately with a clean towel. Don’t let it air-dry—moisture causes rust.
For extra safety, place the pot on the stovetop over low heat for 3–5 minutes. Or, pop it in a 200°F (95°C) oven for 10 minutes.
Why this matters: Even tiny water droplets can cause rust, especially on the rim or base. A dry pot is a happy pot.
Pro tip: Check the lid too! Moisture can hide under the rim or in the knob.
Step 6: Apply a Thin Layer of Oil
Once completely dry, use a paper towel to apply a thin coat of oil to the entire interior (and exterior, if desired).
Use a high-smoke-point oil like canola, vegetable, or grapeseed. Dip the towel in oil, then wipe—don’t pour directly.
Then, use a second paper towel to buff off any excess. You want a barely-there sheen, not a greasy film. Too much oil can get sticky or rancid.
This step reinforces the seasoning and protects against moisture—key to how to clean a cast iron Dutch oven the right way long-term.
Step 7: Store Properly
Store your Dutch oven in a dry place. If stacking, place a paper towel or cloth between pots to prevent scratches.
For lids, store them separately or upside down to allow airflow. This prevents moisture buildup and odors.
Bonus: Keep it in the oven (if you have space). It stays dry and ready for your next recipe.
Pro Tips & Common Mistakes to Avoid
Even experienced cooks make mistakes. Here’s how to stay ahead:
- Don’t soak your Dutch oven. Water seeps into pores, causing rust. Even 15 minutes is too long.
- Never put it in the dishwasher. The harsh detergent and water pressure will ruin the seasoning and cause rust.
- Avoid cooking acidic foods too often. Tomato sauce, wine, or vinegar can wear down seasoning over time. If you do, reseason more frequently.
- Don’t panic if it looks dull. A matte finish is normal. The slickness comes from seasoning, not polish.
- Use salt as a scrub (in a pinch). For light residue, sprinkle coarse salt and scrub with a paper towel. It’s abrasive enough to clean but gentle on seasoning.
Warning: If your Dutch oven develops rust, don’t toss it! Scrub with steel wool, rinse, dry, and reseason. It can be saved.
Another pro tip: Season it after every few uses, especially if you notice food starting to stick. To reseason:
- Wash and dry as above.
- Coat with oil.
- Bake upside down in a 450°F (230°C) oven for 1 hour.
- Let cool in the oven.
This builds up a stronger, slicker layer—essential for how to clean a cast iron Dutch oven the right way and keeping it nonstick.
FAQs About How Do You Clean a Cast Iron Dutch Oven the Right Way
Q: Can I use soap to clean my cast iron Dutch oven?
A: Yes—but use it sparingly. A drop of mild dish soap won’t strip seasoning. Avoid heavy suds or soaking. The key to how do you clean a cast iron Dutch oven the right way is moderation.
Q: Why is my Dutch oven sticky after cleaning?
A: You likely used too much oil or didn’t buff it off. Excess oil polymerizes into a sticky film. Fix it by reheating the empty pot on the stove for 5 minutes to burn off residue, then re-oil lightly.
Q: How do I clean the outside of my Dutch oven?
A: Use the same method as the inside—warm water, soft scrubber, dry thoroughly, and oil. The exterior also benefits from seasoning, especially if it’s exposed to moisture.
Q: What if food is burned on?
A: Use the boil water method (Step 4). For severe cases, make a paste of baking soda and water, scrub gently, then rinse. Avoid metal tools. If it’s really bad, consider a vinegar soak (1:1 vinegar and water, 5–10 minutes max), then reseason.
Q: Can I use my cast iron Dutch oven on a glass stovetop?
A: Yes, but lift—don’t slide. Cast iron is heavy and can scratch the glass. Always preheat slowly to avoid thermal shock.
Q: How often should I reseason my Dutch oven?
A: Every 3–5 uses, or when food starts to stick. Frequent cooking and cleaning wear down seasoning. Regular oiling after cleaning helps maintain it between full reseasonings.
Q: Is it okay to store food in a cast iron Dutch oven?
A: Not recommended. Acids in food can react with the iron, affecting flavor and seasoning. Always transfer food to a glass or ceramic container after cooking.
🎥 Related Video: Restoring A Cast Iron Dutch Oven The Easy Way!!
📺 Hickory Ridge Homestead
This is the easiest method of cleaning cast iron cookware that I’ve found. Once properly seasoned, cast iron skillets, dutch ovens, …
Final Thoughts
Cleaning a cast iron Dutch oven doesn’t have to be intimidating. Once you know how do you clean a cast iron Dutch oven the right way, it becomes a quick, satisfying routine—like giving your favorite pan a spa day.
Remember: cool slightly, scrub gently, dry thoroughly, oil lightly, and store smart. These simple steps protect your investment and keep your Dutch oven performing like new for years.
Whether you’re baking sourdough, braising short ribs, or making chili, a well-maintained cast iron Dutch oven is a kitchen hero. Treat it right, and it’ll serve you for decades—maybe even generations.
So next time you finish cooking, don’t rush the cleanup. Take a few extra minutes to care for your pot. Your future meals (and your pan) will thank you.
Now go enjoy that delicious stew—and know your Dutch oven is ready for the next round.