Featured image for how to clean a ge self cleaning oven
Image source: paradiseapplianceservice.com
Activate your GE oven’s self-cleaning mode for a hassle-free deep clean—just remove racks, lock the door, and let the high heat incinerate grime. For stubborn residue or quick touch-ups, wipe down cooled surfaces with a damp cloth and mild detergent after the cycle ends to maintain a spotless, odor-free oven with minimal effort.
“`html
How to How Do You Clean a GE Self Cleaning Oven Easily and Effectively
Why This Matters / Understanding the Problem
Let’s face it—ovens get messy. Whether it’s last night’s lasagna splatter or months of baked-on grease, a dirty oven doesn’t just look bad. It can affect cooking performance, cause smoke, and even trigger unpleasant odors.
Many GE oven owners assume the “self-cleaning” feature does all the work. But the truth is, it only handles heavy buildup—not daily grime or spills. If you want to know how to clean a GE self cleaning oven easily and effectively, you need a balanced approach: using the self-cleaning cycle smartly, plus quick manual cleanups in between.
Ignoring maintenance can shorten your oven’s lifespan and waste energy. The good news? With the right routine, keeping your GE oven spotless is simpler than you think. Let’s dive into the best ways to get it done.
What You Need
Before starting, gather these tools and materials. Most are probably already in your kitchen or garage.

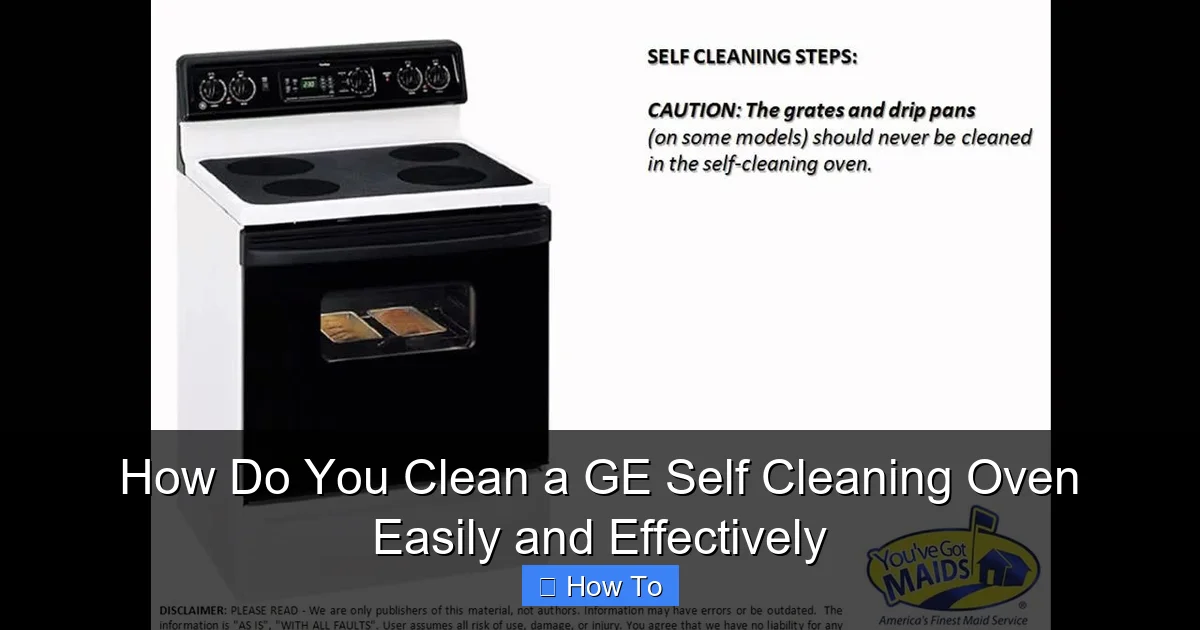
Visual guide about how to clean a ge self cleaning oven
Image source: i.ytimg.com
- Rubber gloves (heat-resistant if possible)
- Microfiber cloths or soft sponges
- Non-abrasive scrub pad (like a Dobie pad)
- Oven-safe bowl (ceramic or glass)
- White vinegar
- Baking soda
- Dish soap (mild, like Dawn)
- Water
- Plastic scraper (optional, for tough spots)
- Vacuum or damp cloth (for post-cleaning debris)
For the self-cleaning cycle, you’ll only need the oven itself—no cleaning products required. But for how to clean a GE self cleaning oven easily and effectively between cycles, this kit is essential.
Pro Tip: Avoid steel wool, bleach, or commercial oven sprays. They can damage the oven’s interior coating or leave harmful residues.
Step-by-Step Guide to How Do You Clean a GE Self Cleaning Oven Easily and Effectively
Step 1: Remove Racks and Accessories
Start by taking out the oven racks, baking sheets, and any removable accessories. These often get coated with grease and food particles.
Visual guide about how to clean a ge self cleaning oven
Image source: i.ytimg.com
Wash them in the sink with warm, soapy water. For stubborn stains, sprinkle baking soda on a damp sponge and gently scrub. Rinse and dry thoroughly before reinserting.
This step prevents smoke during the self-cleaning cycle and ensures even cleaning. Plus, it’s a great time to inspect for warping or rust—common issues in older ovens.
Step 2: Wipe Down the Interior (Between Self-Cleaning Cycles)
Don’t wait for the self-cleaning mode every time. For light spills or weekly maintenance, use a natural paste:
- Mix ½ cup baking soda with 2–3 tablespoons of water to form a spreadable paste.
- Apply it to cool oven walls, door, and floor—avoid heating elements and sensors.
- Let it sit for 15–30 minutes (longer for tough spots).
- Wipe with a damp microfiber cloth. Use a plastic scraper for stuck-on bits.
- Rinse the cloth and wipe again to remove residue.
This method is safe, chemical-free, and perfect for maintaining shine. It’s a key part of how to clean a GE self cleaning oven easily and effectively without harsh fumes.
Step 3: Use the Self-Cleaning Cycle (For Heavy Buildup)
When you have thick grease or charred food, it’s time for the self-cleaning feature. Here’s how to do it safely:
- Ensure the oven is cold before starting.
- Remove all racks and accessories (you’ve already done this in Step 1).
- Wipe out loose debris with a damp cloth. Don’t use water or cleaner—just remove crumbs.
- Close the oven door and lock it (some models auto-lock; others have a manual lever).
- Press the “Self Clean” button. Choose 3–4 hours (longer for severe buildup).
- Press “Start.” The oven will heat to ~900°F, turning grime to ash.
The cycle takes 3–5 hours. Your kitchen may get warm, and you’ll smell a faint burning odor—this is normal. Just keep the area ventilated.
Step 4: Ventilate the Kitchen
During and after the self-cleaning cycle, open windows or turn on exhaust fans. The process releases smoke and gases from burning debris.
If you have pets or sensitive family members, consider leaving the house for a few hours. The fumes are non-toxic but can irritate eyes or lungs.
Proper ventilation is crucial for how to clean a GE self cleaning oven easily and effectively without health risks.
Step 5: Wipe Away the Ash
After the cycle ends, wait for the oven to cool completely (this can take 1–2 hours). Never open the door while hot—it can cause thermal shock.
Once cool, use a damp cloth or sponge to wipe away the fine ash. It should come off easily. For corners, use a vacuum with a brush attachment or a soft-bristle toothbrush.
Inspect the door gasket and hinges. If ash is trapped, gently clean with a cloth. Avoid pulling the gasket—it’s delicate.
Step 6: Clean the Oven Door and Window
The door often gets greasy from handprints and steam. For a streak-free shine:
- Mix equal parts white vinegar and water in a spray bottle.
- Spray the glass (inside and out). Let it sit for 1 minute.
- Wipe with a microfiber cloth. Use a second cloth for buffing.
For stubborn film, apply the baking soda paste, wait 10 minutes, then wipe. This combo cuts through grease without scratching.
Cleaning the window improves visibility and is a smart habit when learning how to clean a GE self cleaning oven easily and effectively.
Step 7: Reinstall Racks and Test
Once everything is dry, reinsert the oven racks. Make sure they slide smoothly.
Turn the oven on to 350°F for 10–15 minutes. This burns off any remaining residue and ensures the door seal is working.
You’re now ready to bake! Your oven should look like new and perform better.
Pro Tips & Common Mistakes to Avoid
Even with the right tools, mistakes happen. Here’s how to stay on track:
- Don’t use the self-cleaning cycle too often. It wears out gaskets and heating elements. Limit it to 1–2 times per year unless heavily soiled.
- Never use water during the self-cleaning cycle. Moisture can damage internal components.
- Avoid leaving racks in during self-cleaning. The extreme heat can warp or discolor them.
- Skip the “Quick Clean” mode for big messes. It’s for light spills, not caked-on food.
- Check your model’s manual. Some GE ovens have specific instructions (e.g., AquaLift® models use a water-based cleaning system).
Warning: If the oven doesn’t lock during self-cleaning, do not force it. A broken lock can cause burns. Call a technician instead.
Another pro tip: After cleaning, place an oven liner on the bottom (not touching elements) to catch future spills. It’s a game-changer for maintenance.
Remember, consistency beats one-time deep cleans. A quick wipe after spills prevents buildup—making how to clean a GE self cleaning oven easily and effectively a breeze.
FAQs About How Do You Clean a GE Self Cleaning Oven Easily and Effectively
Q: Can I use commercial oven cleaner in a GE self-cleaning oven?
No. Most GE models have a special enamel coating that can be damaged by harsh chemicals. The self-cleaning cycle is designed to work without sprays. If you must use a cleaner, choose one labeled “safe for self-cleaning ovens” and avoid the heating elements.
Q: How often should I use the self-cleaning cycle?
For most households, every 6–12 months is enough. If you bake frequently or have spills, use it twice a year. Between cycles, clean with baking soda paste every 1–2 weeks.
Q: Why does my oven smoke during self-cleaning?
Smoke is normal—it’s the result of food turning to ash. However, excessive smoke means you left racks or foil inside. Always remove metal items before starting the cycle.
Q: Can I open the oven during the self-cleaning cycle?
No. The door locks automatically for safety. The temperature reaches over 900°F. Opening it could cause burns or damage the door seal. Wait until the cycle ends and the oven cools.
Q: What if my oven doesn’t have a self-cleaning mode?
Older GE models may not. In that case, use the baking soda and vinegar method weekly. For heavy buildup, try an oven-safe bowl of vinegar heated to 180°F for 30 minutes to loosen grime.
Q: Is it safe to clean the oven while it’s warm?
Only for light spills. If the oven is above 150°F, wait. Hot surfaces can warp sponges or burn your skin. Always cool the oven before deep cleaning.
Q: How do I clean oven door hinges?
Use a damp cloth with a drop of dish soap. Wipe gently—don’t force the hinge open. For stuck grease, apply a tiny bit of baking soda paste and wipe after 5 minutes.
🎥 Related Video: Oven Cleaning Hack – The Easiest Way to Get a Spotless Oven! #oven #cleaning #tricks
📺 All Star Clean & Clear
Check this https://www.cleaningservicenear.com/ Oven Cleaning Hack – The Easiest Way to Get a Spotless Oven! ✨ #oven …
Final Thoughts
Cleaning your GE oven doesn’t have to be a chore. By combining the power of the self-cleaning cycle with smart manual cleaning, you’ll keep your oven looking great and working efficiently.
The key to how to clean a GE self cleaning oven easily and effectively is consistency. Wipe spills fast, deep clean every few months, and use the self-cleaning feature wisely.
Start today: Remove your racks, whip up some baking soda paste, and give your oven a quick once-over. A little effort now saves hours of scrubbing later. And remember—your oven is an investment. Treat it well, and it’ll serve you for years to come.
Ready to bake with confidence? Your clean oven is waiting.
“`