Learn how to cook clams in the oven with simple techniques that deliver tender, juicy, and flavorful results. Whether you’re baking whole clams, stuffing them, or making a creamy clam bake, this method is perfect for home cooks looking for a hands-off, delicious seafood dish.
If you’ve ever stood over a pot of steaming clams on the stovetop, you know how quickly they can go from perfect to rubbery. But what if there was a simpler, more hands-off way to enjoy this briny delicacy? Enter: cooking clams in the oven. It’s a game-changer for home cooks who want restaurant-quality seafood without the constant monitoring.
Baking clams in the oven is not only easy—it’s also incredibly forgiving. The dry, consistent heat gently coaxes the shells open, preserving the tender, succulent meat inside. Plus, you can easily scale the recipe up or down depending on how many people you’re feeding. Whether you’re hosting a dinner party or just craving a cozy seafood meal, oven-baked clams deliver big flavor with minimal effort.
Key Takeaways
- Choose fresh, live clams: Always buy clams that are tightly closed or close when tapped—this ensures freshness and safety.
- Clean thoroughly before cooking: Scrub shells under cold water and soak in salted water to remove sand and grit.
- Preheat your oven to 400°F (200°C): This temperature ensures even cooking without overcooking the delicate meat.
- Use a baking dish with a lid or foil: Trapping steam helps open the clams gently and keeps them moist.
- Add aromatics for extra flavor: Garlic, white wine, lemon, and herbs enhance the natural brininess of clams.
- Discard unopened clams after cooking: They may be unsafe to eat and could contain harmful bacteria.
- Serve immediately with crusty bread: Perfect for soaking up the delicious broth created during baking.
Quick Answers to Common Questions
Can I cook frozen clams in the oven?
Yes, but it’s best to thaw them first. Place frozen clams in the refrigerator overnight, then proceed with cleaning and cooking as usual. Avoid cooking them straight from frozen, as this can lead to uneven results.
How do I know if clams are cooked?
Clams are done when their shells have fully opened. Any clams that remain closed after baking should be discarded, as they may not be safe to eat.
Can I use a different type of alcohol?
Absolutely. Beer, broth, or even water can replace white wine. Beer adds a malty depth, while broth keeps the dish lighter. Just avoid strongly flavored liquors.
What if my clams are too salty?
Soak them longer in fresh water (not salted) before cooking. You can also reduce added salt in the recipe and rely on natural brininess.
Can I bake clams on a sheet pan?
Yes, but use a rimmed baking sheet and cover tightly with foil to trap steam. A deep dish works better, but a sheet pan is fine for smaller batches.
📑 Table of Contents
Why Cook Clams in the Oven?
Cooking clams in the oven offers several advantages over traditional stovetop methods. First, it frees up your stovetop for other dishes—ideal when you’re preparing a full meal. Second, the even heat distribution reduces the risk of overcooking, which is a common pitfall with high-heat steaming. Oven baking also allows you to infuse more flavor into the dish by layering ingredients like garlic, herbs, and wine directly in the baking dish.
Another benefit is the presentation. A shallow baking dish filled with opened clams in their shells looks impressive on the table, especially when garnished with fresh parsley and lemon wedges. It’s a dish that feels special without requiring advanced culinary skills. Plus, the natural juices released during baking create a light, flavorful broth that’s perfect for dipping bread.
Choosing the Right Clams
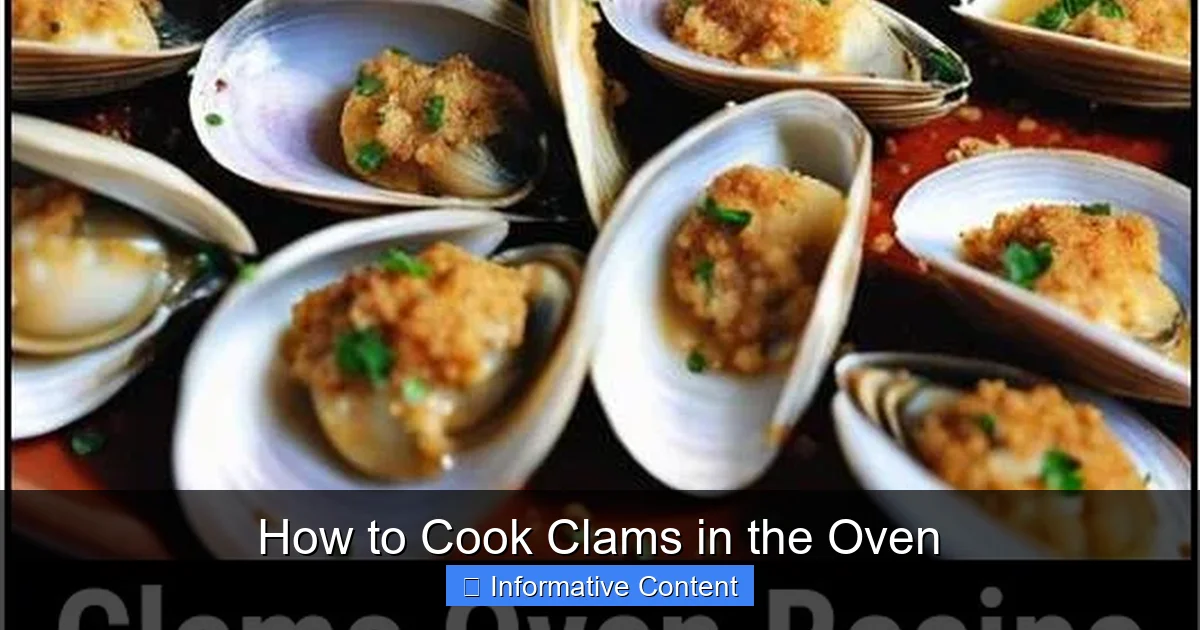
Visual guide about How to Cook Clams in the Oven
Image source: janeovenrecipes.com
Not all clams are created equal, and choosing the right type is crucial for a great outcome. The two most common varieties used in baking are **hard-shell clams** (like littlenecks, cherrystones, or quahogs) and **soft-shell clams** (like steamers). For oven baking, hard-shell clams are generally preferred because they hold up better to dry heat and have a firmer texture.
When shopping, look for clams that are heavy for their size and have tightly closed shells. If a shell is slightly open, tap it gently—if it closes, the clam is alive and safe to eat. Avoid any with cracked or damaged shells, as they may be dead or contaminated. Always buy clams from a reputable seafood market and plan to cook them within 24 hours of purchase for the best quality.
How to Store Clams Before Cooking
If you’re not cooking your clams right away, store them properly to keep them fresh. Place them in a bowl or shallow container and cover them with a damp cloth or paper towel. Store in the coldest part of your refrigerator—never in an airtight container or submerged in water, as this can suffocate them. Do not freeze live clams unless you plan to cook them first.
Preparing Clams for the Oven
Proper preparation is key to a delicious and safe clam bake. Start by rinsing the clams under cold running water to remove any surface dirt or debris. Use a stiff brush to scrub the shells, especially around the hinge area where sand tends to accumulate.
Next, soak the clams in a bowl of cold, salted water for 20–30 minutes. Use about 1/3 cup of sea salt per gallon of water—this mimics seawater and encourages the clams to expel any sand or grit inside. After soaking, drain and rinse again. Discard any clams that float or remain open after soaking, as they are likely dead.
Optional: Shuck or Bake in Shell?
You can bake clams either in their shells or shucked. Baking in the shell is the most common method and helps retain moisture and flavor. It also makes for a more dramatic presentation. However, if you prefer easier eating or want to use the meat in a casserole or pasta, you can shuck them beforehand. Just be sure to reserve the clam liquor (the liquid inside the shell) to add back into the dish for extra flavor.
Oven-Baked Clams: Step-by-Step Method
Now for the fun part—cooking! Here’s a simple, foolproof method for baking clams in the oven.
Ingredients You’ll Need
- 2–3 pounds fresh hard-shell clams (about 24–36 clams)
- 4 tablespoons unsalted butter, melted
- 4 cloves garlic, minced
- 1/2 cup dry white wine (such as Sauvignon Blanc or Pinot Grigio)
- 1/4 cup chopped fresh parsley
- 1 lemon, sliced into rounds
- 1 teaspoon red pepper flakes (optional, for heat)
- Salt and freshly ground black pepper to taste
- Crusty bread, for serving
Step 1: Preheat the Oven
Preheat your oven to **400°F (200°C)**. This temperature is hot enough to open the clams quickly but not so hot that it dries them out.
Step 2: Prepare the Baking Dish
Choose a large, shallow baking dish—glass, ceramic, or metal all work well. Arrange the cleaned clams in a single layer. You can nestle them slightly if needed, but avoid stacking too high.
Step 3: Add Flavor Base
In a small bowl, mix the melted butter, minced garlic, white wine, parsley, red pepper flakes, salt, and pepper. Pour this mixture evenly over the clams. Tuck lemon slices around and on top of the clams for brightness and aroma.
Step 4: Cover and Bake
Cover the baking dish tightly with aluminum foil or a lid. This traps steam, which helps the clams open gently. Bake for **12–15 minutes**. Check at the 12-minute mark—most clams should be open by then. If a few remain closed, give them another 2–3 minutes.
Step 5: Serve Immediately
Remove the dish from the oven and discard the foil. Discard any clams that haven’t opened—they may be unsafe to eat. Serve the clams in their shells with the broth in the bottom of the dish. Provide small forks or seafood picks for easy eating, and plenty of crusty bread for soaking up the juices.
Creative Variations and Serving Ideas
Once you’ve mastered the basic method, feel free to get creative. Here are a few delicious variations:
Garlic Butter Stuffed Clams
For a richer dish, mix breadcrumbs, grated Parmesan, extra garlic, and chopped parsley into the butter mixture. Spoon a small amount into each clam shell before baking. This creates a crispy, flavorful topping similar to classic stuffed clams.
Clam Bake with Vegetables
Turn your clam bake into a one-pan meal by adding chopped potatoes, corn on the cob, and smoked sausage to the baking dish. The clams will steam the vegetables, infusing them with incredible flavor. Just make sure to cut the potatoes small so they cook through in the same time.
Spicy Chorizo Clams
Add 1/2 cup of crumbled Spanish chorizo to the butter mixture for a smoky, spicy kick. The rendered fat adds richness, and the paprika in the chorizo complements the brininess of the clams perfectly.
Lemon-Herb White Wine Broth
For a lighter version, skip the butter and use extra white wine, lemon juice, and fresh herbs like thyme and oregano. This creates a bright, aromatic broth that’s perfect for sipping or spooning over rice.
Tips for Perfect Oven-Baked Clams
- Don’t overcook: Clams become tough and rubbery if baked too long. Stick to 12–15 minutes and check early.
- Use a timer: It’s easy to forget the clams in the oven, especially if you’re multitasking.
- Keep the dish covered: Steam is essential for opening the shells. If you uncover too early, the clams may not open properly.
- Serve with lemon wedges: A squeeze of fresh lemon brightens the flavor and cuts through the richness.
- Pair with a crisp white wine: A glass of chilled Sauvignon Blanc or Albariño complements the dish beautifully.
Safety and Leftovers
Clams are highly perishable, so handle them with care. Never eat clams that don’t open after cooking—this could indicate they were dead before cooking and may contain harmful bacteria. Leftovers should be stored in an airtight container in the refrigerator and consumed within 24 hours. Reheat gently in a covered dish with a splash of water or broth to prevent drying out.
While clams are best enjoyed fresh, you can repurpose leftover meat in dishes like clam chowder, pasta, or fried rice. Just remove the meat from the shells and chop as needed.
Conclusion
Cooking clams in the oven is a simple, elegant, and delicious way to enjoy one of the ocean’s finest offerings. With minimal prep and hands-off cooking, you can create a dish that impresses guests or satisfies a weeknight craving. The key is using fresh ingredients, proper technique, and a little creativity.
Whether you stick to the classic garlic butter method or experiment with bold flavors and add-ins, oven-baked clams are sure to become a favorite in your recipe rotation. So next time you’re at the seafood counter, grab a bag of clams, preheat your oven, and get ready to enjoy a taste of the sea—right from your kitchen.
Frequently Asked Questions
How long do clams take to cook in the oven?
Clams typically take 12 to 15 minutes to cook in a 400°F (200°C) oven. They’re done when the shells open fully. Check at the 12-minute mark to avoid overcooking.
Do I need to soak clams before baking?
Yes, soaking clams in salted water for 20–30 minutes helps remove sand and grit. Rinse them well afterward to ensure a clean, pleasant texture.
Can I bake clams without wine?
Yes, you can substitute wine with chicken or vegetable broth, beer, or even water. Add lemon juice and garlic to maintain flavor depth.
Why are my clams gritty after cooking?
This usually means they weren’t soaked long enough or rinsed properly. Always scrub the shells and soak in salted water before baking to purge sand.
Can I reheat baked clams?
Yes, but do so gently. Reheat in a covered dish with a splash of liquid over low heat or in the oven at 300°F (150°C) for 5–10 minutes to avoid drying out.
Are oven-baked clams healthy?
Yes! Clams are low in fat, high in protein, and rich in vitamins like B12 and iron. Baking preserves their nutrients better than frying.