St. Louis style ribs are a barbecue favorite known for their rich flavor and tender texture. Cooking them in the oven is a simple, mess-free way to enjoy restaurant-quality ribs at home—no smoker required.
Key Takeaways
- Trim excess fat and cartilage: Properly trimming the ribs ensures even cooking and better flavor absorption.
- Use a dry rub for maximum flavor: A blend of spices applied 12–24 hours in advance deepens the taste.
- Cook low and slow at 275°F: This temperature breaks down connective tissue without drying out the meat.
- Wrap in foil for tenderness: The “Texas crutch” method locks in moisture and speeds up cooking.
- Finish with a sauce glaze: Broiling after unwrapping caramelizes the sauce for a sticky, glossy finish.
- Rest before slicing: Letting ribs rest for 10–15 minutes keeps them juicy and easy to cut.
- Pair with classic sides: Serve with coleslaw, cornbread, or baked beans for a complete meal.
Quick Answers to Common Questions
Can I cook St. Louis style ribs without a dry rub?
Yes, but the dry rub adds essential flavor and helps form a delicious crust. If you’re short on time, use a store-bought rub or simply season with salt, pepper, and garlic powder.
How do I know when the ribs are done?
The ribs are done when the meat pulls back from the bones and a meat thermometer reads 190–203°F. They should be tender but not mushy.
Can I use a slow cooker instead of the oven?
Yes, but the texture will be different. Slow cookers make ribs very tender but won’t develop a crust. For best results, finish them under the broiler after slow cooking.
Should I remove the membrane from the ribs?
Absolutely. The membrane is tough and doesn’t break down during cooking. Removing it ensures tender, bite-through ribs.
Can I freeze cooked St. Louis style ribs?
Yes. Cool them completely, wrap tightly in foil or freezer bags, and freeze for up to 3 months. Reheat in the oven at 300°F until warmed through.
📑 Table of Contents
What Are St. Louis Style Ribs?
St. Louis style ribs are a cut of pork ribs that come from the spare rib section of the pig. Unlike baby back ribs, which are leaner and come from the loin area, spare ribs are larger, meatier, and have more fat—giving them a richer, more intense flavor. The “St. Louis style” refers to how the ribs are trimmed: the sternum bone, cartilage, and excess fat are removed, and the ribs are squared off into a neat, rectangular rack. This uniform shape allows for even cooking and better sauce absorption.
Originally popularized in the barbecue joints of St. Louis, Missouri, this cut has become a staple at backyard cookouts and family dinners across the U.S. While they’re traditionally grilled or smoked over wood, you can achieve equally delicious results using your oven. The key is mimicking the slow, low-heat environment that makes ribs tender and juicy. With the right technique, oven-baked St. Louis style ribs can rival any pitmaster’s creation—right from your kitchen.
Choosing the Right Ribs
Not all spare ribs are created equal. When shopping for St. Louis style ribs, look for racks that are evenly trimmed with a good amount of meat covering the bones. The meat should be pink and moist, not gray or dry. Avoid ribs with large pockets of fat or excessive membrane, as these can lead to uneven cooking.
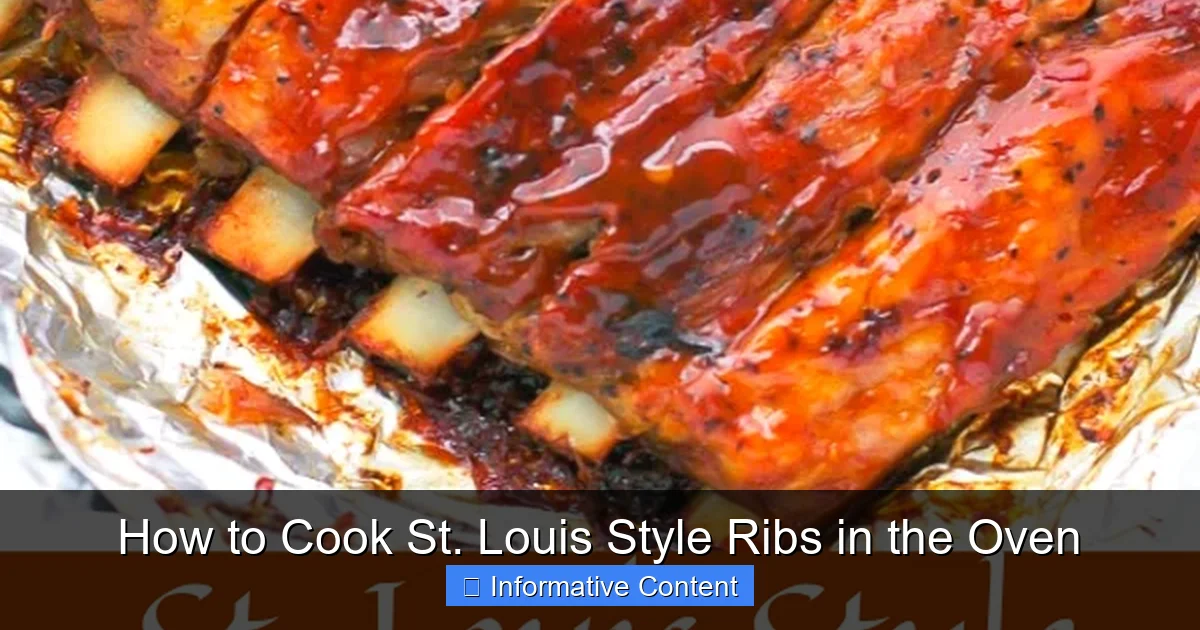
Visual guide about How to Cook St. Louis Style Ribs in the Oven
Image source: i.pinimg.com
Fresh vs. Frozen
Fresh ribs are ideal, but frozen can work just as well if thawed properly. If using frozen ribs, place them in the refrigerator for 24–48 hours to thaw slowly. Never thaw at room temperature, as this can promote bacterial growth. Once thawed, pat them dry with paper towels before trimming.
Trimming the Ribs
Even if your ribs are labeled “St. Louis style,” they may still need a little cleanup. Use a sharp knife to remove any hanging cartilage or excess fat from the bone side. Flip the rack over and peel off the thin, shiny membrane from the back—this step is crucial. The membrane doesn’t break down during cooking and can make the ribs tough. Use a paper towel for better grip, and pull it off in one piece if possible.
Preparing the Dry Rub
A great dry rub is the foundation of flavorful ribs. It adds depth, enhances the meat’s natural taste, and forms a delicious crust called the “bark” during cooking. You can buy pre-made rubs, but homemade versions let you control the ingredients and spice level.
Basic Dry Rub Recipe
Mix together:
- 2 tablespoons brown sugar
- 1 tablespoon paprika (smoked paprika adds extra depth)
- 1 tablespoon garlic powder
- 1 tablespoon onion powder
- 1 teaspoon black pepper
- 1 teaspoon salt
- 1 teaspoon chili powder
- 1/2 teaspoon cayenne pepper (optional, for heat)
Adjust the sweetness or heat to your taste. For a sweeter bark, increase the brown sugar. For smokiness, add a pinch of chipotle powder.
Applying the Rub
Generously coat both sides of the ribs with the rub, pressing it into the meat so it sticks. For best results, wrap the seasoned ribs in plastic wrap and refrigerate for at least 4 hours—ideally overnight. This allows the flavors to penetrate deeply and the salt to tenderize the meat.
Cooking St. Louis Style Ribs in the Oven
The secret to tender, fall-off-the-bone ribs is low and slow cooking. Set your oven to 275°F (135°C)—this temperature gently breaks down collagen into gelatin without drying out the meat. Cooking time will vary based on rib size, but plan for about 3 to 3.5 hours total.
Step-by-Step Oven Method
1. Preheat your oven to 275°F. Line a large baking sheet or roasting pan with heavy-duty aluminum foil—this makes cleanup easier and helps with wrapping.
2. Place the seasoned ribs bone-side down on the foil. You can cook one or two racks at a time, depending on pan size.
3. Cover the ribs tightly with another sheet of foil, sealing the edges well. This creates a steamy environment that keeps the meat moist.
4. Bake for 2 to 2.5 hours. The ribs are ready to wrap when the meat has pulled back slightly from the bones (about 1/4 to 1/2 inch).
The Texas Crutch: Wrapping in Foil
After the initial bake, it’s time to wrap the ribs in foil with a little liquid to boost tenderness. This technique, known as the “Texas crutch,” steams the ribs and helps them become fall-off-the-bone soft.
Carefully remove the ribs from the oven and unwrap the top foil. Pour 1/2 cup of liquid over the ribs—apple juice, apple cider vinegar, or beer work well. You can also add a few pats of butter or a splash of your favorite barbecue sauce for extra richness. Re-wrap tightly in fresh foil and return to the oven for another 45 minutes to 1 hour.
Finishing with Sauce and Caramelizing
Once the ribs are tender, it’s time to develop that sticky, glossy finish. Remove the ribs from the oven and carefully unwrap them—be cautious of the hot steam. Increase the oven temperature to 400°F (200°C) and switch to broil mode.
Applying the Sauce
Brush a thin, even layer of barbecue sauce over both sides of the ribs. Use a silicone brush for easy application. Choose a sauce that complements the rub—sweet, smoky, or spicy, depending on your preference. Avoid sauces with high sugar content if you’re broiling, as they can burn quickly.
Broiling for the Perfect Glaze
Place the sauced ribs back on the baking sheet (no foil this time) and broil on the middle rack for 3–5 minutes. Watch closely—the sauce should bubble and caramelize, not burn. Flip the ribs and repeat on the other side if desired. This step adds texture and deepens the flavor, giving your ribs that classic barbecue shine.
Resting and Serving
After broiling, remove the ribs from the oven and let them rest for 10–15 minutes. This allows the juices to redistribute throughout the meat, ensuring every bite is moist and flavorful. Resting also makes the ribs easier to slice cleanly.
Slicing the Ribs
Use a sharp knife to cut between the bones, creating individual ribs. For a more rustic presentation, you can chop them into smaller sections or even pull the meat apart with forks. Serve immediately while hot.
Recommended Sides
St. Louis style ribs pair beautifully with classic Southern sides. Try serving them with:
- Creamy coleslaw
- Buttery cornbread
- Smoky baked beans
- Grilled corn on the cob
- Garlic mashed potatoes
For a complete meal, add a simple green salad or roasted vegetables. Don’t forget extra napkins—ribs are meant to be eaten with your hands!
Tips for Perfect Oven-Baked Ribs
Even with a solid recipe, small tweaks can make a big difference. Here are a few pro tips to elevate your rib game:
- Use a meat thermometer: While timing is a good guide, the best way to check doneness is by temperature. Ribs are ready when the internal temperature reaches 190–203°F (88–95°C).
- Rotate the pan: Ovens can have hot spots. Halfway through cooking, rotate the pan 180 degrees for even browning.
- Don’t skip the membrane: Removing the membrane is non-negotiable for tender ribs. Take the extra minute to peel it off.
- Experiment with liquids: Try different braising liquids like cola, pineapple juice, or bourbon for unique flavor twists.
- Make ahead: You can season and refrigerate ribs up to 24 hours in advance, or even freeze them after seasoning for up to 3 months.
With these steps, you’ll master how to cook St. Louis style ribs in the oven—no smoker, no grill, just great flavor and tender, juicy meat every time.
Frequently Asked Questions
What’s the difference between St. Louis style ribs and spare ribs?
St. Louis style ribs are a trimmed version of spare ribs. The cartilage, sternum bone, and excess fat are removed, resulting in a uniform, rectangular rack that cooks evenly.
How long do St. Louis style ribs take to cook in the oven?
At 275°F, ribs typically take 3 to 3.5 hours total—2 to 2.5 hours unwrapped, then 45 minutes to 1 hour wrapped in foil with liquid.
Can I add liquid to the pan instead of wrapping in foil?
You can, but wrapping in foil traps more steam and ensures even cooking. Adding liquid directly to the pan may dry out the bottom of the ribs.
What’s the best barbecue sauce for St. Louis style ribs?
Sweet, smoky sauces with a touch of tang work best. Kansas City-style sauces are a popular choice, but feel free to use your favorite brand or make your own.
Do I need to flip the ribs while baking?
No, flipping isn’t necessary when using the foil-wrap method. The steam circulates evenly, cooking both sides thoroughly.
Can I cook ribs on a baking sheet instead of a roasting pan?
Yes, a rimmed baking sheet works perfectly. Just make sure it’s large enough to hold the ribs and lined with foil for easy cleanup.