Oven spring is the final burst of rise your sourdough gets in the first minutes of baking—and it’s what turns a flat loaf into a tall, airy masterpiece. By mastering hydration, fermentation, shaping, and steam, you can dramatically boost your bread’s lift and achieve that coveted open crumb.
If you’ve ever pulled a sourdough loaf from the oven only to find it looked nothing like the Instagram-worthy boules you imagined, you’re not alone. That flat, dense, or unevenly risen bread can be incredibly frustrating—especially after hours of feeding your starter, kneading, and waiting. But here’s the good news: one of the most transformative elements of sourdough baking—oven spring—is within your control.
Oven spring is that magical moment when your dough suddenly puffs up in the first 10 to 15 minutes of baking. It’s the difference between a rustic, humble loaf and a towering, crackly-crusted masterpiece with an open, tender crumb. While some bakers blame their starter or luck, the truth is that oven spring is largely influenced by technique. With a few key adjustments to your process—from fermentation to scoring—you can consistently achieve better rise and more impressive results.
In this guide, we’ll walk you through every step that impacts oven spring, from dough development to baking environment. Whether you’re a beginner or a seasoned sourdough enthusiast, these practical tips will help you unlock the full potential of your loaves.
Key Takeaways
- Control fermentation timing: Over-fermented dough loses strength and won’t spring well—watch for subtle signs like jiggle and dome shape.
- Use proper dough strength: Strong gluten development through stretch-and-folds or coil folds helps trap gas and support expansion.
- Shape with tension: A tight, smooth surface creates surface tension that directs rise upward instead of outward.
- Preheat thoroughly: A hot oven (450–500°F) triggers rapid yeast activity and steam production for maximum lift.
- Generate steam early: Steam keeps the crust soft during the first 15–20 minutes, allowing the dough to expand freely.
- Score at the right angle: A shallow 30–45° angle encourages lateral expansion, while deeper cuts may limit spring.
- Chill before baking (optional): A cold proof in the fridge firms up the dough and can enhance oven spring by delaying crust formation.
Quick Answers to Common Questions
What is oven spring?
Oven spring is the rapid rise sourdough experiences in the first 10–15 minutes of baking, caused by expanding gases and active yeast before the crust sets.
Why didn’t my sourdough rise in the oven?
Common causes include over-fermentation, weak gluten development, poor shaping, lack of steam, or an under-preheated oven.
Can I improve oven spring without a Dutch oven?
Yes! Use a steam pan, spray water into the oven, or bake on a preheated stone with a tray of ice cubes below.
How deep should I score my sourdough?
Score ¼ to ½ inch deep at a 30–45° angle to encourage even expansion and a clean ear.
Does cold proofing help with oven spring?
Yes—cold proofing firms the dough, delays crust formation, and can enhance oven spring when baked from the fridge.
📑 Table of Contents
- Understand What Oven Spring Is (And Why It Matters)
- Master Fermentation for Optimal Dough Strength
- Develop Strong Gluten Through Proper Mixing and Folding
- Shape with Care to Create Surface Tension
- Control Proofing Time and Temperature
- Create the Perfect Baking Environment
- Troubleshoot Common Oven Spring Problems
- Conclusion
Understand What Oven Spring Is (And Why It Matters)
Oven spring isn’t just about aesthetics—it’s a sign of a well-developed, properly fermented dough. When your sourdough hits the hot oven, the yeast and bacteria become superactive for a brief window. The gases (mainly carbon dioxide) trapped in the dough expand rapidly due to the heat, causing the loaf to rise quickly. At the same time, the crust is still soft enough to stretch, allowing the bread to grow upward and outward.
Without good oven spring, your loaf may spread sideways instead of rising, resulting in a dense, flat crumb. This often happens when the dough is over-fermented, under-developed, or baked in a dry environment. The goal is to maximize that initial burst of expansion so your bread achieves both height and an open, airy texture.
The Science Behind the Rise
During baking, three things happen almost simultaneously:
- Yeast activity peaks: Even though yeast starts dying around 130°F (54°C), it goes into overdrive in the first few minutes, producing extra CO₂.
- Gas expansion: Trapped air bubbles expand as temperature increases, pushing the dough outward.
- Starch gelatinization: The outer layers begin to set, forming a crust that eventually stops expansion—so timing is everything.
Getting the most out of this window means preparing your dough to be strong, active, and ready to rise when it hits the heat.
Master Fermentation for Optimal Dough Strength
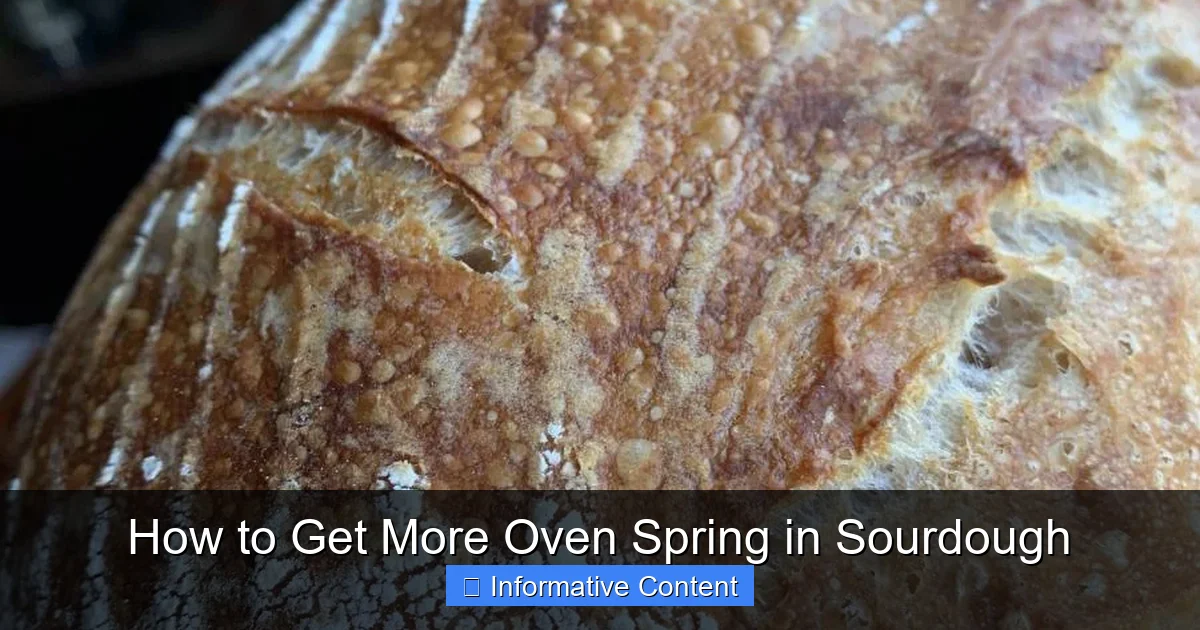
Visual guide about How to Get More Oven Spring in Sourdough
Image source: sourdough.com
One of the biggest culprits behind poor oven spring is improper fermentation. Both under- and over-fermentation can sabotage your rise, but over-fermentation is especially common.
Watch for the Right Signs of Readiness
Your dough should be puffy, jiggly, and have a slight dome on top after bulk fermentation. It should not be collapsing or overly bubbly. A simple test: gently poke the dough. If it springs back slowly and leaves a slight indentation, it’s ready. If it springs back quickly, it needs more time. If it doesn’t spring back at all, it’s over-fermented.
Over-fermented dough has weakened gluten and exhausted its food supply, so it can’t hold onto gases during baking. This leads to poor structure and minimal oven spring.
Use Temperature to Your Advantage
Room temperature plays a huge role in fermentation speed. A cooler kitchen (68–72°F or 20–22°C) slows fermentation, giving you more control. Warmer environments speed it up, increasing the risk of over-fermentation. If your kitchen is warm, consider shortening bulk time or using a cooler spot (like a basement or pantry).
You can also use the “float test” for your starter—drop a small spoonful in water; if it floats, it’s active and ready. This ensures your levain is strong enough to power a good rise.
Develop Strong Gluten Through Proper Mixing and Folding
Gluten is the backbone of your dough. It’s what traps gas and gives your loaf structure. Without enough gluten development, your dough will be slack and unable to expand efficiently in the oven.
Choose the Right Flour
High-protein flours like bread flour (12–14% protein) develop stronger gluten than all-purpose flour. If you’re using all-purpose, consider blending in a bit of bread flour or vital wheat gluten to boost strength.
Use Stretch-and-Folds or Coil Folds
Instead of traditional kneading, most sourdough recipes rely on gentle strengthening techniques. Perform 3–4 sets of stretch-and-folds or coil folds during the first 2–3 hours of bulk fermentation, spaced 30 minutes apart. These methods align gluten strands without degassing the dough.
For example, during a coil fold, lift the dough from the center, let it fold over itself, and rotate the bowl. Repeat around the circumference. This builds strength while maintaining gas pockets.
Shape with Care to Create Surface Tension
Shaping isn’t just about aesthetics—it’s about creating a tight, smooth surface that directs expansion upward. A well-shaped loaf has surface tension, like a drumskin, which prevents the dough from bursting randomly and encourages even oven spring.
Pre-Shape and Rest
After bulk fermentation, gently pre-shape your dough into a loose round or oval. Let it rest for 20–30 minutes (called a bench rest). This relaxes the gluten, making final shaping easier and less likely to tear the dough.
Final Shaping Techniques
For a boule (round loaf), use a bench scraper to pull the dough toward you, creating tension on the surface. Rotate and repeat until the top is smooth and taut. For a batard (oval), fold the dough like a letter, then roll and seal the seam.
Place the shaped dough seam-side up in a floured banneton or bowl lined with a cloth. This helps maintain structure during the final proof.
Control Proofing Time and Temperature
The final proof is critical. Under-proofed dough won’t have enough gas to spring well. Over-proofed dough will collapse. The sweet spot is a dough that’s puffy but still holds its shape.
Room-Temperature vs. Cold Proofing
A room-temperature proof (1–2 hours) is faster but riskier—it’s easy to over-proof. A cold proof in the refrigerator (8–12 hours) slows fermentation, firms up the dough, and can improve oven spring by delaying crust formation. Many bakers swear by an overnight cold proof for better flavor and rise.
To test readiness after cold proofing, do the poke test again. The dough should spring back slowly.
Create the Perfect Baking Environment
Even the best dough won’t spring well in a dry, cool oven. Heat and steam are essential.
Preheat Thoroughly
Always preheat your oven for at least 45 minutes with your baking vessel (Dutch oven, stone, or steel) inside. Aim for 450–500°F (230–260°C). A hot surface ensures immediate heat transfer, jumpstarting oven spring.
Use Steam Effectively
Steam keeps the crust soft during the first 15–20 minutes, allowing the dough to expand. Without it, the crust sets too early and restricts rise.
You can create steam by:
- Using a covered Dutch oven (traps moisture from the dough).
- Pouring hot water into a preheated cast iron pan on the lower rack.
- Spraying the oven walls with water (less effective but better than nothing).
After 15–20 minutes, remove the lid or open the oven to let steam escape. This allows the crust to brown and crisp.
Score at the Right Angle and Depth
Scoring isn’t just for looks—it controls where the bread expands. A shallow cut (¼ to ½ inch deep) at a 30–45° angle encourages lateral expansion and a clean “ear.” A straight, deep cut may cause the loaf to tear unpredictably.
Use a lame or sharp razor, and score quickly in one smooth motion. Don’t press too hard—let the blade do the work.
Troubleshoot Common Oven Spring Problems
Even with perfect technique, issues can arise. Here’s how to fix them:
- Flat loaf: Likely over-fermented or under-shaped. Check fermentation time and practice tighter shaping.
- Uneven rise: Could be due to uneven scoring or weak gluten. Ensure consistent folds and proper scoring angle.
- Crust sets too early: Not enough steam. Use a Dutch oven or add a steam pan.
- Dense crumb: Under-fermented or insufficient gluten development. Extend bulk time or add more folds.
With practice, you’ll learn to read your dough and adjust accordingly. Remember, sourdough is as much about intuition as it is about recipe.
Conclusion
Achieving great oven spring in sourdough isn’t about luck—it’s about understanding the science and refining your technique. From controlling fermentation and building gluten to mastering shaping and baking environment, every step plays a role in that final, glorious rise.
Start by focusing on one or two areas—like improving your shaping or using a Dutch oven for steam—and build from there. With patience and practice, you’ll consistently bake loaves that are tall, airy, and full of character. Your sourdough journey is personal, but the principles of good oven spring are universal. Keep baking, keep learning, and enjoy the process.
Frequently Asked Questions
How long should I bulk ferment my sourdough?
Bulk fermentation typically takes 4–6 hours at room temperature, but it depends on starter activity, flour, and ambient temperature. Watch for visual and tactile cues like puffiness and jiggle.
Can I use all-purpose flour for better oven spring?
All-purpose flour can work, but bread flour with higher protein content develops stronger gluten, which supports better oven spring. A blend of both is a great compromise.
Why does my sourdough spread instead of rise?
This usually happens when the dough is over-fermented, under-shaped, or lacks gluten strength. Tight shaping and proper fermentation timing help direct rise upward.
Should I bake sourdough covered or uncovered?
Bake covered (e.g., in a Dutch oven) for the first 15–20 minutes to trap steam, then uncover to allow the crust to brown and crisp.
How do I know if my dough is over-fermented?
Over-fermented dough collapses, has large bubbles on the surface, and fails the poke test—it won’t spring back at all. It may also smell overly sour or alcoholic.
Can I freeze sourdough before baking to improve oven spring?
Freezing can damage gluten structure. Instead, use a cold proof in the refrigerator (8–12 hours) to firm the dough and enhance oven spring without compromising texture.