Dehydrating garlic in the oven is a simple, cost-effective way to preserve its bold flavor for months. Whether you want to make garlic powder, flakes, or just extend your garlic supply, this method requires minimal equipment and effort.
Key Takeaways
- Choose fresh, firm garlic: Use high-quality bulbs with tight, unbroken cloves for the best dehydration results.
- Slice evenly for consistent drying: Uniform thickness ensures even drying and prevents burning or under-drying.
- Use low oven temperature: Bake between 140°F and 170°F (60°C–77°C) to preserve flavor and prevent scorching.
- Monitor closely to avoid burning: Check every 30 minutes after the first hour to ensure garlic doesn’t over-dry or darken.
- Store properly for long shelf life: Keep dehydrated garlic in airtight containers away from heat and light to maintain potency.
- Grind for homemade garlic powder: Use a spice grinder or mortar and pestle to turn flakes into fine, aromatic powder.
- Save money and reduce waste: Dehydrating garlic lets you use surplus or discounted bulbs before they spoil.
Quick Answers to Common Questions
Can I dehydrate garlic with the skin on?
No, you should always peel garlic before dehydrating. The skin doesn’t dry well and can affect texture and flavor.
How long does it take to dehydrate garlic in the oven?
It typically takes 2 to 4 hours, depending on thickness and oven temperature. Check every 30 minutes after the first hour.
Can I use a microwave instead of an oven?
Microwaves are not recommended for dehydrating garlic, as they cook rather than dry and can cause uneven results or burning.
Is dehydrated garlic as strong as fresh garlic?
Dehydrated garlic is more concentrated in flavor than fresh, so use about half the amount when substituting in recipes.
Can I dehydrate garlic in an air fryer?
Yes, some air fryers have a dehydrate function. Use the lowest setting and check frequently to avoid over-drying.
📑 Table of Contents
Why Dehydrate Garlic at Home?
Garlic is one of the most versatile and beloved ingredients in kitchens around the world. Its pungent aroma and bold flavor enhance everything from pasta sauces and soups to marinades and roasted vegetables. But fresh garlic has a limited shelf life—especially once you break open a bulb. Sprouts, mold, or soft spots can develop quickly, especially in humid environments. That’s where dehydrating comes in.
Dehydrating garlic in the oven is a fantastic way to preserve its flavor and extend its usability for months—or even up to a year. Unlike store-bought garlic powder, which can lose potency over time and may contain anti-caking agents, homemade dehydrated garlic is pure, natural, and packed with fresh garlic taste. Plus, it’s incredibly economical. If you’ve ever bought a large bag of garlic on sale only to watch half of it go bad, you know how frustrating food waste can be. Dehydrating lets you use every clove, turning surplus into shelf-stable pantry staples like garlic flakes or powder.
What You’ll Need to Get Started
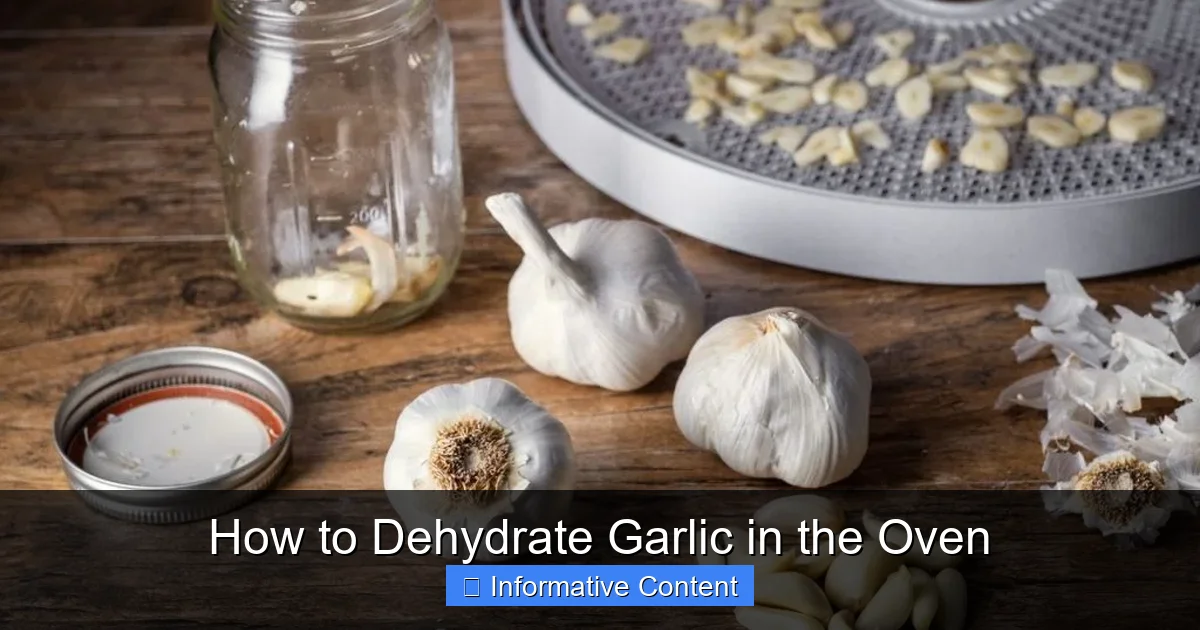
Visual guide about How to Dehydrate Garlic in the Oven
Image source: dehydratedcookbook.com
Before you begin, gather a few basic kitchen tools. The beauty of oven dehydration is that you likely already have everything you need.
Essential Equipment
- Fresh garlic bulbs: Choose firm, plump bulbs with tight skins and no signs of sprouting or softness.
- Sharp knife or garlic press: A sharp chef’s knife works best for slicing, but a mandoline slicer can help achieve even thickness.
- Baking sheet: Use a rimmed baking sheet to prevent garlic pieces from falling off.
- Parchment paper or silicone baking mat: These prevent sticking and make cleanup easier.
- Oven thermometer (optional but helpful): Oven temperatures can vary, so a thermometer ensures accuracy.
- Spice grinder, coffee grinder, or mortar and pestle: For turning dried garlic into powder.
- Airtight storage containers: Glass jars or resealable bags work well for long-term storage.
Optional Additions
- Garlic press: If you prefer minced garlic instead of slices, a press can speed up prep.
- Food dehydrator (alternative): While this guide focuses on the oven, a dehydrator offers more precise temperature control.
Step-by-Step Guide to Dehydrating Garlic in the Oven
Now that you’re equipped, let’s walk through the process. Dehydrating garlic in the oven is simple, but attention to detail ensures the best results.
Step 1: Select and Prepare the Garlic
Start with high-quality garlic. Look for bulbs that are firm, heavy for their size, and free of mold or soft spots. Avoid garlic that’s already sprouting—while it’s still edible, sprouted cloves may have a slightly bitter taste.
Peel the cloves by placing them on a cutting board and gently pressing down with the flat side of a knife. The skin should pop right off. Alternatively, you can soak the cloves in warm water for 10–15 minutes to loosen the skins.
Step 2: Slice or Mince the Garlic
You can dehydrate garlic in several forms: slices, minced pieces, or even whole cloves (though whole cloves take much longer). For most recipes, thin slices or minced garlic work best.
– For slices: Use a sharp knife or mandoline to cut cloves into 1/8-inch (3mm) thick slices. Uniform thickness is key—thicker pieces take longer to dry and may not dehydrate evenly.
– For minced garlic: Use a garlic press or finely chop the cloves. Minced garlic dries faster and is ideal for making powder later.
Spread the pieces in a single layer on a parchment-lined baking sheet. Avoid overcrowding, as this can trap moisture and lead to uneven drying.
Step 3: Set the Oven Temperature
The ideal temperature for dehydrating garlic is between 140°F and 170°F (60°C–77°C). This low heat gently removes moisture without cooking or browning the garlic, which can alter its flavor and reduce potency.
Most ovens don’t go this low, so here’s a pro tip: set your oven to its lowest setting—usually 170°F or “warm” mode. If your oven doesn’t go below 200°F, prop the door open slightly with a wooden spoon or oven mitt to let heat escape and maintain a lower temperature. Use an oven thermometer to monitor the actual temperature inside.
Step 4: Dehydrate the Garlic
Place the baking sheet in the center of the oven. Dehydrating time varies depending on thickness and oven accuracy, but expect it to take 2 to 4 hours.
Check the garlic every 30 minutes after the first hour. You’ll know it’s done when the pieces are completely dry, crisp, and snap easily when bent. They should be light golden in color—not brown or burnt. Over-drying can lead to a bitter taste, so keep a close eye during the final stages.
Step 5: Cool and Test for Dryness
Once the garlic is fully dehydrated, turn off the oven and let the pieces cool completely on the baking sheet. This ensures any residual moisture evaporates and prevents condensation when storing.
To test for dryness, try snapping a piece. If it bends or feels rubbery, it needs more time. If it snaps cleanly, it’s ready.
How to Store Dehydrated Garlic
Proper storage is crucial for maintaining flavor and extending shelf life. Dehydrated garlic is susceptible to moisture, heat, and light, all of which can degrade its quality over time.
Best Storage Practices
- Use airtight containers: Glass jars with tight-fitting lids are ideal. Avoid plastic bags unless they’re vacuum-sealed.
- Store in a cool, dark place: A pantry or cupboard away from the stove or window works best. Heat and sunlight accelerate flavor loss.
- Label and date your containers: This helps you track freshness and use older batches first.
- Keep away from moisture: Don’t store near the sink or dishwasher. Even a little humidity can cause clumping or mold.
When stored correctly, dehydrated garlic can last up to 12 months. For longer storage, consider freezing it—though this is usually unnecessary if kept dry and sealed.
Making Garlic Powder and Flakes
Once your garlic is dehydrated, you can use it as-is for cooking, or process it further into flakes or powder.
Garlic Flakes
Simply break the dried slices into smaller pieces by hand or pulse them briefly in a spice grinder. Garlic flakes are perfect for sprinkling on pizza, roasted vegetables, or grilled meats. They add texture and a burst of flavor.
Garlic Powder
For a fine, smooth powder, grind the dehydrated garlic in a clean coffee grinder, spice grinder, or high-speed blender. Sift the powder through a fine mesh strainer to remove any larger bits, then grind those again if needed.
Homemade garlic powder is ideal for rubs, soups, dressings, and any recipe that calls for even distribution of garlic flavor. It’s also a great base for making your own seasoned salt blends.
Pro Tip: Avoid Cross-Contamination
If you use your coffee grinder for both coffee and spices, clean it thoroughly between uses. Residual coffee oils can affect the flavor of your garlic powder.
Creative Uses for Dehydrated Garlic
Dehydrated garlic isn’t just for cooking—it’s a pantry powerhouse with endless applications.
- Homemade spice blends: Mix garlic powder with salt, onion powder, paprika, and herbs to create custom seasoning mixes.
- Soup and stew base: Rehydrate flakes in broth for instant depth of flavor.
- Bread and cracker toppings: Sprinkle flakes on olive oil-brushed bread before baking.
- Marinades and dressings: Powder dissolves easily, making it perfect for liquid-based recipes.
- Emergency pantry staple: When fresh garlic runs out, dehydrated garlic saves the day.
Common Mistakes to Avoid
Even simple processes can go wrong if you’re not careful. Here are a few pitfalls to watch out for:
- Using high heat: Baking at 300°F or higher will cook the garlic instead of dehydrating it, resulting in a cooked, less vibrant flavor.
- Overcrowding the pan: This traps steam and leads to uneven drying or mold.
- Not checking frequently: Garlic can go from perfectly dried to burnt in minutes, especially near the end.
- Storing while still warm: This creates condensation and can cause spoilage.
- Using old or sprouted garlic: It may not dehydrate well and can have off-flavors.
Conclusion
Dehydrating garlic in the oven is a simple, rewarding way to preserve one of nature’s most flavorful ingredients. With just a few cloves, a baking sheet, and a low oven, you can create shelf-stable garlic flakes or powder that lasts for months. It’s a smart solution for reducing food waste, saving money, and ensuring you always have garlic on hand—no matter the season.
Whether you’re a home cook looking to stock your pantry or a gardener with a garlic surplus, this method is easy, effective, and deeply satisfying. Once you’ve tried it, you’ll wonder why you ever relied on store-bought versions. So grab some garlic, preheat your oven, and start dehydrating today. Your future meals will thank you.
Frequently Asked Questions
How do I know when my garlic is fully dehydrated?
Dehydrated garlic should be crisp, dry, and snap easily when bent. It should be light golden in color—not brown or flexible.
Can I dehydrate garlic in the summer when it’s humid?
Yes, but ensure your kitchen is cool and dry. High humidity can slow drying and increase the risk of mold.
Should I blanch garlic before dehydrating?
Blanching is not necessary for garlic. It’s typically used for vegetables to preserve color and texture, but garlic dehydrates well without it.
Can I dehydrate garlic and onion together?
It’s best to dehydrate them separately, as they may have different drying times and moisture levels, which can lead to uneven results.
Does dehydrated garlic lose its health benefits?
Dehydrating preserves most of garlic’s beneficial compounds, including allicin, though some heat-sensitive nutrients may degrade slightly.
Can I rehydrate dehydrated garlic?
Yes, you can rehydrate garlic flakes by soaking them in warm water for 10–15 minutes before using in soups or stews.