Roasting Hatch green chiles in the oven is a simple, hands-off method that brings out their smoky, sweet flavor. Whether you’re prepping for salsas, stews, or tacos, this technique delivers consistent results every time.
Key Takeaways
- Prep chiles properly: Wash and dry Hatch green chiles before roasting to remove dirt and ensure even cooking.
- Use high heat: Roast at 425°F to 450°F for charred skins and tender flesh without overcooking.
- Roast on a baking sheet: Arrange chiles in a single layer on a foil-lined tray for even exposure to heat.
- Steam to peel easily: After roasting, seal chiles in a bowl or bag to loosen skins for easy removal.
- Store for later use: Roasted chiles can be refrigerated for up to a week or frozen for several months.
- Versatile in recipes: Use roasted Hatch chiles in soups, dips, scrambled eggs, or as a topping for burgers and pizzas.
Quick Answers to Common Questions
Can I roast Hatch chiles without oil?
Yes, you can roast Hatch green chiles without oil. The oil helps with even browning, but it’s not required. Just make sure the chiles are dry and roast at high heat for good charring.
How do I know when the chiles are fully roasted?
The chiles are done when the skins are blistered, blackened in spots, and the flesh feels soft when gently pressed. This usually takes 15 to 20 minutes in a 425°F to 450°F oven.
Can I roast frozen Hatch chiles?
It’s best to roast fresh chiles for the best texture and flavor. Frozen chiles can become too soft and watery when roasted. Thaw and pat dry if you must use frozen, but results may vary.
Do I have to remove the seeds?
Removing the seeds reduces the heat level, so it’s optional. If you prefer milder flavor, scoop them out after peeling. For more spice, leave some or all of the seeds in.
Can I use a toaster oven?
Yes, you can roast Hatch green chiles in a toaster oven. Use the same temperature and timing, and make sure the chiles are in a single layer for even roasting.
📑 Table of Contents
Why Roast Hatch Green Chiles?
If you’ve ever tasted a perfectly roasted Hatch green chile, you know it’s a game-changer. These New Mexico-grown peppers are beloved for their mild to medium heat and rich, slightly sweet flavor. But raw, they can be a bit grassy and underwhelming. Roasting transforms them—caramelizing the natural sugars, deepening the flavor, and adding a delicious smoky note that elevates everything from tacos to mac and cheese.
While grilling or using a gas stove flame are popular methods, roasting Hatch green chiles in the oven is one of the easiest and most reliable techniques—especially if you’re cooking for a crowd or don’t have outdoor space. It’s hands-off, consistent, and gives you full control over the char level. Plus, you can roast a big batch at once and freeze extras for later. Whether you’re a chile lover or just getting started, this method is a must-know.
What You’ll Need
Before you begin, gather your supplies. The beauty of oven-roasting is that it requires minimal equipment—just a few kitchen basics.
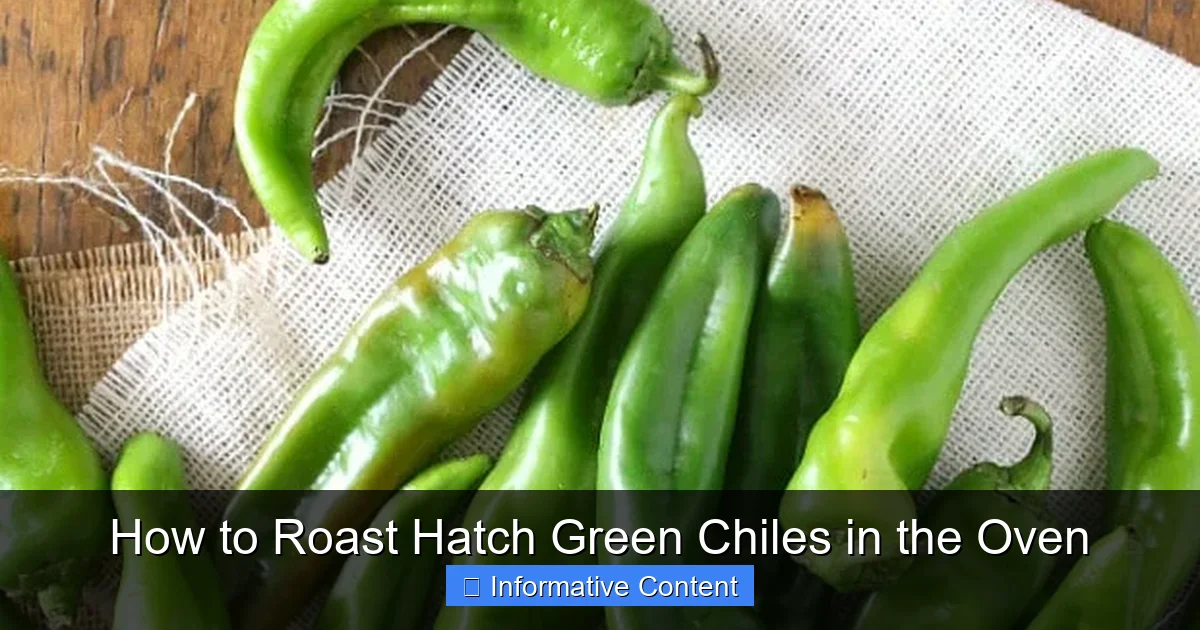
Visual guide about How to Roast Hatch Green Chiles in the Oven
Image source: nutmegnanny.com
Essential Tools
- Baking sheet: A standard rimmed sheet works best to catch any drips.
- Aluminum foil or parchment paper: Line your baking sheet for easy cleanup.
- Tongs: Use metal or silicone tongs to flip the chiles safely.
- Mixing bowl or paper bag: For steaming the chiles after roasting to loosen the skins.
- Knife and cutting board: For trimming stems and slicing if needed.
Ingredients
- Fresh Hatch green chiles (as many as you’d like to roast)
- Optional: A light brush of olive oil (helps with even charring and prevents drying)
That’s it! No special gadgets or hard-to-find ingredients. Just fresh chiles and your oven.
Step-by-Step Guide to Roasting
Now let’s walk through the process, step by step. It’s simple, but a few key details make all the difference.
Step 1: Preheat the Oven
Set your oven to 425°F to 450°F. This high heat is essential for achieving that perfect char without overcooking the inside. Preheating ensures the chiles start roasting immediately, which helps develop that deep, smoky flavor.
Step 2: Prep the Chiles
Rinse the Hatch green chiles under cool water to remove any dirt or debris. Pat them completely dry with a clean towel. Moisture can steam the chiles instead of charring them, so drying is important. Trim the stems if they’re long, but leave the peppers whole—no need to slice or core them before roasting.
Optional: Lightly brush each chile with olive oil. This isn’t required, but it helps promote even browning and prevents the skins from burning too quickly. Use a pastry brush or your fingers to coat them lightly.
Step 3: Arrange on the Baking Sheet
Line your baking sheet with aluminum foil or parchment paper for easy cleanup. Arrange the chiles in a single layer, making sure they don’t overlap. Overcrowding can lead to steaming instead of roasting, which reduces that desirable char.
Pro tip: Place the chiles stem-side up or down—it doesn’t matter much, but keeping them flat helps them roast evenly.
Step 4: Roast Until Charred
Place the baking sheet in the center of the preheated oven. Roast for 15 to 20 minutes, flipping the chiles halfway through with tongs. You’ll know they’re ready when the skins are blistered, blackened in spots, and slightly puffed. The flesh underneath should feel soft when gently pressed.
Don’t worry if some areas are more charred than others—that’s normal and adds to the flavor. The goal is to get the skins loosened and the peppers tender, not to burn them completely.
Step 5: Steam to Loosen the Skin
Once roasted, immediately transfer the chiles to a large mixing bowl and cover tightly with plastic wrap. Alternatively, you can place them in a paper bag and fold the top closed. Let them steam for 10 to 15 minutes. This step is crucial—the trapped steam softens the skins, making them easy to peel off.
After steaming, the skins should slip right off with your fingers or a gentle rub. If a few stubborn bits remain, you can use a small knife to scrape them away, but try to avoid removing too much of the flesh.
Step 6: Seed and Slice (Optional)
Once peeled, you can leave the chiles whole, slice them into strips, or dice them, depending on how you plan to use them. To reduce heat, remove the seeds and white membranes—this is where most of the capsaicin (the compound that causes spiciness) is concentrated.
Use a sharp knife to slice the chile in half lengthwise, then scrape out the seeds with a spoon. Rinse the inside if you want to reduce the heat further. Then chop or slice as needed.
Tips for Perfect Roasted Chiles
A few small tweaks can take your roasted Hatch green chiles from good to great. Here are some expert tips to keep in mind.
Choose the Right Chiles
Not all Hatch chiles are created equal. Look for firm, glossy peppers with smooth skin and no soft spots or wrinkles. The size can vary—some are long and slender, others shorter and wider—but all work well for roasting. If you’re sensitive to heat, opt for milder varieties labeled “Hatch Mild” or “Big Jim.”
Don’t Skip the Steam
Steaming after roasting is non-negotiable if you want easy peeling. Skipping this step means you’ll be wrestling with tough, burnt-on skins. The steam does the work for you—just be patient and let it sit for the full 10–15 minutes.
Use a Broiler for Extra Char (Optional)
If you want a deeper char or faster results, you can finish the chiles under the broiler for 2–3 minutes after the initial roast. Watch them closely—broilers can go from perfect to burnt in seconds. This method works great if you’re roasting a small batch.
Roast in Batches for Best Results
If you’re roasting a large quantity, don’t overcrowd the pan. Use multiple baking sheets and rotate them halfway through cooking to ensure even roasting. Overcrowding leads to uneven cooking and less char.
How to Store Roasted Hatch Chiles
One of the best things about roasting Hatch green chiles is that you can make a big batch and enjoy them all season long. Here’s how to store them properly.
Refrigeration
Store peeled and seeded chiles in an airtight container or resealable plastic bag. They’ll stay fresh in the fridge for up to one week. Add a splash of olive oil or a bit of their roasting juices to keep them moist.
Freezing
For longer storage, freezing is your best bet. Lay peeled chiles in a single layer on a baking sheet and freeze until solid (about 2 hours). Then transfer them to a freezer-safe bag or container. This prevents them from sticking together. Label with the date—they’ll keep well for 6 to 8 months.
When you’re ready to use them, thaw in the fridge overnight or add them directly to soups, stews, or sauces while still frozen. No need to peel again—they’re already ready to go!
Canning (Advanced Option)
If you’re experienced with home canning, you can preserve roasted Hatch chiles using a pressure canner. This method allows for shelf-stable storage for up to a year. However, it requires specific equipment and safety precautions, so it’s best for those familiar with the process.
Creative Ways to Use Roasted Hatch Chiles
Once you’ve mastered roasting, the fun really begins. Roasted Hatch green chiles are incredibly versatile and add depth to both everyday meals and special dishes.
In Breakfast Dishes
Stir diced roasted chiles into scrambled eggs, omelets, or breakfast burritos. They pair especially well with cheese, potatoes, and bacon.
In Soups and Stews
Add roasted chiles to green chile stew, chicken tortilla soup, or creamy corn chowder. Their smoky sweetness balances rich and savory flavors beautifully.
In Dips and Spreads
Blend roasted chiles into queso, hummus, or cream cheese for a spicy kick. They’re also delicious in guacamole or layered on toast with goat cheese.
On Pizza and Burgers
Use roasted chile strips as a topping for pizza, nachos, or burgers. They add a gourmet touch that’s both flavorful and visually appealing.
In Sauces and Salsas
Puree roasted chiles with tomatoes, garlic, and lime juice for a quick green salsa. Or blend them into enchilada sauce for an authentic New Mexican flavor.
Conclusion
Roasting Hatch green chiles in the oven is a simple, effective way to unlock their full flavor potential. With just a few minutes of prep and 20 minutes in the oven, you can transform fresh chiles into a smoky, sweet ingredient that enhances countless dishes. Whether you’re making a quick weeknight dinner or prepping for a festive gathering, this method delivers consistent, delicious results.
Plus, by roasting in bulk and storing properly, you can enjoy the taste of summer all year long. So the next time you spot fresh Hatch chiles at the market, grab a bunch and give oven-roasting a try. Your taste buds—and your recipes—will thank you.
Frequently Asked Questions
What makes Hatch green chiles special?
Hatch green chiles are grown in the fertile Rio Grande Valley of New Mexico and are known for their unique balance of mild heat, sweetness, and smoky flavor. Their regional growing conditions give them a distinct taste that’s hard to replicate.
Can I roast other types of green chiles the same way?
Yes, you can use the same oven-roasting method for other green chiles like poblano, Anaheim, or jalapeño. Adjust roasting time slightly based on size and thickness.
Why are my roasted chiles tough to peel?
This usually happens if the chiles weren’t steamed long enough after roasting. Make sure to seal them in a bowl or bag for at least 10 minutes to loosen the skins.
Is it safe to eat the charred skin?
Yes, the charred skin is safe to eat, but most people prefer to peel it off for texture. The blackened bits add flavor, but the peeled flesh is tender and milder.
Can I roast chiles on a wire rack?
You can, but it’s not necessary. Roasting directly on a foil-lined baking sheet works perfectly and makes flipping easier. A wire rack may allow more airflow but isn’t required.
How long do roasted chiles last in the freezer?
Properly stored in airtight containers or freezer bags, roasted Hatch green chiles can last 6 to 8 months in the freezer without significant loss of flavor or texture.