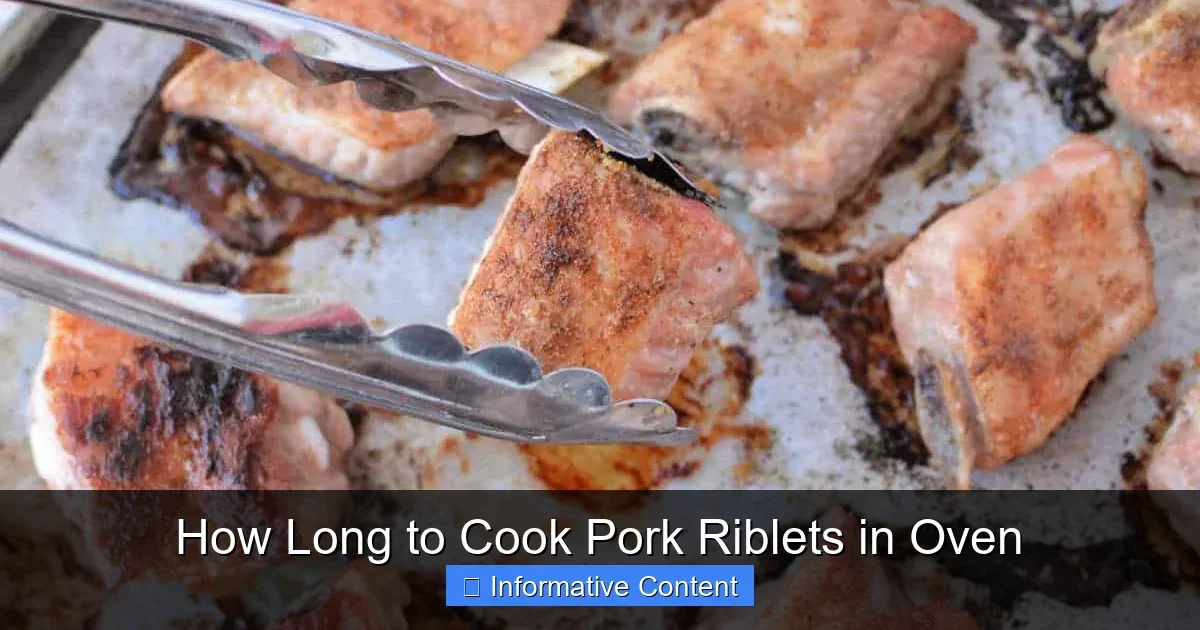
Featured image for How Long to Cook Pork Riblets in Oven
Image source: temeculablogs.com
For perfectly cooked pork riblets, plan for 2 to 2.5 hours in a 300°F (150°C) oven. The key is low and slow cooking to break down the connective tissue. Always cook to a safe internal temperature of 145°F (63°C) for tender meat, but for true fall-off-the-bone texture, aim for 190-203°F (88-95°C).
So, you’ve got a package of pork riblets and your oven is ready. But now comes the big question: how long do these little guys actually need to cook? If you throw them in without a plan, you might end up with something tough and chewy. But get it right, and you’ll have a plate of succulent, finger-licking-good meat that falls right off the bone.
Pork riblets are the ultimate comfort food. They’re fun to eat, packed with flavor, and surprisingly simple to master. The secret isn’t a complex recipe. It’s understanding the cut of meat and giving it the time it needs. Think of them as the smaller, quicker-cooking cousins of a full rack of ribs. They demand the same care, just on a slightly shorter timeline.
This guide will walk you through everything. We’ll talk about what riblets really are, how to prep them, and of course, the exact times and temperatures you need. Whether you like them sticky with BBQ sauce or seasoned with a simple rub, you’ll learn how to make them perfectly every single time. Let’s get your oven preheated and dive in.
Key Takeaways
- Low and Slow is the Rule: Pork riblets are tough cuts with lots of connective tissue. Cooking them at a low temperature (around 300°F) for 2+ hours is essential for tenderness.
- Internal Temperature is Your Guide: Use a meat thermometer. For safe, sliceable meat, cook to 145°F. For fall-off-the-bone tenderness, aim for 190-203°F.
- Preparation is Key: Patting the riblets dry, seasoning generously, and searing them first creates a flavorful crust and better texture.
- Braising is Best for Tenderness: Cooking riblets in a covered dish with a braising liquid (like broth or BBQ sauce) steams and tenderizes them perfectly.
- Rest Before Serving: Let the cooked riblets rest for 10 minutes. This allows the juices to redistribute, ensuring every bite is moist.
- Customize Your Flavor: Riblets are a blank canvas. Experiment with dry rubs, marinades, glazes, and sauces like classic BBQ, Asian-inspired, or sweet and spicy.
Quick Answers to Common Questions
Can I cook pork riblets from frozen?
It’s not recommended. Cooking from frozen will lead to uneven results—the outside may overcook before the inside is safe. Always thaw them in the refrigerator overnight first. For guidance on other frozen meats, check out our article on cooking frozen pork chops.
Do I have to cover them with foil?
Yes, for the braising phase. Covering the dish traps steam, which is crucial for tenderizing the tough meat. You only remove the foil at the end if you want to thicken and caramelize a sauce.
What’s the best sauce for riblets?
They are incredibly versatile! Classic BBQ sauce is always a winner. For something different, try an Asian-inspired glaze with soy, honey, and ginger, or a simple mixture of apple butter and mustard.
My riblets are still tough. What did I do wrong?
They simply need more time. The connective tissue hasn’t broken down yet. Put them back in the covered dish, ensure there’s still some liquid, and continue cooking in 15-minute increments until they are fork-tender.
Can I use a different oven temperature?
You can, but it changes the timeline. At 250°F, they may take 3+ hours. At 350°F, they’ll be done in 1 to 1.5 hours. The sweet spot for balance and control is 300°F. For a different approach with a similar cut, see how we handle pork steaks in the oven.
📑 Table of Contents
What Are Pork Riblets, Anyway?
First things first, let’s clear up what you’re actually cooking. Pork riblets aren’t just “small ribs.” They are a specific cut. Butchers typically create them by cutting a full rack of pork ribs (usually from the rib tip or breastbone section) into smaller, more manageable strips. This process gives you those classic 2-4 inch pieces with a piece of bone in the center and a good amount of meat around it.
Because of where they come from, riblets have more connective tissue and cartilage than a center-cut rib. This is why the cooking method is so crucial. That connective tissue needs time and moisture to melt away. When it does, it transforms into rich, mouthwatering gelatin that makes the meat incredibly tender and flavorful. If you rush the process, that tissue stays tough and chewy. Understanding this is the first step to oven mastery.
Riblets vs. Other Pork Cuts
It’s easy to confuse riblets with other popular cuts. Here’s a quick breakdown:
- Baby Back Ribs: These are longer, curved ribs from the top of the rib cage. They are leaner and cook a bit faster.
- Spare Ribs: These are larger, flatter, and fattier than baby backs. They come from the belly side of the rib cage. St. Louis-style ribs are a trimmed version of spare ribs.
- Country-Style Ribs: These are often boneless and are actually cut from the blade end of the loin, near the shoulder. They are very meaty and behave more like a pork chop.
- Pork Riblets: Your star today! Small, cross-cut strips perfect for braising and becoming fall-apart tender.
Preparation: The Foundation of Flavor
You can’t build a great dish on a shaky foundation. Taking 10 minutes to prep your pork riblets properly makes all the difference in the final result. This step is non-negotiable for the best texture and taste.
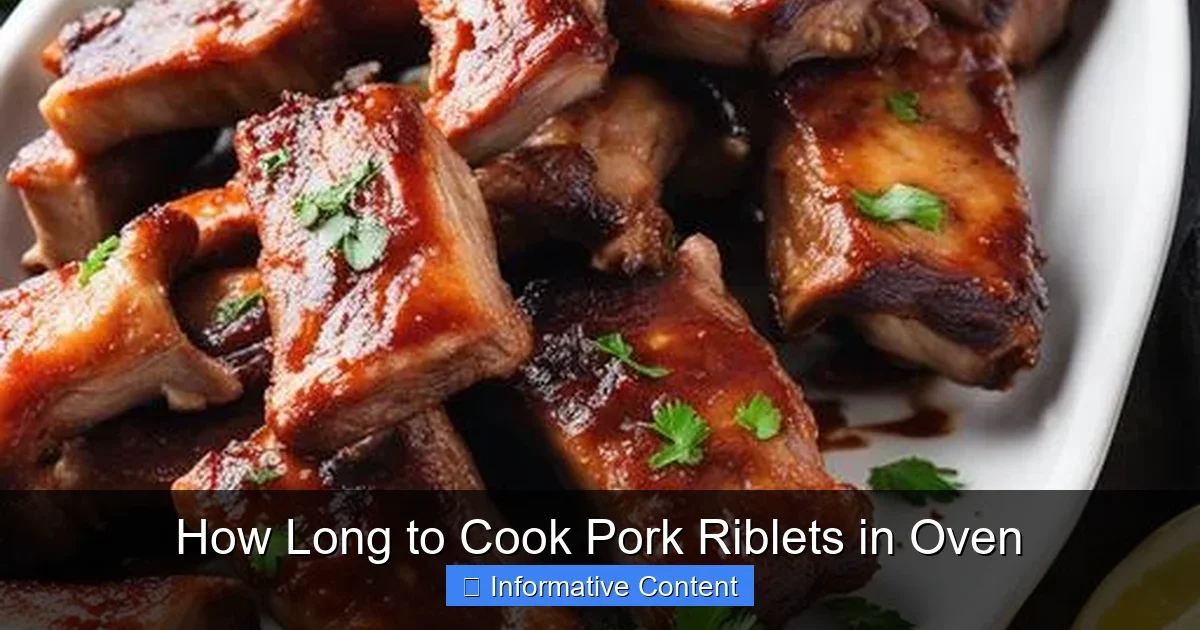
Visual guide about How Long to Cook Pork Riblets in Oven
Image source: janeovenrecipes.com
Start by patting the riblets completely dry with paper towels. Moisture on the surface is the enemy of a good sear. It will steam the meat instead of browning it. Next, trim any excessive fat. A little fat is good for flavor, but huge, thick pieces won’t render properly. Season them liberally. Because of their size, riblets need a good coat of seasoning on all sides. A simple mix of salt, black pepper, garlic powder, and paprika works wonders. For deeper flavor, you can let them sit with the rub in the fridge for an hour or even overnight.
The Power of the Sear (Optional but Recommended)
While you can simply put seasoned riblets straight into a baking dish, searing them first is a game-changer. Heat a tablespoon of oil in a heavy skillet over medium-high heat. Working in batches, sear the riblets for 1-2 minutes per side until they develop a beautiful, golden-brown crust. This step, called the Maillard reaction, creates hundreds of new flavor compounds. It adds a deep, savory, roasted taste that you just can’t get from oven cooking alone. It also helps render a bit of surface fat. After searing, you’ll transfer the riblets to your oven-safe dish or roasting pan.
How Long to Cook Pork Riblets in the Oven: The Core Guide
Here’s the answer you came for. The cooking time for pork riblets isn’t a single number. It’s a range that depends on your desired outcome. The most reliable method is low-temperature braising.
The Standard Method (Low & Slow Braising):
- Temperature: 300°F (150°C).
- Time: 1.5 to 2.5 hours.
- Process: Place the prepared riblets in a single layer in a baking dish or Dutch oven. Add a braising liquid—about 1 to 1.5 cups of broth, apple juice, beer, or even just water mixed with vinegar. The liquid should come about halfway up the sides of the meat. Cover the dish tightly with a lid or heavy-duty aluminum foil. This creates a steamy environment that tenderizes the meat. Bake until tender.
The Higher-Temp Method (For a Faster Meal):
- Temperature: 350°F (175°C).
- Time: 1 to 1.5 hours.
- Process: Follow the same braising setup. The higher heat will cook them faster, but you have less margin for error. The meat can go from tender to dry more quickly. Check them early and often with a thermometer.
How Do You Know When They Are Done?
Time is a helpful guide, but temperature tells the truth. This is why a good instant-read meat thermometer is your best friend in the kitchen.
- Safe to Eat (Sliceable): The USDA safe temperature for pork is 145°F (63°C). At this temp, the meat will be safe, juicy, and sliceable. It will still have a bit of chew.
- Pull-Apart Tender (Ideal for Riblets): For the fall-off-the-bone texture we crave, you need to cook the riblets to a much higher internal temperature—anywhere between 190°F and 203°F (88°C to 95°C). At this point, the collagen and connective tissues have fully melted into gelatin. The meat will be incredibly tender and easy to pull apart with a fork. This is the target for classic braised or BBQ riblets.
The other test is the “fork test.” Try inserting a fork into the meat between the bones and gently twist. If the meat offers little resistance and starts to pull apart easily, they’re ready. If the fork meets tough resistance, they need more time.
Two Fantastic Cooking Methods & Recipes
Now that you know the timing, let’s look at two foolproof methods. The first is a simple braise, perfect for any sauce. The second is for those iconic sticky, glazed BBQ riblets.
Method 1: Simple Braised Pork Riblets
This is your foundational recipe. Once mastered, you can sauce them any way you like after cooking.
- Prep: Pat 2-3 lbs of riblets dry and season with salt, pepper, and your favorite dry rub.
- Sear (Optional): Sear in a hot skillet until browned on all sides.
- Braise: Transfer to a baking dish. Add 1 cup of chicken broth and 1/2 cup of apple cider vinegar or white wine. Cover tightly with foil.
- Cook: Bake at 300°F for 2 hours.
- Check: Test for tenderness. The meat should pull apart easily. If not, cook for another 15-30 minutes.
- Finish: Remove the riblets. You can reduce the braising liquid on the stove to make a gravy, or toss the riblets in your favorite sauce.
Method 2: “Set It and Forget It” BBQ Riblets
This one-pot method infuses flavor throughout the entire cooking process.
- Prep & Sear: Season and sear the riblets as in Method 1.
- Create the Braise: In the same baking dish, mix 1 cup of your favorite BBQ sauce with 1/2 cup of apple juice or cola. Place the seared riblets in the sauce mixture, turning to coat.
- Cook Low & Slow: Cover tightly and bake at 300°F for 2 hours.
- Glaze: Remove the foil. Carefully spoon some of the sauce from the dish over the riblets. Increase the oven temperature to 400°F. Return the dish to the oven, uncovered, for 10-15 minutes. This lets the sauce thicken and caramelize onto the meat. Keep a close eye to prevent burning.
This method gives you riblets that are tender all the way through and coated in a sticky, flavorful glaze. It’s a crowd-pleaser every time. If you love other pork cuts, the same low-and-slow principle applies to dishes like boneless spare ribs or even a juicy venison roast.
Pro Tips for Perfect Oven Riblets
- Don’t Crowd the Pan: Arrange riblets in a single layer. If they’re piled on top of each other, they’ll steam instead of braise properly, leading to uneven cooking.
- Rest the Meat: Once out of the oven, tent the riblets loosely with foil and let them rest for 10 minutes. This allows the frantic juices inside to relax and redistribute. If you cut into them immediately, all those delicious juices will run out onto the plate.
- Customize Your Braising Liquid: Get creative! Use beef broth for richness, beer for a malty note, or Dr. Pepper for a sweet, spiced flavor. Adding a few sliced onions, garlic cloves, or herbs to the liquid builds even more flavor.
- Broil for a Final Crisp: If you want a caramelized, slightly crispy exterior, use your oven’s broiler for the last 2-3 minutes of cooking. Watch it like a hawk—it can burn in seconds!
Common Mistakes to Avoid
Even with the right time, small errors can trip you up. Here’s what to watch for.
- Cooking at Too High a Temperature: This is mistake #1. High heat will tighten the proteins and squeeze out moisture before the connective tissue has a chance to break down. You’ll get tough, dry riblets. Patience is key.
- Not Using a Thermometer: Guessing leads to over or undercooking. A $20 instant-read thermometer guarantees perfect results every time.
- Skipping the Braising Liquid: Baking riblets dry on a sheet pan will almost certainly result in tough meat. The moisture from the covered braising liquid is essential for the tenderizing process.
- Using Sweet Sauce Too Early: If you’re using a sugar-based BBQ or glaze, adding it at the beginning of a long cook can cause it to burn. Add sweet sauces in the last 20-30 minutes of cooking, or after cooking, during a quick broil.
Serving and Storing Your Masterpiece
Your perfect riblets are done! Now what? They are incredibly versatile.
Serving Ideas: They’re classic finger food—just pile them on a platter with plenty of napkins. For a meal, serve them over creamy mashed potatoes, buttered rice, or polenta to soak up the sauce. A simple coleslaw or cornbread on the side cuts through the richness perfectly. They also make a fantastic topping for nachos or baked potatoes.
Storing Leftovers: Let leftovers cool completely. Store them in an airtight container in the refrigerator for up to 4 days. The flavor often gets even better the next day! Reheat them gently in a covered dish in the oven at 300°F or in the microwave with a splash of water to keep them moist.
Freezing: Cooked riblets freeze beautifully. Place them in a freezer-safe container or bag with any sauce. They’ll keep for 2-3 months. Thaw in the refrigerator overnight and reheat as above. This makes them a fantastic make-ahead meal for busy weeks.
Conclusion
Cooking pork riblets in the oven is less about a strict timer and more about understanding the process. Remember the mantra: low and slow. Aim for that 300°F mark and give them a good 2 to 2.5 hours. Trust your meat thermometer more than the clock, and don’t be afraid to cook them until they are probe-tender around 200°F.
With the simple steps of patting dry, seasoning well, searing for flavor, and braising in liquid, you are guaranteed a delicious result. They are a forgiving and rewarding cut of meat. Whether you go for a sticky BBQ glaze, a savory herb braise, or something in between, you now have the knowledge to make oven-baked pork riblets that will have everyone asking for seconds. So preheat that oven, grab your favorite spices, and get ready for some seriously good eating.
Frequently Asked Questions
What is the safe internal temperature for pork riblets?
The USDA recommends cooking all pork to a minimum of 145°F (63°C) for safety. However, for riblets to become fall-off-the-bone tender, you will need to cook them to a much higher temperature, between 190°F and 203°F (88°C-95°C), to fully render the fat and connective tissue.
Can I cook riblets on a sheet pan instead of in a dish?
You can, but the results will be different. Cooking on an open sheet pan will give you a drier, roasted texture. For the classic tender, braised riblet, you need to cook them in a dish with liquid and cover it to create a moist environment.
How do I prevent my BBQ sauce from burning?
Sugar burns easily. If using a sweet BBQ sauce or glaze, only apply it during the last 20-30 minutes of cooking. You can also brush it on after the riblets are fully cooked and then put them under the broiler for just 2-3 minutes to caramelize.
What side dishes go well with pork riblets?
Riblets pair well with sides that can soak up sauce or cut through richness. Excellent choices include creamy coleslaw, baked beans, cornbread, mac and cheese, potato salad, or simple roasted vegetables like corn on the cob.
How long do leftover cooked riblets last in the fridge?
Properly stored in an airtight container, cooked pork riblets will last for 3 to 4 days in the refrigerator. Reheat them gently in the oven or microwave with a little added liquid to keep them moist.
Can I make riblets in a slow cooker instead?
Absolutely! A slow cooker is perfect for riblets. Cook them on LOW for 6-8 hours or on HIGH for 3-4 hours, following the same preparation steps. For a crispy finish, transfer them to a baking sheet and broil for a few minutes after slow cooking.