Featured image for How to Use Oven Grill Function
Image source: foodstrend.com
Unlock crispy, flavorful results by mastering the oven grill function, also known as broiling. This guide walks you through preparation, step-by-step use, tips, and troubleshooting for beginners and pros. Get restaurant-quality grilled food at home without a outdoor grill. (78 words)
How to Use Oven Grill Function
Hey there, home cook! Have you ever stared at your oven wondering, “What’s this grill function for?” The oven grill function is your secret weapon for crispy tops, charred edges, and juicy insides without firing up an outdoor grill. It’s perfect for busy weeknights when you crave that grilled flavor indoors.
In this complete guide, you’ll learn everything about the oven grill function. We’ll cover what it is, how to prep, step-by-step instructions, top foods to try, handy tips, troubleshooting, and cleaning. By the end, you’ll confidently use your oven’s grill mode for steaks, veggies, and more. No more guesswork—just delicious results. Let’s dive in!
Key Takeaways
- Understand the basics: The oven grill function uses top heat for quick, high-temperature cooking like broiling.
- Prep is key: Always preheat, position racks correctly, and use oven-safe cookware.
- Monitor closely: Food cooks fast under the oven grill function—check every 1-2 minutes to avoid burning.
- Best for thin cuts: Ideal for steaks, fish, veggies; not deep baking.
- Safety first: Keep oven door slightly ajar if needed, use mitts, and never leave unattended.
- Clean promptly: Wipe drips right after to prevent smoke and buildup.
- Experiment safely: Start with low settings to get comfortable with your oven grill function.
Quick Answers to Common Questions
High or Low Grill Setting?
Use high for quick searing, low for gentler cooking like melting cheese. Test your oven’s response.
Door Open or Closed?
Most modern ovens close fully; older ones need ajar for heat escape. Check manual.
Can I Use Parchment Paper?
No— it burns under intense heat. Stick to foil or broiler pans.
How Long to Preheat?
5 minutes usually. Element glows red when ready for oven grill function.
Grill Frozen Food?
Yes, but add 50% time. Thaw for best results to avoid ice splatter.
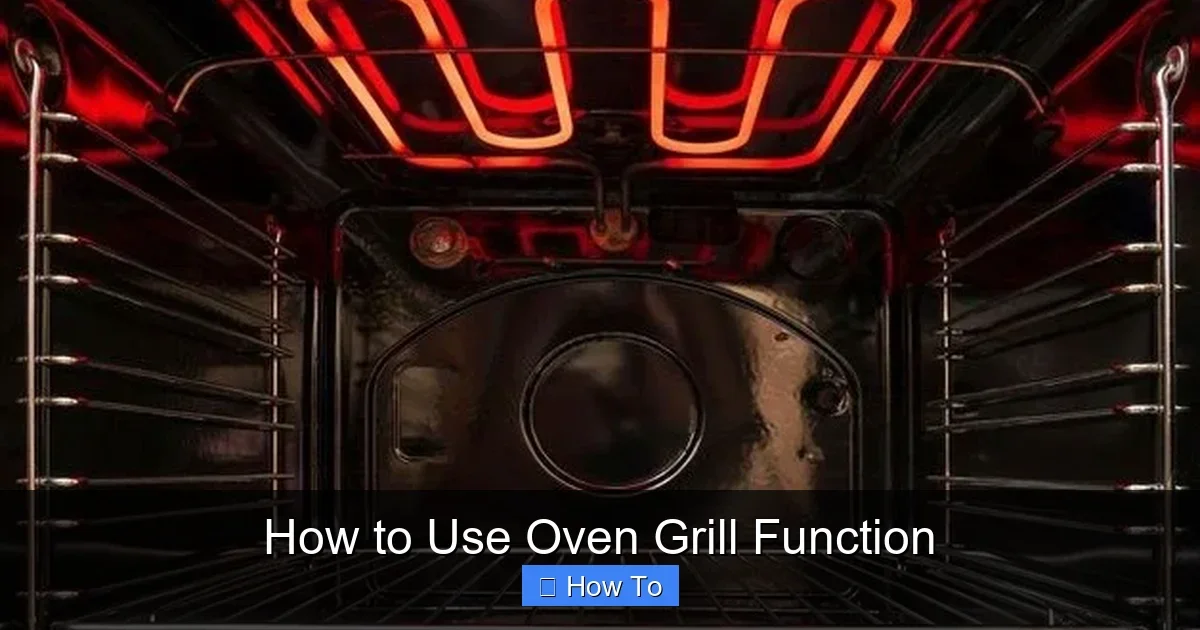
Understanding the Oven Grill Function
The oven grill function, often called broiling in the US, blasts intense heat from the top element. Think of it as an indoor flame grill. Temperatures hit 500°F (260°C) or higher, cooking food fast from above. This creates a beautiful sear while keeping the inside moist.
Not all ovens are the same. Some have a fan-assisted oven grill function for even heat. Others offer high/low settings. Check your manual—brands like Blomberg have unique features. For specifics on models like Blomberg ovens, dive deeper there.
Why use it? It’s quick—meals in 5-15 minutes. Great for browning casseroles, melting cheese, or finishing dishes. Unlike baking, which uses bottom heat, the oven grill function mimics open-flame grilling. Perfect for apartments without BBQ space.
Preparing Your Oven for Grilling
Success with the oven grill function starts with prep. Rushing leads to smoke or burns. Follow these steps every time.
Visual guide about How to Use Oven Grill Function
Image source: restaurantstella.com
Step 1: Read Your Manual
Locate the grill symbol—looks like a zigzag line or flame. Note preheat time (usually 5 minutes) and rack positions.
Step 2: Position the Rack
Use the top or second-top slot, 2-6 inches from the heat source. Closer for thin items like bacon; farther for thicker steaks. Adjust based on food thickness.
Step 3: Choose Cookware
Opt for broiler pans, cast iron, or foil-lined trays. They catch drips. Avoid glass unless broiler-safe—it can shatter. Line with foil for easy cleanup.
Step 4: Preheat the Oven
Turn on the oven grill function and let it heat fully. The element should glow red. This ensures even cooking from the start.
Pro tip: Clear counter space nearby. You’ll flip food quickly.
Step-by-Step Guide to Using the Oven Grill Function
Ready to grill? Here’s your foolproof process for the oven grill function. We’ll use a simple steak example, but it applies to most foods.
Step 1: Season Your Food
Pat dry proteins. Rub with oil, salt, pepper. For veggies, toss in olive oil and herbs. Seasoning sticks better under high heat.
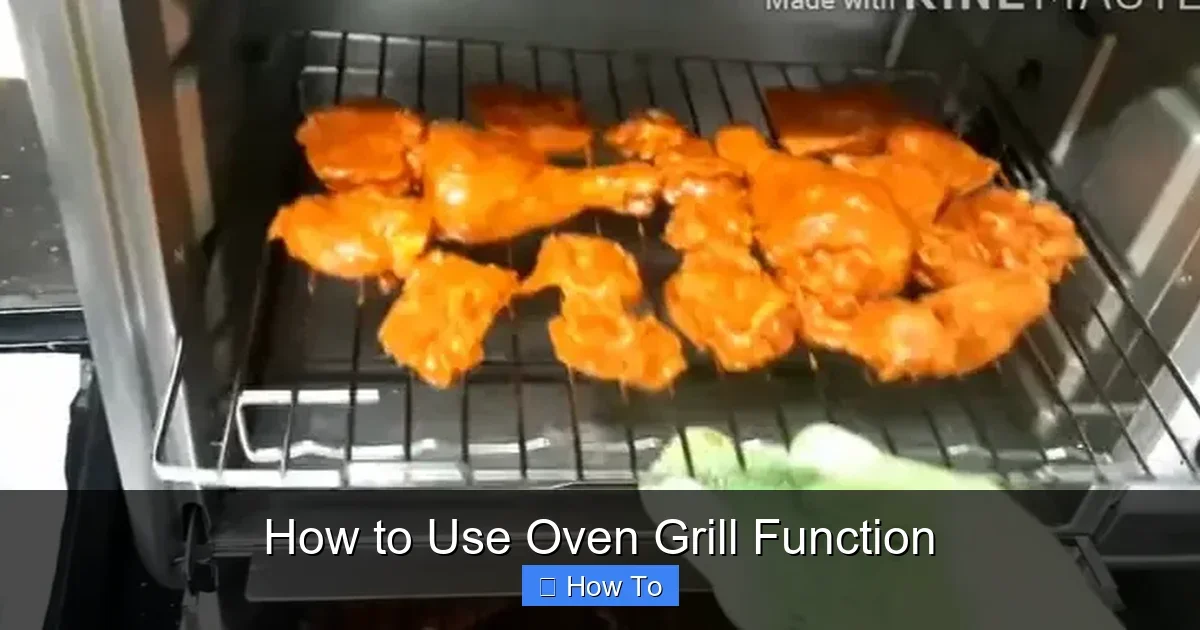
Step 2: Arrange on Tray
Don’t overcrowd. Space pieces 1 inch apart for air flow. Place on broiler pan, fat side up for meats.
Step 3: Preheat and Place
Preheat on high for 5 minutes. Slide tray onto rack. Close door mostly—some models need it ajar for ventilation.
Step 4: Cook and Flip
Grill 3-5 minutes per side. Use tongs to flip. Check doneness with a thermometer: 145°F for medium steak.
For example, thin pork steaks? Try our guide on how long to broil pork steaks for timings tailored to the oven grill function.
Step 5: Rest and Serve
Remove to a plate. Tent with foil 3-5 minutes. Juices redistribute for perfection.
That’s it! Your first oven grill function session done. Practice with chicken or fish next.
Best Foods for the Oven Grill Function
The oven grill function shines with foods that love quick, high heat. Skip thick roasts—they need baking.
- Meats: Steaks, chops, ribs. For St. Louis ribs, check how to cook St. Louis ribs in the oven, incorporating grill for crisp skin.
- Seafood: Salmon fillets, scallops. 4-6 minutes total.
- Veggies: Peppers, asparagus, mushrooms. Charred bliss in 5 minutes.
- Other: Garlic bread, nachos, meringues for toasty tops.
For ribeye fans, blend pan-searing with oven grill function finish per this ribeye steak guide. Endless options!
Practical Tips and Tricks for Oven Grill Function
Level up your oven grill function game with these gems.
- Use low setting first to test your oven’s power.
- Marinate meats overnight for flavor explosion.
- Brush with butter midway for extra shine.
- Pair with baking: Bake first, then grill for crust.
- Experiment with foil packets for juicy results.
Short on time? Frozen items work—thaw partially first. Safety note: Never use aluminum foil directly on the element.
Common Mistakes and Troubleshooting
Even pros slip with the oven grill function. Here’s how to fix issues.
Mistake 1: Burning food. Solution: Start closer to medium rack, check every minute. Your oven might run hot.
Mistake 2: Smoke alarms blaring. Too much fat dripping. Use a pan with slots; trim excess fat.
Mistake 3: Uneven cooking. Rotate tray halfway. Fan-assisted? Use it for balance.
Mistake 4: Soggy tops. Pat dry before grilling. High heat evaporates moisture fast.
Troubleshoot door ajar: If model requires it, prop with a spoon. Still smoky? Clean racks first.
Element not heating? Check breaker or fuse. Persistent problems? Call a pro.
Cleaning After Using the Oven Grill Function
Post-grill cleanup prevents future hassles. Let oven cool 30 minutes. Wipe drips with a damp cloth. For tough spots, use baking soda paste.
Avoid chemicals near elements. For deep cleans, try ammonia methods safely. Your oven grill function stays like new!
Conclusion
Congrats! You now know how to master the oven grill function. From prep to plate, you’re set for grilled greatness anytime. Experiment, have fun, and enjoy those crispy results. Got questions? Drop a comment. Happy grilling!
(Word count: 1628)
🎥 Related Video: How to use each oven setting #Shorts
📺 ao.com
This is what you should be using each oven setting to cook & bake.