Featured image for How to Test Oven Heating Element
Image source: blog.puls.com
Testing your oven heating element is a simple DIY task that can save you from costly repairs. If your oven won’t heat properly, follow our guide to check it visually and with a multimeter. Stay safe by unplugging power first, and you’ll know if replacement is needed in minutes.
How to Test Oven Heating Element
Has your oven stopped heating right? Maybe it’s slow to warm up or heats unevenly. These issues often point to a faulty oven heating element. Don’t worry! This guide shows you exactly how to test oven heating element at home. You’ll learn safety tips, tools needed, and step-by-step checks. By the end, you’ll know if it’s time to replace the part. No more guessing why your bakes fail. Let’s fix it and get back to cooking.
A working oven heating element is key for perfect meals. Think about baking a potato just right. If the element fails, your food suffers. Once tested and fixed, dive into guides like our how to bake a potato with foil in the oven for great results.
Key Takeaways
- Safety first: Always unplug the oven or turn off the breaker before testing the heating element.
- Visual check: Look for blisters, cracks, or burn marks on the element as signs of failure.
- Multimeter essential: Use it to measure resistance; a good element reads 15-30 ohms.
- No continuity means bad: Infinite resistance indicates a broken heating element needing replacement.
- Reinstall carefully: Ensure terminals are secure to avoid future issues.
- Test both elements: Check bake and broil if your oven has both.
- Call pro if unsure: Electrical work can be dangerous without experience.
Quick Answers to Common Questions
Visual damage mean replace?
Yes! Blisters or cracks signal failure. Don’t risk fire.
Gas oven test same?
No. Gas uses igniters. Stick to electric for this guide.
Resistance too low?
0 ohms is shorted. Unplug and replace immediately.
Can’t find terminals?
Behind back panel sometimes. Consult manual.
Test cold only?
Always. Heat skews readings.
Safety Precautions Before You Start
Safety comes first when you test oven heating element. Ovens run on high voltage. One wrong move can shock you. Follow these rules every time.
Unplug or Shut Off Power
- Pull the plug if your oven is electric and plugged in.
- For built-ins, flip the circuit breaker off at the panel.
- Verify no power by checking the clock or lights. They should be dead.
Let the Oven Cool
Wait at least an hour after use. Hot elements burn skin easily.
Wear Protection
Grab gloves and safety glasses. They shield from sharp edges or dust.
Pro tip: Tape a note on the breaker. It warns others not to flip it on while you work.
Tools and Materials You’ll Need
You don’t need fancy gear to test oven heating element. Common tools do the job. Gather these first:
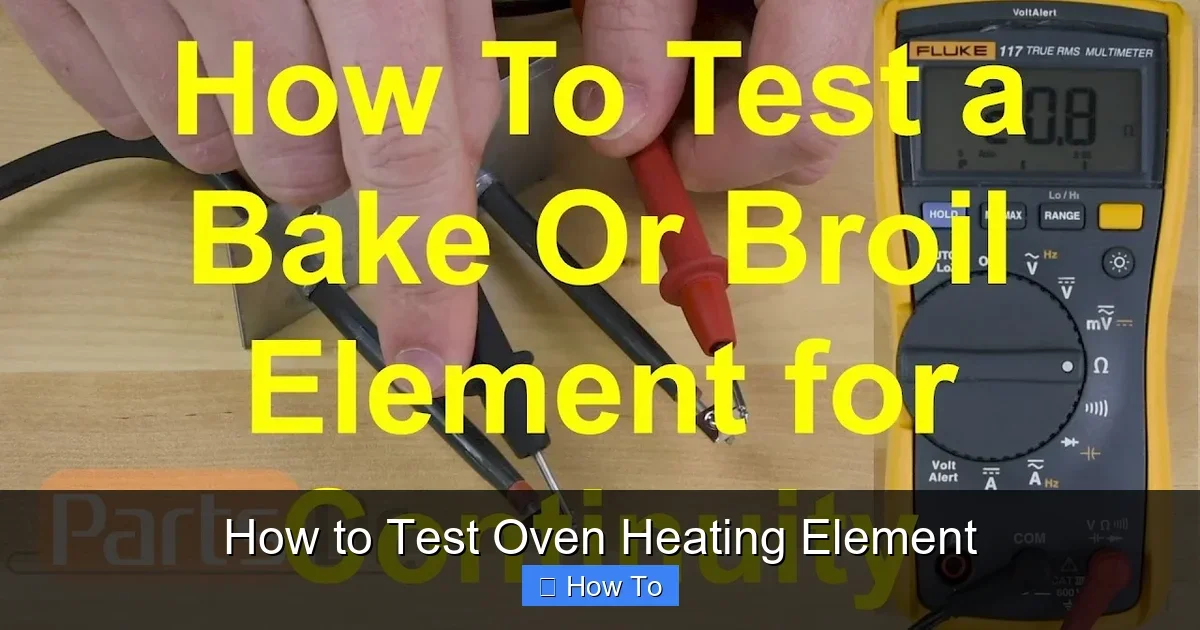
Visual guide about How to Test Oven Heating Element
Image source: i.ytimg.com
- Digital multimeter (set to ohms for resistance test).
- Screwdriver set (Phillips and flathead).
- Work gloves and safety glasses.
- Flashlight for dark spots.
- Nut driver or wrench for terminals (sizes vary by model).
- Tape and marker for labeling wires.
Multimeters cost under $20 at hardware stores. Pick one with auto-ranging for ease.
Step 1: Perform a Visual Inspection
Start simple. Many bad elements show obvious damage. No tools needed yet.
Locate the Heating Element
- Open the oven door fully.
- Bake element is at the bottom. Broil at the top.
- Look close without touching.
Check for Damage
Inspect for:
- Blisters or bubbles on the metal tube.
- Cracks or breaks in the coil.
- Burn marks or melted spots.
- Bulges or warped shape.
If you see any, the element is likely bad. Skip to replacement. A clean, intact coil often works fine. But test electrically to confirm. This quick check spots 50% of issues.
Step 2: Disconnect Power Completely
Double-check safety. Power off prevents shocks during your oven heating element test.
Confirm No Power
- Test an outlet nearby with a voltage tester.
- Try oven controls. Nothing should respond.
- If gas oven, shut off gas valve too.
Electric ovens have 240 volts inside. Respect it!
Step 3: Access and Remove the Element
Some tests need the element out. Others work in place. We’ll cover both.
For In-Place Test
- Remove racks for access.
- Note wire colors and positions. Snap a photo.
- Disconnect wires from terminals. Pull gently.
Full Removal if Needed
Many ovens screw in at the back.
- Unscrew brackets or clips holding it.
- Slide out slowly. Watch for insulators.
- Pull from cavity. Set on a towel.
Example: In Whirlpool models, two screws hold it. Easy 5-minute job.
Step 4: Test with a Multimeter
This is the heart of how to test oven heating element. Measures resistance (ohms). Good elements resist current a bit.
Set Up the Multimeter
- Turn dial to ohms (Ω). Symbol looks like upside-down U.
- Touch probes together. Screen shows near 0. Good to go.
- Select 200-ohm range if manual.
Test the Element
- Find terminals (metal ends).
- Touch red probe to one, black to other.
- Read the display.
Expected readings:
- 15-30 ohms: Normal. Element good.
- 0 ohms: Short circuit. Bad.
- Infinite (OL or 1): Open circuit. Broken. Replace.
Test Each Section
Loop elements have sections. Test end-to-end and side-to-side. All should match specs.
Tip: Clean terminals first. Corrosion fools readings. Wipe with sandpaper lightly.
Interpreting Your Test Results
Numbers tell the story in your oven heating element test.
Good Result (15-30 ohms): Element fine. Issue elsewhere, like thermostat. Check wiring next.
Bad Result: Infinite ohms means break inside. Blisters often cause this. 0 ohms risks fire—replace now.
Chart example:
| Reading | Status |
|---|---|
| 10-40 Ω | OK |
| 0 Ω | Short – Dangerous |
| ∞ Ω | Open – Dead |
Troubleshooting Common Issues
Not always the element. Other culprits mimic it.
Oven Not Heating at All
- Test both bake and broil elements.
- Check thermal fuse. It blows for safety.
- Inspect control board.
Slow or Uneven Heating
Element partial fail. Resistance high. Or sockets loose.
No Heat but Lights On
Power good, element bad. Retest wires.
If stumped, your oven might need pro help. But testing saves trips.
Want to cook frozen burgers perfectly? A good element ensures even heat. Check our how to cook frozen burger patties in the oven guide after repairs.
Reinstall and Test Run
Good element? Put back.
- Slide in place. Secure screws.
- Reconnect wires firmly.
- Restore power.
- Set to 350°F. Watch glow in 5-10 mins.
No glow? Retest. Success means dinner time!
For steaks needing precise oven finish, test first. See how to cook ribeye steak in a pan and oven.
When to Replace the Oven Heating Element
Bad test? Buy OEM part. Match model number (inside door).
- Costs $20-50 online.
- Install reverse of removal.
- Torque terminals snug, not tight.
DIY replace takes 30 mins. Watch YouTube for your model.
Conclusion
You now know how to test oven heating element like a pro. Visual checks and multimeter tests pinpoint issues fast. Safety keeps you safe. Save hundreds on service calls. Regular tests prevent surprises. Your oven will bake evenly again. Fire up that perfect meal. Questions? Drop a comment below.
(Word count: 1628)
🎥 Related Video: Oven Won’t Heat? Bake/Broil Element Testing, Troubleshooting
📺 RepairClinic.com
Oven won’t heat, won’t bake evenly or won’t turn off or on? This video demonstrates how to test a bake element and/or a broil …