Featured image for How to Clean Oven Seals
Image source: ovenclean.com
Cleaning oven seals keeps your oven energy-efficient and food odors contained. This guide walks you through safe, simple steps using everyday items like baking soda and vinegar. Follow along to make your oven door seal like new, avoiding costly replacements.
How to Clean Oven Seals
Hey there, oven lover! Have you noticed steam escaping from your oven door or higher energy bills? It’s likely time to clean oven seals. These rubber gaskets around the door keep heat in and messes out. Over time, they trap grease, crumbs, and grime, leading to poor seals and uneven baking.
In this complete guide on how to clean oven seals, you’ll learn safe, effective methods. We’ll cover supplies, step-by-step instructions, tips for different oven types, and troubleshooting. No need for fancy cleaners—just household staples. By the end, your oven seals will be fresh, flexible, and functional. Let’s get your kitchen sparkling!
Key Takeaways
- Gather mild supplies: Use baking soda, vinegar, and a soft cloth to clean oven seals without damage.
- Work gently: Oven seals are delicate rubber; harsh chemicals or scrubbing can cause cracks.
- Dry thoroughly: Moisture leads to mold, so air-dry seals completely before use.
- Inspect regularly: Check seals monthly to catch wear early and maintain oven performance.
- Prevent buildup: Wipe seals after each use to avoid grease accumulation.
- Test the seal: After cleaning, close the door on a paper sheet; it shouldn’t pull out easily.
Quick Answers to Common Questions
Can I use bleach to clean oven seals?
No, bleach degrades rubber fast. Stick to baking soda or vinegar for safe results.
How often should I clean oven seals?
Every 1-3 months, or weekly wipes for heavy use. Prevention is key!
What if my seals are torn?
Replace them via your oven manual. Cleaning won’t fix structural damage.
Is vinegar safe on oven seals?
Yes, it’s a natural acid that cuts grease without harm. Dilute 1:1 with water.
Can I clean seals in a self-cleaning oven?
Remove seals first if possible, or hand-clean. High heat can melt grime onto rubber.
Why Clean Oven Seals Regularly?
Clean oven seals matter more than you think. Dirty seals let heat escape, making your oven work harder. This hikes energy costs and affects cooking results. Think soggy reheated wings or uneven bakes.
Plus, buildup breeds bacteria and odors. A quick clean prevents that. Aim to clean oven seals every 1-3 months, depending on use. It’s easier than a full oven scrub and extends seal life—saving you $100+ on replacements.
Gather Your Supplies for Cleaning Oven Seals
Before you dive in, grab these gentle tools. Harsh abrasives damage rubber seals fast.
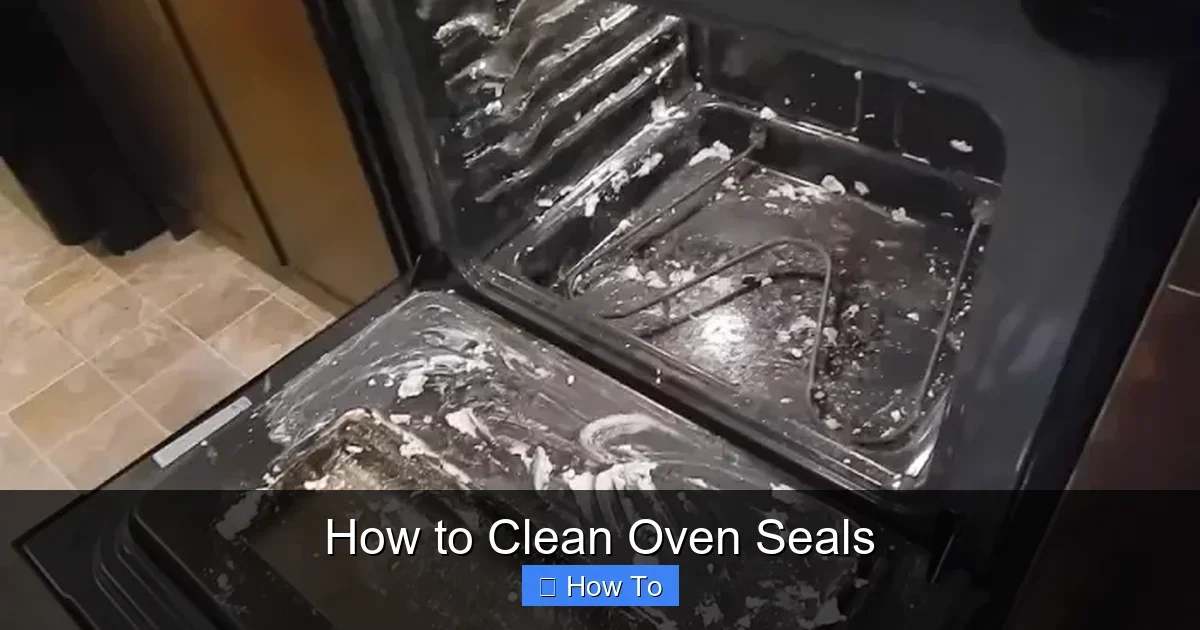
Visual guide about How to Clean Oven Seals
Image source: cleanlessons.com
- Mild dish soap (like Dawn)
- Baking soda
- White vinegar
- Warm water
- Soft microfiber cloths or sponges
- Old toothbrush for crevices
- Plastic scraper (no metal!)
- Gloves for protection
- Dry towels
These items cost under $10 total. For natural vibes, skip soap and go baking soda paste. Pro tip: Test any cleaner on a hidden spot first.
Step-by-Step Guide: How to Clean Oven Seals
Ready? Unplug your oven or turn off the breaker for safety. Allow it to cool fully—hot ovens ruin seals. Work in a well-ventilated area. This process takes 30-60 minutes.
Step 1: Remove Loose Debris from Oven Seals
Start gentle. Open the oven door wide.
- Use a plastic scraper to loosen crumbs and dried food. Angle it carefully—no prying.
- Wipe with a dry microfiber cloth. Catch every nook.
- Vacuum crevices with a brush attachment for dust bunnies.
Example: After roasting veggies, seals catch bits. This step prevents scratching during wet cleaning.
Step 2: Prepare a Cleaning Solution to Clean Oven Seals
Mix your magic potion. Option A: Soap solution—1 tsp dish soap in 1 cup warm water.
Option B: Baking soda paste—3 tbsp baking soda + 1 tbsp water. For tough grime, add vinegar later.
Why these? They’re pH-balanced for rubber. Avoid bleach or ammonia here; save ammonia for the main oven cavity if needed, like in our ammonia oven cleaning guide.
Step 3: Apply and Scrub Oven Seals Gently
Dip your soft cloth in solution. Wring well—no drips inside the oven.
- Wipe seals top to bottom. Focus on folds where grease hides.
- For paste, apply with fingers or brush. Let sit 10-15 minutes.
- Scrub lightly with toothbrush on stubborn spots. Circular motions work best.
- Spray vinegar over paste for fizzing action—it lifts grime!
Picture this: That black gunk from holiday turkey? Gone in minutes. Repeat if needed, but don’t soak.
Step 4: Rinse and Wipe Clean
Dampen a fresh cloth with plain water. Wipe away residue thoroughly.
- Change rinse water often to avoid re-depositing dirt.
- Inspect for missed spots—light shines them up.
Gas oven owners: While door’s open, peek at racks. Learn more in our gas oven cleaning steps.
Step 5: Dry Oven Seals Completely
Pat with dry towels. Air-dry door open for 1-2 hours.
- Use a fan to speed it up.
- Check for dampness—moisture warps seals.
Pro move: Stuff paper towels in folds to absorb hidden wet spots.
Step 6: Test and Reassemble
Close door on a dollar bill or paper. Tug—if it slides out easy, seals need more TLC.
Reattach door if removed (follow manual). Plug in and test-run empty at 350°F for 10 minutes. Sniff for leaks.
Practical Tips for Cleaning Oven Seals Effectively
Make it routine:
- Weekly wipe: Damp cloth after use prevents buildup.
- Microfiber magic: Lint-free and gentle.
- Vinegar steam boost: Microwave vinegar-water mix, then wipe seals with steam-softened cloth.
- Oven type tweaks: Self-cleaning? Skip chemicals. Wall ovens: Prop door for access.
- Avoid heat: Never bake with wet seals—cracks form.
For glass doors, pair with our glass oven door cleaning tips. Natural fans, try our chemical-free oven clean.
Real talk: My seals lasted 5 years longer with monthly cleans. Yours can too!
Troubleshooting Common Oven Seal Cleaning Issues
Problems? We’ve got fixes.
Seals Still Sticky?
Grease lingers? Apply baking soda-vinegar overnight, then wipe. Repeat twice.
Cracks or Tears Appearing?
Cleaning didn’t cause it—age did. Silicone sealant patches work temporarily. Replace if gaping.
Mold Growth?
Spray 1:1 vinegar-water, scrub, dry fully. Prevent with ventilation.
Door Won’t Close Tight?
Clean hinges too. Lubricate with food-grade silicone spray (not oil).
If issues persist, check manual or call a pro. Better safe!
Maintenance to Keep Oven Seals Clean Long-Term
Prevention beats cure. Wipe seals post-bake. Use liners for spills. Avoid slamming doors.
Seasonal deep clean: Pair with racks—see our oven racks cleaning guide.
Conclusion: Enjoy a Like-New Oven!
Congrats—you now know exactly how to clean oven seals! Your oven runs efficiently, saves energy, and bakes perfectly. That airtight seal means no more leaks or odors.
Repeat monthly for best results. Tackle glass or racks next. Happy cooking—your kitchen thanks you!
(Word count: 1628)
🎥 Related Video: How do I clean my oven seal?
📺 Bosch Home UK and Ireland
This video demonstrates how to effectively clean your oven seal. Visit our online store to find out more about our tested and …