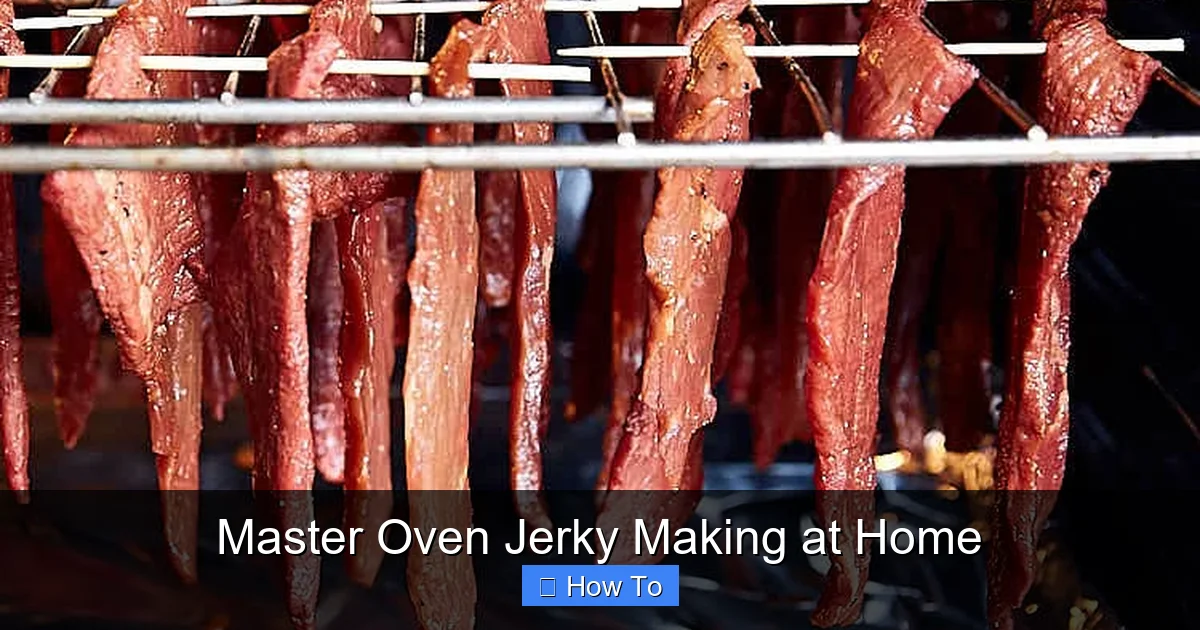
Featured image for how to make jerky in the oven
Image source: tasteofartisan.com
Transform your oven into a powerful jerky-making machine with minimal equipment and maximum flavor. Simply slice lean meat thinly, marinate it to perfection, and dehydrate it slowly at a low temperature for delicious, protein-packed jerky right from your kitchen. This easy, cost-effective method delivers professional-quality results, making store-bought jerky a thing of the past.
“`html
How to Master Oven Jerky Making at Home
Why This Matters / Understanding the Problem
Store-bought jerky often costs a fortune and contains preservatives you can’t pronounce. Many people think making jerky requires expensive dehydrators or special skills.
The truth is your ordinary kitchen oven works perfectly for creating delicious, healthy jerky. Learning to master oven jerky making at home puts you in control of flavors, ingredients, and quality.
You’ll save money while knowing exactly what goes into your snacks. This guide will show you how simple the process really is.
What You Need
Gathering your supplies before starting makes the process smooth and enjoyable. Here’s what you’ll need:
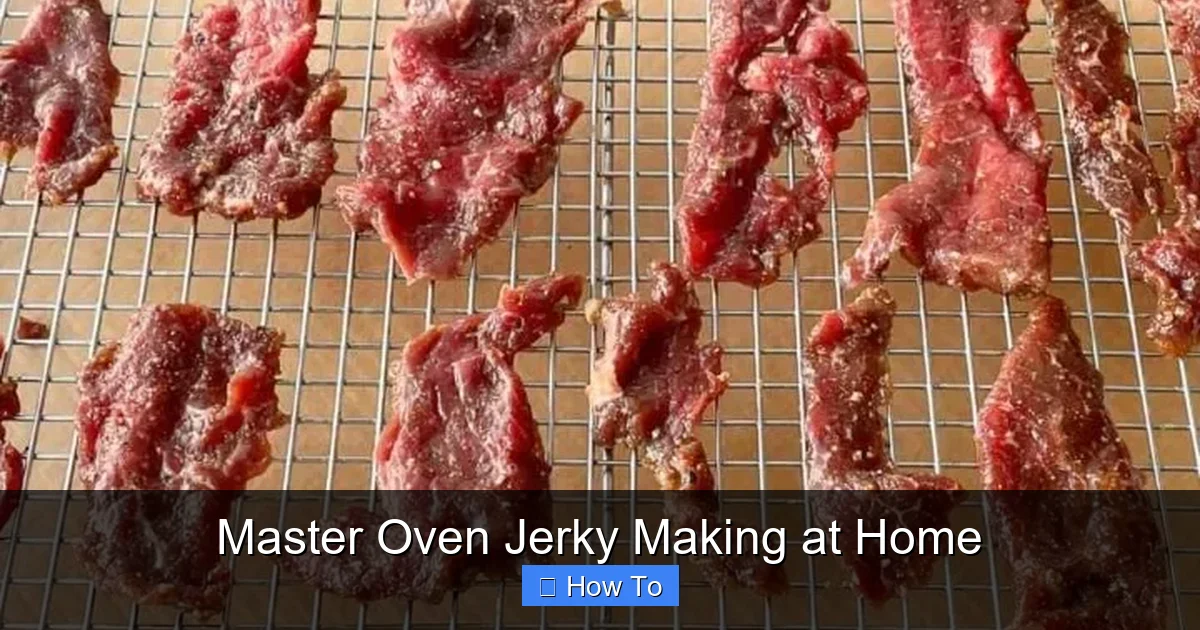
Visual guide about how to make jerky in the oven
Image source: i1.wp.com
- 2-3 pounds of lean meat (beef round, flank steak, or turkey breast work well)
- Sharp knife and cutting board
- Baking sheets
- Wire racks that fit your baking sheets
- Paper towels
- Your favorite marinade ingredients (soy sauce, Worcestershire sauce, spices)
- Large zip-top bags or containers for marinating
That’s it! No fancy equipment needed to master oven jerky making at home successfully.
Step-by-Step Guide to Master Oven Jerky Making at Home
Step 1: Choose and Prepare Your Meat
Select lean cuts with minimal fat. Fat doesn’t dry well and can cause spoilage.
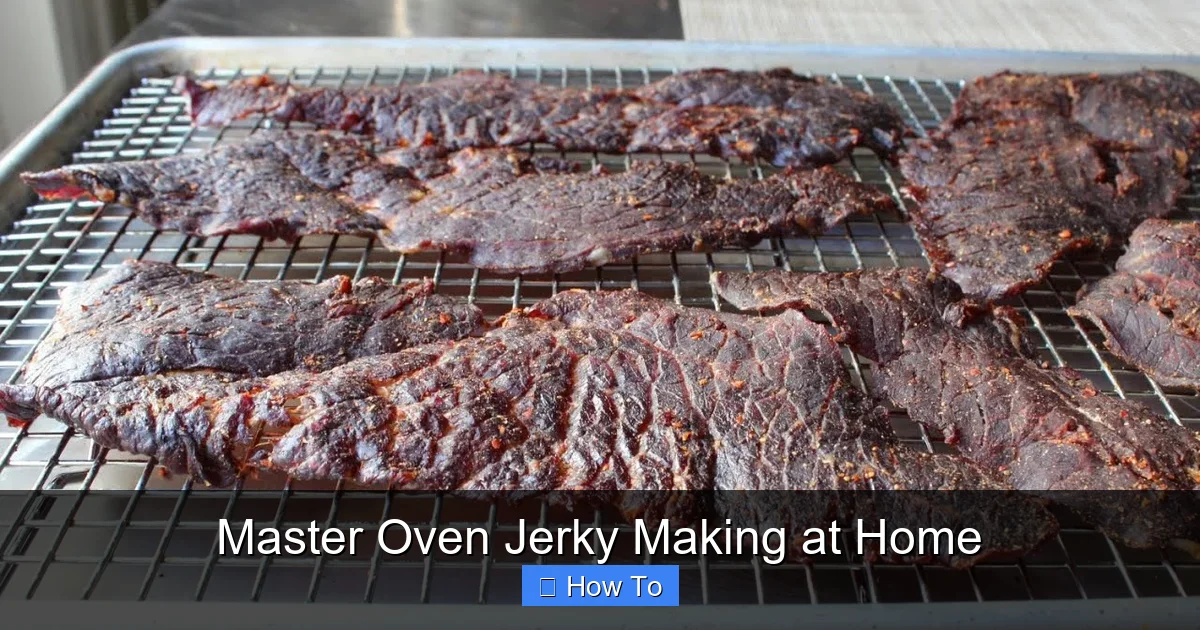
Visual guide about how to make jerky in the oven
Image source: i.ytimg.com
Partially freeze the meat for 1-2 hours until firm but not solid. This makes slicing much easier. Cut against the grain into uniform ¼-inch strips.
Uniform thickness ensures even drying. Remove any visible fat as you slice.
Step 2: Create Your Marinade
Mix your favorite flavors in a bowl. A simple starter marinade includes:
- ½ cup soy sauce
- 2 tablespoons Worcestershire sauce
- 1 teaspoon garlic powder
- 1 teaspoon black pepper
- 1 tablespoon brown sugar
Experiment with different spice combinations to find your signature flavor.
Step 3: Marinate the Meat
Place meat strips and marinade in a zip-top bag or container. Ensure all pieces are coated evenly.
Refrigerate for 4-12 hours. Longer marinating creates stronger flavor, but don’t exceed 24 hours as the texture can become mushy.
Flip the bag occasionally to distribute the marinade.
Step 4: Drain and Pat Dry
Remove meat from marinade and let excess liquid drip off. Lay strips on paper towels and pat them dry.
This step is crucial – wet meat will steam rather than dry properly. Don’t skip it!
Step 5: Arrange on Baking Sheets
Place wire racks on baking sheets to allow air circulation. Arrange meat strips in a single layer without overlapping.
Leave small spaces between pieces so air can flow around them. This ensures even drying throughout the process.
Step 6: Dry in Oven
Preheat your oven to 175°F (the lowest setting). Place baking sheets in the oven.
Keep the oven door slightly ajar using a wooden spoon to allow moisture to escape. This creates the proper drying environment.
Dry for 4-6 hours, flipping pieces halfway through. Drying time varies based on meat thickness and your oven.
Step 7: Test for Doneness
Jerky is done when it bends without breaking and shows no signs of moisture when torn.
It should be leathery and chewy, not brittle. Remove pieces as they finish drying since thinner pieces will be done first.
Step 8: Cool and Store
Let jerky cool completely on wire racks before storing. This prevents condensation in storage containers.
Store in airtight containers or zip-top bags. Properly dried jerky keeps for 1-2 months at room temperature.
Pro Tips & Common Mistakes to Avoid
Slice Against the Grain for Tender Jerky
Cutting against the grain breaks up muscle fibers, resulting in more tender jerky that’s easier to chew.
Don’t Rush the Drying Process
Higher temperatures cook rather than dry the meat. Low and slow is the key to perfect texture.
Avoid Overlapping Pieces
Overlapped meat steams instead of drying, creating uneven texture and potential spoilage spots.
Watch for White Specks
Small white spots on finished jerky are salt crystals, not mold. They’re completely normal and safe.
Use a Meat Thermometer for Safety
If concerned about food safety, check that your jerky reaches 160°F for beef or 165°F for poultry during drying.
FAQs About Master Oven Jerky Making at Home
Can I use any type of meat for jerky?
Lean meats work best. Beef, turkey, chicken, and venison are popular choices. Avoid fatty cuts like pork shoulder as the fat can rancidify.
Why does my jerky come out too brittle?
Brittle jerky means it’s overdried. Check for doneness earlier next time. Remember – it should bend like leather, not snap like a cracker.
How long does homemade jerky last?
Properly dried and stored jerky lasts 1-2 months at room temperature. For longer storage, refrigerate for up to 6 months or freeze for up to a year.
Can I make jerky without marinating?
Yes, but the flavor will be plain. You can simply season with salt and pepper or dry rubs if you prefer not to use liquid marinades.
Why prop the oven door open?
This allows moisture to escape, creating the dry environment needed for proper preservation. Without ventilation, the meat would steam or cook instead of drying.
Is oven jerky making safe?
Absolutely! The low temperature slowly removes moisture while the salt in marinades inhibits bacterial growth. Using lean meat and proper drying makes it perfectly safe.
Can I reuse marinade?
No, discard used marinade. It contains raw meat juices and shouldn’t be reused due to food safety concerns.
🎥 Related Video: HOMEMADE BEEF JERKY IN THE OVEN?!?!
📺 Roice Bethel
Final Thoughts
Now you have everything needed to master oven jerky making at home. Your first batch might not be perfect, but you’ll improve with each attempt.
Start with the basic recipe, then experiment with different meats and flavor combinations. Soon you’ll be creating jerky that rivals any store-bought brand.
The satisfaction of making your own healthy snacks is worth the effort. Happy jerky making!
“`