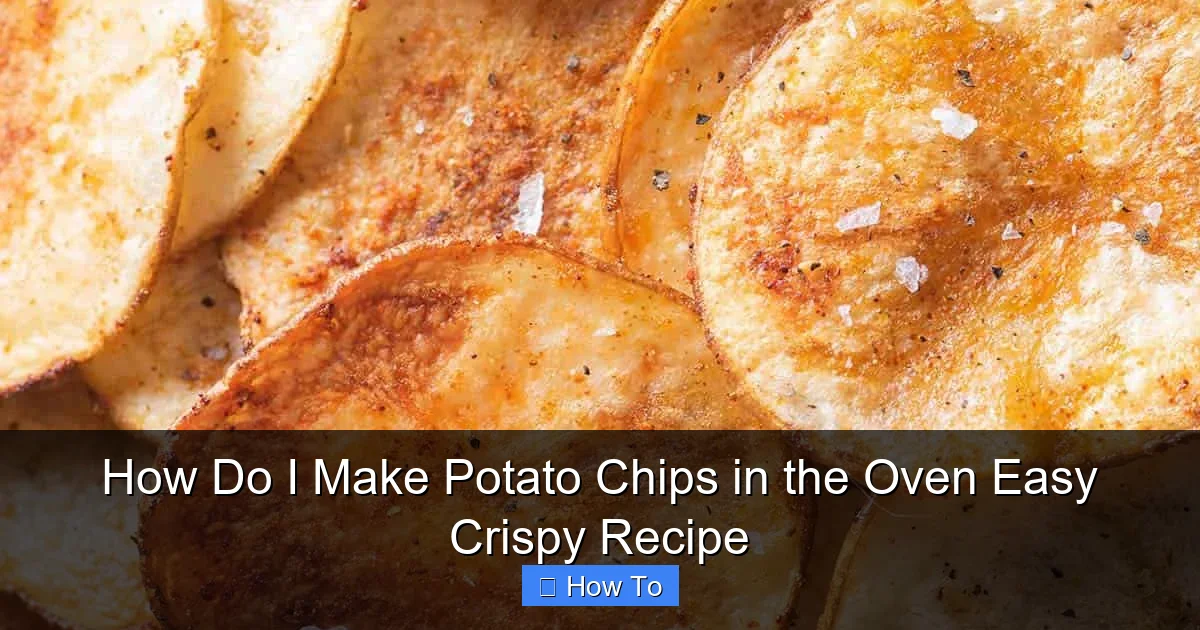
Featured image for how to make potato chips in the oven
Image source: feelgoodfoodie.net
Making crispy potato chips in the oven is easy, healthy, and delivers that perfect crunch you crave—no deep frying required. Simply slice potatoes thinly, toss with a light coating of oil and seasonings, then bake at 400°F (200°C) for 15–20 minutes, flipping halfway, until golden and crisp. With minimal prep and maximum flavor, this foolproof method turns humble spuds into a guilt-free snack in under 30 minutes.
How to How Do I Make Potato Chips in the Oven Easy Crispy Recipe
Why This Matters / Understanding the Problem
We’ve all been there: craving a crunchy, salty snack, but store-bought chips are either too greasy, too expensive, or full of unpronounceable ingredients. You might have asked yourself, How do I make potato chips in the oven easy crispy recipe? The good news? You absolutely can—without a deep fryer, without a mess, and with results that rival your favorite bag.
Oven-baked potato chips are a game-changer. They’re healthier, customizable, and surprisingly simple. Whether you’re feeding a crowd, cutting back on oil, or just want a fun kitchen project, this method gives you golden, crispy chips every time. Plus, you control the salt, seasoning, and thickness—something most store-bought versions can’t match.
By mastering the How Do I Make Potato Chips in the Oven Easy Crispy Recipe, you’ll save money, reduce food waste, and enjoy a snack that’s actually *good* for you. Let’s dive in.
What You Need
Before you start, gather these tools and ingredients. Nothing fancy—just what you probably already have in your kitchen.
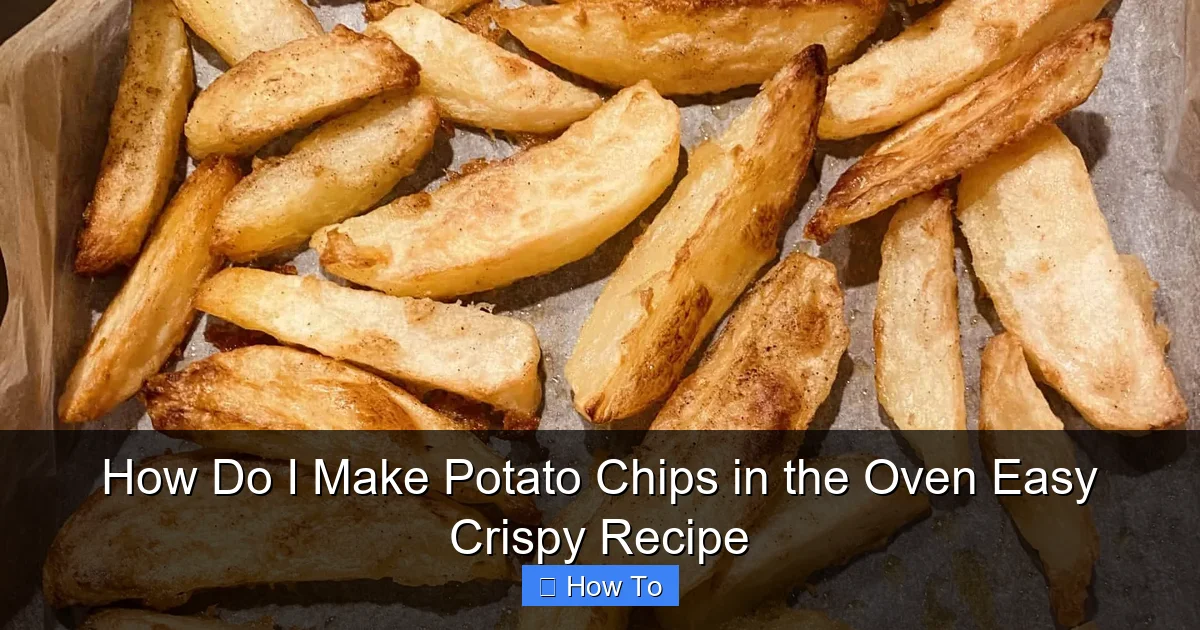
Visual guide about how to make potato chips in the oven
Image source: mrsfoodiemumma.com
Essential Tools
- A sharp knife or mandoline slicer (for even, thin slices)
- Large mixing bowl
- Baking sheets (2–3, depending on batch size)
- Parchment paper or silicone baking mats (non-negotiable for crispiness)
- Tongs or a spatula
- Paper towels
Ingredients (Makes 4–6 servings)
- 4 medium russet or Yukon Gold potatoes (about 2 lbs total)
- 2 tablespoons olive oil or avocado oil (light flavor, high smoke point)
- 1 teaspoon sea salt (plus more for sprinkling)
- ½ teaspoon garlic powder (optional)
- ½ teaspoon onion powder (optional)
- ¼ teaspoon black pepper (optional)
- Optional extras: smoked paprika, chili flakes, rosemary, or grated Parmesan
Pro tip: Russets are starchy and crisp best, but Yukon Golds add a buttery flavor. Avoid waxy potatoes like red or fingerling—they won’t get crispy.
Step-by-Step Guide to How Do I Make Potato Chips in the Oven Easy Crispy Recipe
Step 1: Prep the Potatoes (The Secret to Crispiness)
Start by washing your potatoes—skin on or off, your call. If you like the texture, leave the skin. It adds fiber and a rustic crunch. But if you prefer smooth, classic chips, peel them.
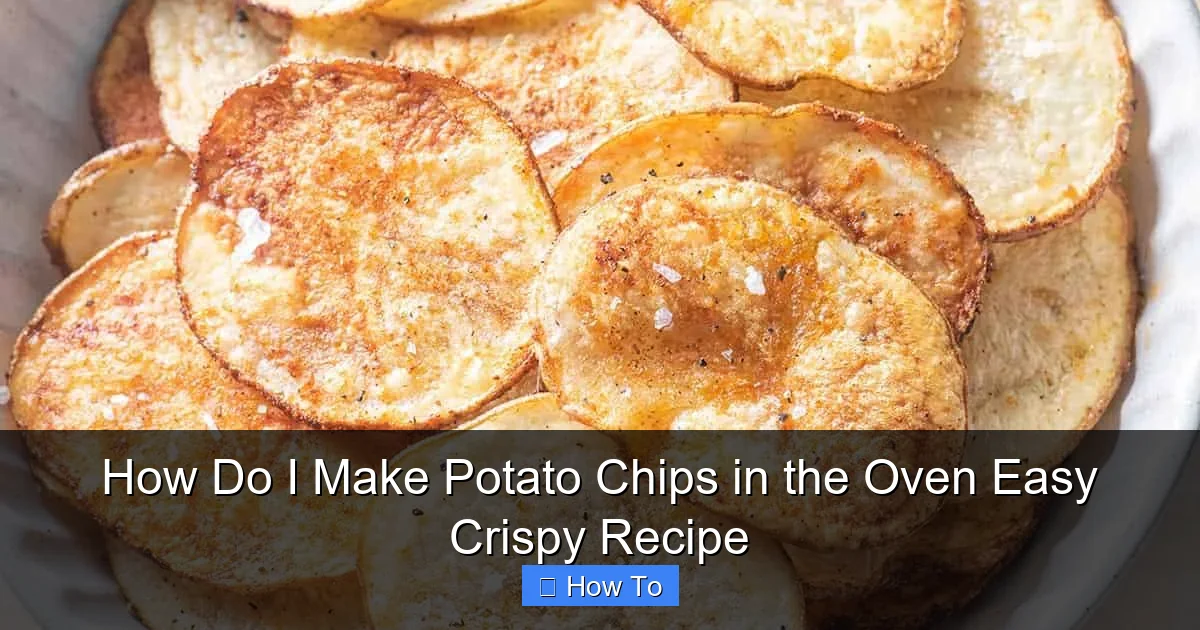
Visual guide about how to make potato chips in the oven
Image source: feelgoodfoodie.net
Slice the potatoes into 1/16-inch (1.5 mm) thick rounds. This is key. Too thick? They’ll steam instead of crisp. Too thin? They’ll burn. A mandoline makes this fast and consistent, but a sharp knife works if you’re careful.
After slicing, immediately place the potato rounds in a large bowl of cold water. Soak for 15–30 minutes. This removes excess starch, which prevents soggy chips and helps them brown evenly.
Pro tip: If you’re short on time, soak for at least 5 minutes—but longer is better. Drain and rinse well after soaking.
Step 2: Dry Like Your Chips Depend on It (They Do)
Drain the potatoes and rinse once more. Then, dry them thoroughly. This step is non-negotiable. Wet potatoes = steam = soggy chips.
Spread the slices on clean kitchen towels or paper towels. Pat each one with another towel. No moisture should remain—think “desert dry.” You can even lay them flat on a baking sheet and let them air-dry for 5 extra minutes.
This is where most people fail. Skipping drying leads to disappointment. For the How Do I Make Potato Chips in the Oven Easy Crispy Recipe, dry is the goal.
Step 3: Toss with Oil and Seasonings
Place the dried potato slices in a large bowl. Drizzle with olive oil—just enough to lightly coat each slice. Too much oil? They’ll be greasy and won’t crisp.
Add salt, garlic powder, onion powder, and any other seasonings you like. Use your hands or tongs to toss gently. Make sure every slice is evenly coated, but don’t break them.
Why oil? It helps the surface dehydrate faster and promotes browning. But less is more—aim for a light sheen, not a puddle.
Step 4: Arrange on Baking Sheets (No Overcrowding!)
Line your baking sheets with parchment paper or silicone mats. Never use foil or bare metal—potatoes will stick and burn.
Arrange the potato slices in a single layer, with no overlapping. Leave a tiny gap between each chip. Overcrowding traps steam, and steam = mush.
If your slices are small, you can fit more, but don’t stack or pile. If you run out of space, use a second baking sheet. Better to bake in batches than risk soggy results.
Warning: Resist the urge to squeeze in “just one more chip.” It ruins crispiness. Trust us.
Step 5: Bake at the Right Temperature
Preheat your oven to 400°F (200°C). This is the sweet spot: hot enough to crisp, but not so hot that the edges burn before the centers cook.
Bake for 15 minutes. Then, flip each chip using tongs or a spatula. This ensures even browning on both sides. If you skip flipping, one side will be crisp, the other leathery.
Continue baking for another 8–12 minutes, watching closely. The chips are done when they’re golden brown at the edges, slightly curled, and crisp when you tap them. Total time: 23–27 minutes.
Note: Oven temperatures vary. Use your eyes and nose—not the clock. If they smell nutty and look golden, they’re ready.
Step 6: Cool for Maximum Crispness
Remove the baking sheets from the oven. Let the chips cool on the tray for 5 minutes. They’ll crisp up as they cool—this is normal.
After 5 minutes, transfer them to a wire rack or a clean plate. This prevents steam from building underneath and making them soft.
They’re best eaten warm, but they’ll stay crisp for hours if stored properly. More on that in the tips below.
Pro Tips & Common Mistakes to Avoid
Even with a great How Do I Make Potato Chips in the Oven Easy Crispy Recipe, small mistakes can ruin the texture. Here’s how to nail it every time.
- Don’t skip the soak. Starch causes sogginess. Soaking removes it and improves crispiness.
- Dry, dry, dry. Wet potatoes = steam. Steam = soft, chewy chips. Not what you want.
- Use parchment paper. It prevents sticking and ensures even heat distribution. Silicone mats work too.
- Flip halfway. This is crucial. One side gets crisp, the other doesn’t. Flipping fixes that.
- Don’t open the oven early. Let the chips bake undisturbed for at least 15 minutes. Opening the door drops the temperature and slows crisping.
- Season after baking? Try both. Some people prefer to sprinkle salt *after* baking for a brighter flavor. Experiment!
- Store in an airtight container. If they soften overnight, reheat in the oven at 350°F for 5 minutes to restore crispness.
Real-life fix: Once, I baked chips but forgot to flip them. Half were perfect, half were like rubber bands. Now I set a timer. Learn from my mistake!
Also, try flavor variations:
– Spicy Kick: Add ½ tsp cayenne + ½ tsp smoked paprika.
– Herby: Toss with 1 tsp dried rosemary + ½ tsp lemon zest.
– Cheesy: Sprinkle with grated Parmesan after baking.
– Sour Cream & Onion: Mix 1 tsp onion powder + ½ tsp dried dill + a pinch of citric acid (for tang).
FAQs About How Do I Make Potato Chips in the Oven Easy Crispy Recipe
Q1: Can I use sweet potatoes instead of regular potatoes?
Absolutely! Sweet potatoes work great. Slice them the same way and follow the same steps. They’ll be slightly sweeter and take about 30–35 minutes total due to higher moisture. Just watch closely—they burn faster.
Q2: Why are my chips chewy instead of crispy?
Chewy chips mean too much moisture. Did you skip the soak? Or not dry them well? Also, overcrowding or not flipping can cause uneven texture. For the How Do I Make Potato Chips in the Oven Easy Crispy Recipe, dry and single-layer are your best friends.
Q3: Can I make these ahead of time?
Yes! Bake and cool completely. Store in an airtight container at room temperature for up to 2 days. If they soften, reheat in the oven at 350°F for 5 minutes. They’ll crisp right back up.
Q4: Do I have to use oil?
Oil helps with browning and crispiness, but you can reduce it to 1 tbsp or use a light spray. For oil-free, try baking on a non-stick mat and spray with water or vinegar—but crispiness will be slightly less.
Q5: Can I make these in an air fryer?
Yes! Use the same prep steps. Place a single layer in the air fryer basket. Cook at 375°F for 10 minutes, flip, then cook 5–7 more minutes. Smaller batches work best.
Q6: How do I prevent them from sticking?
Always use parchment paper or a silicone mat. Never use foil or bare trays. Also, let them cool for a few minutes before trying to remove—they release easier when slightly cooled.
Q7: Are these chips kid-friendly?
Yes! Kids love the crunch and fun shapes. Try slicing with a crinkle cutter for wavy chips. Let them help season—use mild flavors like garlic, cheese, or just salt. A great way to get kids into the kitchen.
🎥 Related Video: Oven Baked Potato Chips 🥔 #homemade #bakedpotatochips #baked #potatochips #potatoes #easyrecipe
📺 KITCHENTOOL
Final Thoughts
Making crispy potato chips in the oven isn’t just possible—it’s easy. With the right prep, a few simple tools, and attention to detail, you can enjoy a healthier, tastier snack that beats anything from a bag.
Remember the core of the How Do I Make Potato Chips in the Oven Easy Crispy Recipe: thin slices, starch removal, thorough drying, single layer, and flipping halfway. Follow these, and you’ll get golden, crunchy chips every time.
Don’t be afraid to experiment. Try new seasonings, mix potato types, or make giant batches for parties. The best part? You know exactly what’s in them—no preservatives, no mystery oils.
Next time you’re craving chips, skip the store. Grab some potatoes, fire up the oven, and enjoy the crunch of homemade. Your taste buds (and your health) will thank you.
Now go make a batch—and let us know your favorite flavor combo in the comments!