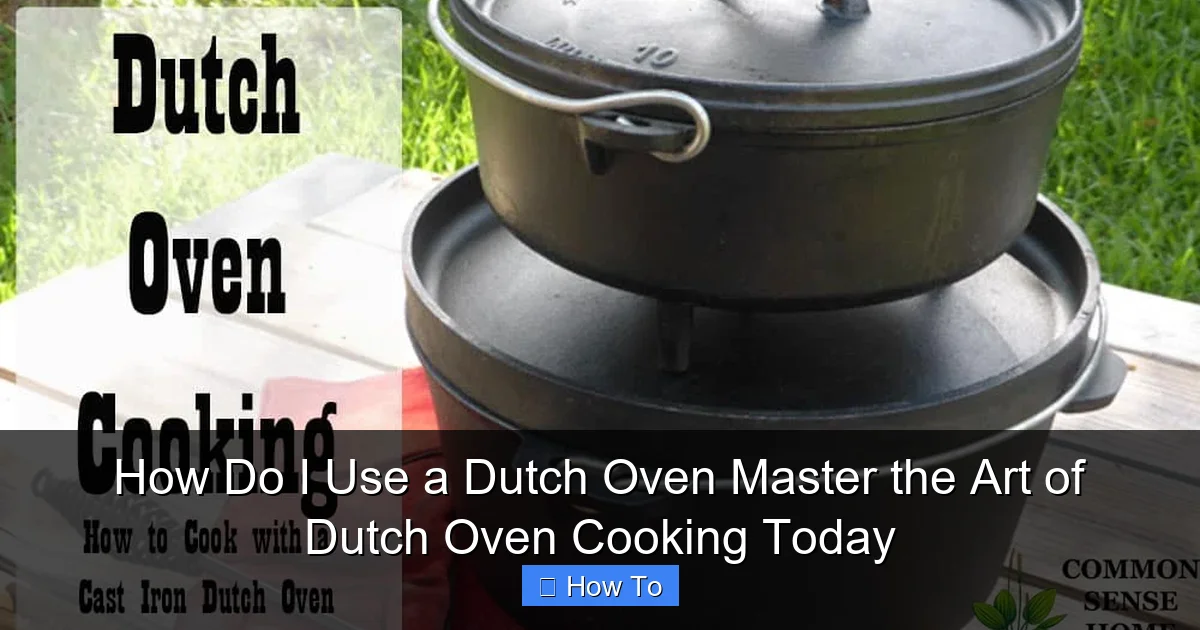
Featured image for how to use a dutch oven
Image source: commonsensehome.com
Mastering a Dutch oven starts with preheating it properly—always heat it gradually to avoid thermal shock and ensure even cooking. Whether you’re searing, braising, or baking, this versatile pot excels on the stovetop, in the oven, or over a campfire, making it a kitchen essential. Use its tight-fitting lid to trap moisture and flavor, unlocking restaurant-quality meals with minimal effort.
How Do I Use a Dutch Oven Master the Art of Dutch Oven Cooking Today
Why This Matters / Understanding the Problem
You’ve got a Dutch oven sitting in your kitchen—maybe it was a gift, a thrift store find, or a recent purchase—but you’re not sure where to start. It feels heavy, looks intimidating, and you keep wondering: how do I use a Dutch oven master the art of Dutch oven cooking today?
You’re not alone. Many home cooks avoid using Dutch ovens because they think they’re only for soups or campfires. But the truth? This single pot can handle roasting, baking, braising, frying, and even baking bread—all with restaurant-quality results.
Whether you’re making a cozy beef stew, a crusty loaf of sourdough, or a one-pot chili, learning how to use a Dutch oven opens up a world of flavor and convenience. And the best part? It’s easier than you think.
What You Need
Before we jump into the steps, let’s gather what you’ll need. Don’t worry—most of these are already in your kitchen.
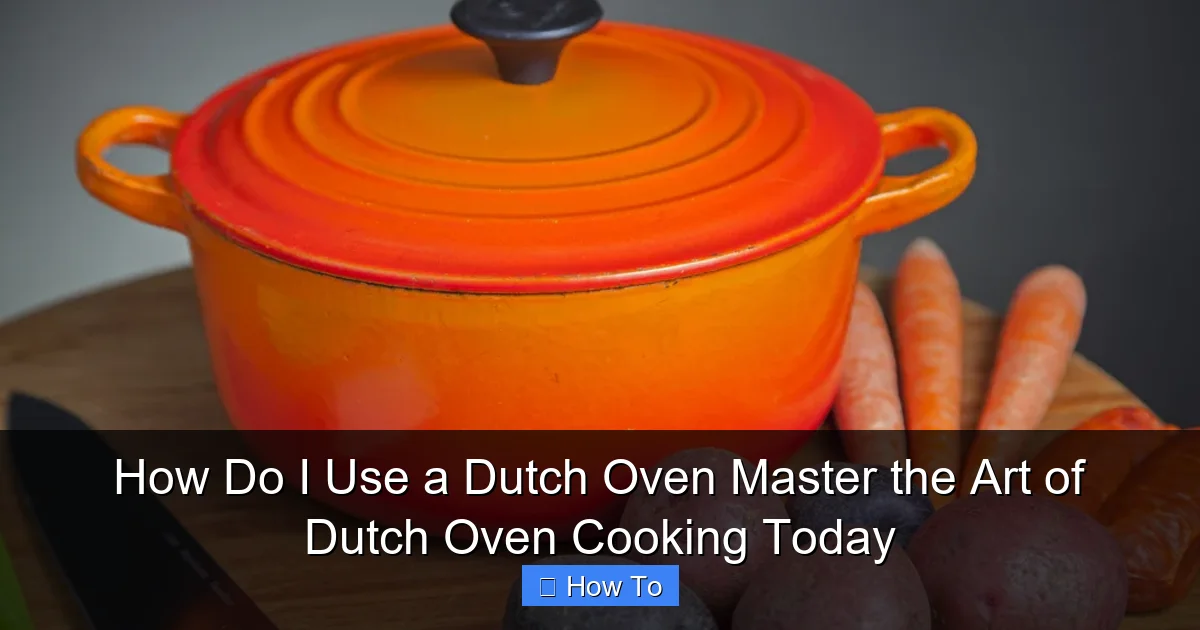
Visual guide about how to use a dutch oven
Image source: i.pinimg.com
- Your Dutch oven (cast iron or enameled; 5–7 quarts is ideal for most home cooking)
- Stove or oven (gas, electric, or induction—works on all)
- Tongs, wooden spoon, or silicone spatula
- Trivet or oven mitts (Dutch ovens get *hot*)
- Ingredients for your first dish (try a simple stew or chili)
- Vegetable oil or butter (for searing and sautéing)
- Optional: parchment paper, meat thermometer, lid lifter (for camp cooking)
Pro tip: If you have an enameled Dutch oven, you don’t need to season it like bare cast iron. But if you have a bare cast iron model, make sure it’s well-seasoned before use. Either way, how do I use a Dutch oven master the art of Dutch oven cooking today starts with the right setup.
Step-by-Step Guide to How Do I Use a Dutch Oven Master the Art of Dutch Oven Cooking Today
Step 1: Choose the Right Size and Type
Not all Dutch ovens are the same. A 5–7 quart pot is perfect for 2–6 people. Too small, and food spills. Too big, and ingredients steam instead of sear.
Visual guide about how to use a dutch oven
Image source: serendipitymommy.com
There are two main types: enameled cast iron (great for acidic foods like tomato sauce) and bare cast iron (needs seasoning, but excellent heat retention). Both work beautifully for Dutch oven cooking.
For beginners, enameled is easier. No need to worry about rust or seasoning. Just wash, dry, and go.
Step 2: Preheat the Dutch Oven (Yes, Really!)
One of the biggest mistakes? Adding food to a cold Dutch oven. Cast iron heats slowly and evenly—but only if you let it warm up first.
Place your Dutch oven on the stove over medium heat for 3–5 minutes. You’ll know it’s ready when a few drops of water sizzle and dance across the surface (called the “leidenfrost effect”).
Preheating ensures even searing, prevents sticking, and helps lock in moisture—key to mastering how do I use a Dutch oven master the art of Dutch oven cooking today.
Step 3: Sear Your Ingredients for Maximum Flavor
Want restaurant-level flavor? Start with a good sear. Whether it’s beef, chicken, or mushrooms, browning creates a rich, caramelized crust.
Add 1–2 tablespoons of oil (avocado or canola work best). Then, add your meat or veggies in a single layer—don’t overcrowd! Crowding lowers the temperature and steams instead of sears.
Let it cook undisturbed for 3–4 minutes. When it lifts easily with a spatula, it’s ready to flip. This step builds the flavor base for stews, roasts, and braises.
Step 4: Add Aromatics and Liquids
Once your meat is browned, push it to one side and add chopped onions, garlic, carrots, or celery. Sauté for 2–3 minutes until fragrant.
Now, pour in your liquid: broth, wine, tomato sauce, or beer. Deglaze by scraping the bottom with a wooden spoon—this lifts all the tasty browned bits (called fond).
For stews or braises, use enough liquid to cover the ingredients halfway. For roasting, just enough to keep things moist. Remember: Dutch ovens retain moisture, so less liquid is often more.
Step 5: Cover and Cook Low and Slow
Here’s where the magic happens. The heavy lid traps steam, creating a mini oven inside. This slow, moist heat breaks down tough cuts of meat and infuses flavor.
Bring the liquid to a gentle simmer, then reduce heat to low. Or, transfer the Dutch oven to a preheated oven (325°F–375°F). Oven cooking is great for even heat and hands-off cooking.
Let it cook for 1.5 to 3 hours, depending on the recipe. Check occasionally—but don’t lift the lid too often. Every peek drops the temperature.
Step 6: Bake Bread or Desserts (Yes, Really!)
Did you know you can bake bread in a Dutch oven? The lid creates a steamy environment, giving your loaf a crisp, bakery-style crust.
Preheat the Dutch oven in the oven at 450°F for 30 minutes. Then, carefully add your shaped dough (use parchment paper to avoid burns). Cover and bake for 30 minutes. Remove the lid and bake 10–15 more minutes for browning.
You can also make cobblers, cakes, and even pizza. The Dutch oven cooking versatility is endless.
Step 7: Finish and Serve
Once your dish is cooked, turn off the heat. Let it rest for 5–10 minutes. This helps flavors settle and prevents burns.
Use oven mitts to remove the lid—watch for steam! Then, season to taste with salt, pepper, or fresh herbs.
Serve directly from the Dutch oven. It doubles as a serving dish, keeps food warm, and looks impressive on the table.
Pro Tips & Common Mistakes to Avoid
Pro Tip: Use parchment paper when baking bread. It prevents sticking and makes removing the loaf easy. No need to grease the pot.
Pro Tip: For camp cooking, use coals. Place 10–12 coals on the lid and 5–8 under the pot. This mimics an oven’s even heat.
Warning: Never put a hot Dutch oven on a cold surface (like granite). Thermal shock can crack cast iron. Always use a trivet.
Warning: Avoid metal utensils with enameled Dutch ovens. They can scratch the surface. Stick to wood or silicone.
Common Mistake #1: Overcrowding the pot. This causes steaming instead of searing. Brown in batches if needed.
Common Mistake #2: Lifting the lid too often. It cools the pot and slows cooking. Only check when necessary.
Common Mistake #3: Not preheating. Cold cast iron doesn’t sear well. Always warm it up first.
Bonus tip: Store your Dutch oven with the lid slightly ajar. This prevents moisture buildup, especially in bare cast iron.
Mastering how do I use a Dutch oven master the art of Dutch oven cooking today isn’t about perfection—it’s about practice. Try one new recipe each week.
FAQs About How Do I Use a Dutch Oven Master the Art of Dutch Oven Cooking Today
Q: Can I use my Dutch oven on an induction cooktop?
Yes! Cast iron is magnetic, so it works perfectly on induction. Just make sure your enameled Dutch oven is induction-safe (most are).
Q: How do I clean an enameled Dutch oven?
Let it cool slightly, then wash with warm, soapy water and a soft sponge. Avoid abrasive scrubbers. For stuck-on food, soak with warm water and baking soda. Never use steel wool.
Q: Can I cook acidic foods (like tomato sauce) in bare cast iron?
Not recommended. Acid can strip the seasoning and leach iron into your food. Use enameled Dutch ovens for tomatoes, wine-based sauces, or vinegar-heavy dishes.
Q: Do I need to season an enameled Dutch oven?
Nope. The enamel coating protects the cast iron. Just wash and dry after use. But if you have bare cast iron, season it once a month with a thin layer of oil and heat in the oven.
Q: Why does my Dutch oven smoke when I heat it?
Smoke usually comes from oil or food residue burning off. Wipe the pot clean before use. Also, avoid heating oil past its smoke point (e.g., olive oil at high heat). Use high-smoke oils like avocado or grapeseed.
Q: Can I use my Dutch oven in a campfire?
Absolutely! Just use a trivet or grill to keep it off direct flames. Use coals for even heat. And always use a lid lifter—those lids get extremely hot.
Q: What’s the best first recipe to try?
Start with beef stew or chili. They’re forgiving, flavorful, and perfect for learning the sear-braise method. Or try a no-knead bread—it’s foolproof and impressive.
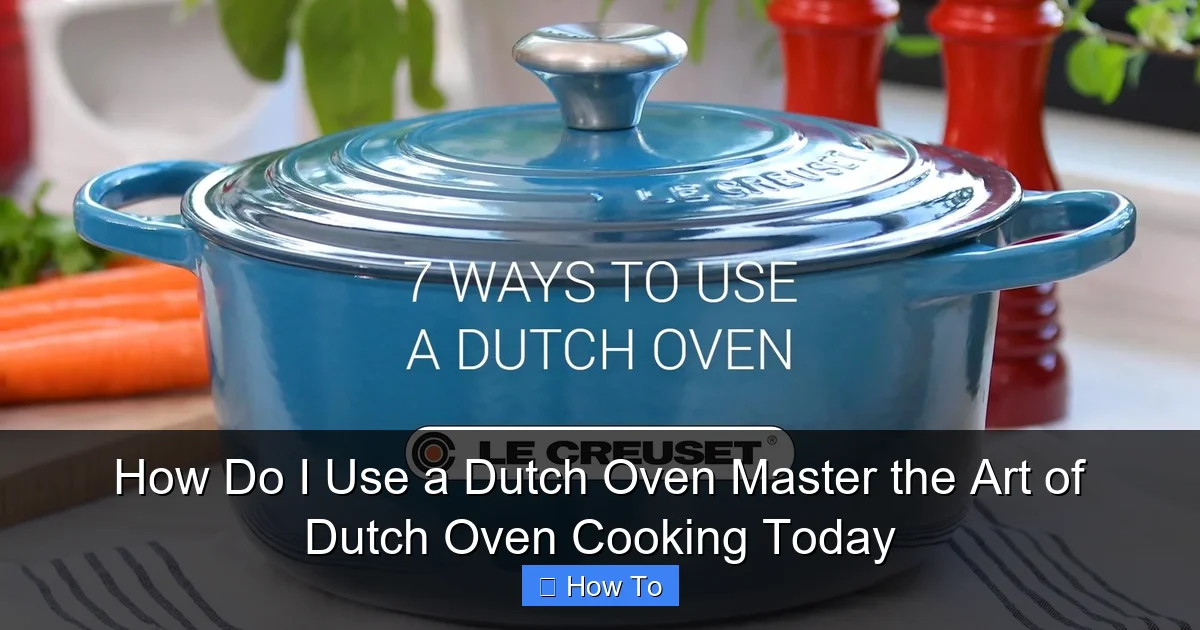
🎥 Related Video: 7 Ways to Use a Dutch Oven
📺 Le Creuset
A Le Creuset Dutch Oven is useful for more than just soups and stews — it’s a versatile workhorse that can handle just about any …
Final Thoughts
You now know how do I use a Dutch oven master the art of Dutch oven cooking today—and it’s not magic. It’s about understanding heat, timing, and technique.
Start simple. Make a stew. Bake bread. Try a one-pot pasta. Each dish builds confidence and skill. And before you know it, your Dutch oven will be your most-used pot.
Remember: this tool isn’t just for special occasions. Use it for weeknight meals, Sunday roasts, or even desserts. Its durability and versatility make it a kitchen hero.
So don’t let it gather dust. Pull it out, preheat it, and cook something delicious. The art of Dutch oven cooking is waiting for you—and it’s easier than you think.
Your next great meal starts in a Dutch oven. Master it today.