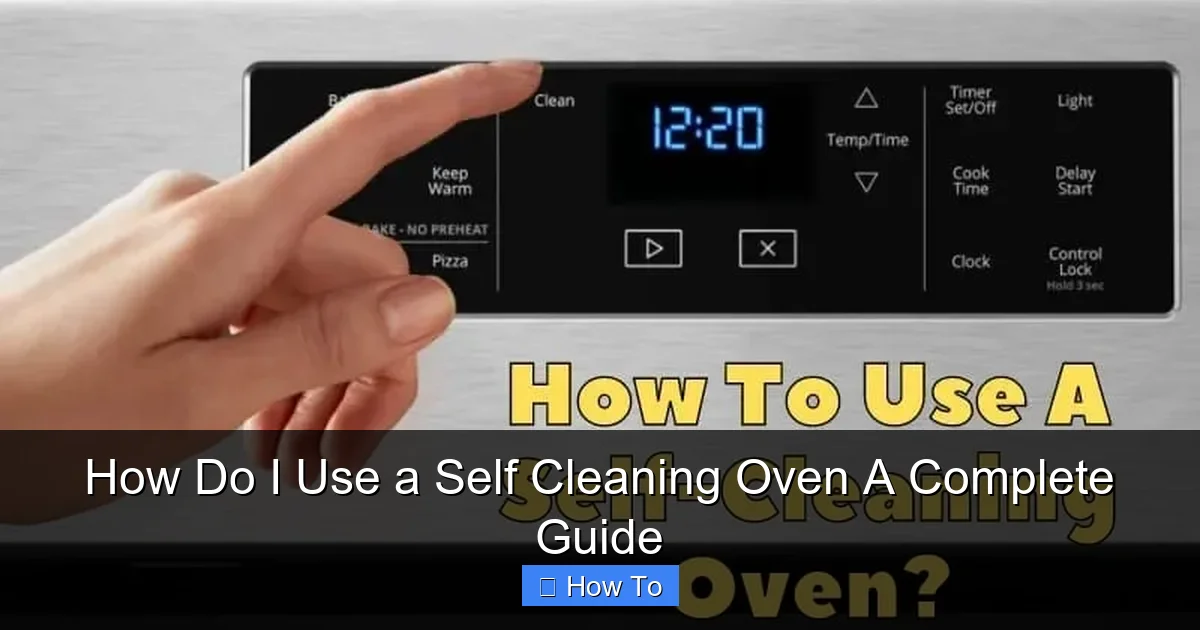
Featured image for how to use a self cleaning oven
Image source: howtofixit.net
Using a self-cleaning oven is simple and safe when you follow the manufacturer’s instructions and remove all racks and debris first. Activate the cleaning cycle, which heats the oven to extremely high temperatures to burn off residue, then wipe away the ash once cooled. Never use chemical cleaners or leave items inside during the cycle to avoid damage or hazards.
How to How Do I Use a Self Cleaning Oven A Complete Guide
Why This Matters / Understanding the Problem
Oven grime builds up fast—grease splatters, burnt cheese, and mystery stains from last week’s casserole. Scrubbing with harsh chemicals is tiring, messy, and often doesn’t get everything. That’s where the self-cleaning oven comes in. But if you’ve ever asked, “How do I use a self cleaning oven a complete guide?”, you’re not alone. Many people avoid this feature because they’re unsure how it works, fear damage, or worry about fumes.
The truth? When used correctly, a self-cleaning oven is one of the safest and most effective ways to deep-clean your appliance. This How Do I Use a Self Cleaning Oven A Complete Guide will walk you through every detail—so you can skip the scrubbing, save time, and keep your oven in top shape.
Whether you have a gas or electric model, this guide covers everything from prep to post-clean care, ensuring you get a sparkling oven without the elbow grease.
What You Need
Before you start, gather these tools and supplies. You don’t need anything fancy—just a few basics to make the process smooth and safe.

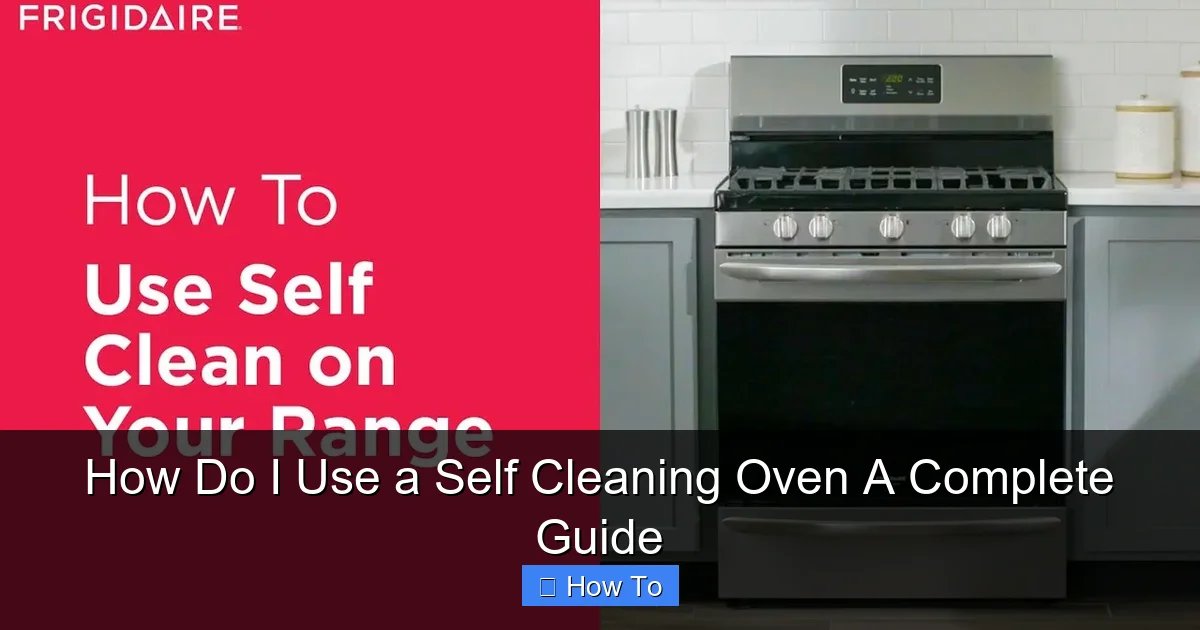
Visual guide about how to use a self cleaning oven
Image source: prohousekeepers.com
- Oven-safe gloves (heat-resistant)
- Protective goggles (optional but recommended)
- Soft microfiber cloth or sponge
- Warm, soapy water (for post-clean wipe down)
- Plastic bag or container (to store removable parts)
- Ventilation: Open windows or turn on kitchen exhaust fan
- Timer (your phone or kitchen timer)
- Owner’s manual (for model-specific settings)
Note: Avoid using chemical cleaners before or during the self-clean cycle. The high heat will break down residue naturally—no extra products needed. This How Do I Use a Self Cleaning Oven A Complete Guide focuses on using your oven’s built-in feature safely and effectively.
Step-by-Step Guide to How Do I Use a Self Cleaning Oven A Complete Guide
Step 1: Remove Everything from the Oven
Start by taking out all racks, thermometers, drip pans, and any accessories. These items can discolor, warp, or even release harmful fumes when exposed to extreme heat.
Visual guide about how to use a self cleaning oven
Image source: i.ytimg.com
Place the racks in a plastic bag or container. You’ll clean them separately using a mild soap and water method—no need to run them through the self-clean cycle.
Pro Tip: If your oven has a light bulb cover, check the manual. Some models require you to remove it to prevent melting during the high-heat cycle.
Step 2: Wipe Down Loose Debris
Use a damp microfiber cloth to wipe away loose food particles, crumbs, or wet spills. Don’t scrub—just remove what you can by hand.
This step reduces smoke and odor during the cleaning cycle. Think of it like sweeping before mopping: it makes the deep clean more effective.
Remember: The self-clean function burns off residue, but large chunks can smoke heavily. Less mess inside = cleaner air in your kitchen.
Step 3: Lock the Oven Door (If Required)
Most modern self-cleaning ovens have a door lock mechanism that activates automatically during the cycle. But you must ensure the door is fully closed and latched.
Check your model: Some ovens have a manual lock switch on the side. Others engage automatically when you start the cycle. Consult your owner’s manual to confirm.
Warning: Never force the door open once the cycle starts. The lock is a safety feature—opening it mid-cycle can damage the mechanism and expose you to extreme heat.
Step 4: Set the Self-Clean Cycle
Turn your oven’s control knob or digital panel to the “Clean” or “Self-Clean” setting. You’ll usually see options for:
- Light (3–4 hours): For light to moderate buildup
- Medium (4–5 hours): For regular use and moderate grime
- Heavy (5+ hours): For tough, baked-on stains (e.g., burnt pizza, casserole disasters)
Choose based on how dirty your oven is. For routine maintenance, “Medium” works great. For a neglected oven, go with “Heavy.”
Start the cycle and let the oven heat up to 800–900°F (427–482°C). This intense heat incinerates food residue into ash.
During this phase, the oven door will lock (if equipped), and the temperature will rise gradually. You may hear a clicking sound—this is the lock engaging. Totally normal!
Step 5: Ventilate and Monitor
Turn on your kitchen exhaust fan and open nearby windows. The self-clean cycle produces smoke and strong odors as it burns off residue.
These fumes are mostly carbon dioxide and water vapor, but they can irritate pets or people with asthma. Good airflow is key.
Stay nearby for the first 30–60 minutes. If you see excessive smoke or smell burning plastic, stop the cycle and call a technician—there may be a wiring issue or foreign object inside.
Pro Tip: Schedule your cleaning for a day when you’re home but not cooking. The cycle takes several hours, and you won’t be able to use the oven during or immediately after.
Step 6: Let It Cool Completely
Once the cycle finishes, the oven will automatically shut off. But it stays very hot. Wait at least 1–2 hours before approaching the oven.
Do not try to speed up cooling with ice, water, or fans. Sudden temperature changes can crack the oven glass or damage the interior.
When it’s safe to touch, check the door lock. Some models unlock automatically when cool. Others require you to manually disengage the lock (refer to your manual).
Step 7: Wipe Away the Ash
After cooling, open the door carefully. You’ll find a fine layer of gray or white ash where the grime once was.
Use a dry microfiber cloth to wipe the ash into a trash can. Then, dampen the cloth with warm, soapy water and wipe the interior surfaces—walls, floor, and ceiling.
Rinse and repeat as needed. Avoid abrasive scrubbers—they can scratch the porcelain coating.
For stubborn ash spots, a damp sponge with baking soda works gently. Just don’t use vinegar or bleach—they can react with the oven’s interior finish.
Step 8: Reinstall Oven Racks
Clean your oven racks separately using warm, soapy water. For tough stains, soak them in the sink with dish soap and baking soda for 30 minutes, then scrub with a non-abrasive pad.
Rinse and dry thoroughly before sliding them back in. Make sure they’re aligned properly so they don’t rub against the oven walls.
Now your oven is clean, shiny, and ready for your next meal!
Pro Tips & Common Mistakes to Avoid
Pro Tip #1: Run the self-clean cycle every 3–6 months, depending on oven use. Frequent use? Clean every 3 months. Light use? Every 6 months is plenty.
Pro Tip #2: Use a drip pan or foil liner on the bottom rack when baking messy dishes. This reduces buildup and makes future cleaning easier.
Pro Tip #3: For gas ovens, ensure the pilot light or igniter is clean and functioning. A dirty igniter can cause uneven heating during the clean cycle.
Common Mistake #1: Leaving oven racks in. They’ll discolor, warp, or even melt in extreme cases. Always remove them.
Common Mistake #2: Starting the cycle with a dirty oven full of large food chunks. This creates excessive smoke and can trigger fire alarms. Wipe down first!
Common Mistake #3: Using chemical cleaners before or after self-cleaning. The residue can react with high heat, creating toxic fumes. Stick to water and mild soap.
Common Mistake #4: Forgetting to ventilate. Poor airflow leads to lingering odors and potential health risks. Always open a window and turn on the fan.
By following this How Do I Use a Self Cleaning Oven A Complete Guide, you avoid these pitfalls and get the best results every time.
FAQs About How Do I Use a Self Cleaning Oven A Complete Guide
Q1: Is the self-cleaning cycle safe for my oven?
Yes, it’s designed specifically for this purpose. However, older models or ovens with damaged insulation may overheat. Always follow your manufacturer’s guidelines and never exceed recommended cycle times.
Q2: Can I use the self-clean function on a convection oven?
Absolutely. Convection ovens have self-clean options too. The fan helps circulate heat evenly, making the cleaning more effective. Just ensure the fan isn’t blocked by debris.
Q3: Why does my oven smell like burning plastic during cleaning?
This usually happens if you left a plastic utensil, food wrapper, or oven liner inside. It can also occur if the oven has wiring issues. Stop the cycle and inspect. If the smell persists, contact a technician.
Q4: How long does the self-clean cycle take?
Most cycles last 3–5 hours. “Light” takes about 3 hours; “Heavy” can take 5–6. The cooling phase adds another 1–2 hours, so plan for a total of 4–8 hours.
Q5: Can I stop the cycle early if I need to use the oven?
Yes, but only before the door locks. Once the cycle starts and the lock engages, you must wait for it to finish or let it cool completely. Stopping mid-cycle may leave residue partially burned.
Q6: Will the self-clean cycle damage my oven’s interior?
Not if used correctly. Avoid frequent heavy cycles (more than once every 3 months), as repeated extreme heat can weaken the oven cavity over time. Follow the How Do I Use a Self Cleaning Oven A Complete Guide schedule for best results.
Q7: What if my oven doesn’t have a self-clean setting?
No problem! Use a commercial oven cleaner (like Easy-Off) or a paste of baking soda and water. Apply, wait 12–24 hours, then scrub. It’s more labor-intensive, but effective.
🎥 Related Video: How to Perform a Self-Clean Cycle
📺 GE Appliances
Learn how to perform a self-clean cycle on your GE range or stove.
Final Thoughts
Using a self-cleaning oven doesn’t have to be intimidating. With the right prep and a little patience, you can enjoy a spotless oven without scrubbing for hours. This How Do I Use a Self Cleaning Oven A Complete Guide gives you everything you need: clear steps, safety tips, and answers to your biggest questions.
Remember: Remove racks, wipe debris, choose the right cycle, ventilate well, and let it cool. That’s it. No chemicals, no stress, just clean.
Next time you bake a lasagna or roast a chicken, don’t stress about the mess. Just plan your self-clean cycle for the weekend, and wake up to a fresh oven. Your future self will thank you.
Now that you’ve mastered this process, make it a habit. Set a reminder every few months. A clean oven isn’t just about looks—it cooks better, lasts longer, and keeps your kitchen smelling fresh.
So go ahead—hit that “Clean” button with confidence. You’ve got this!