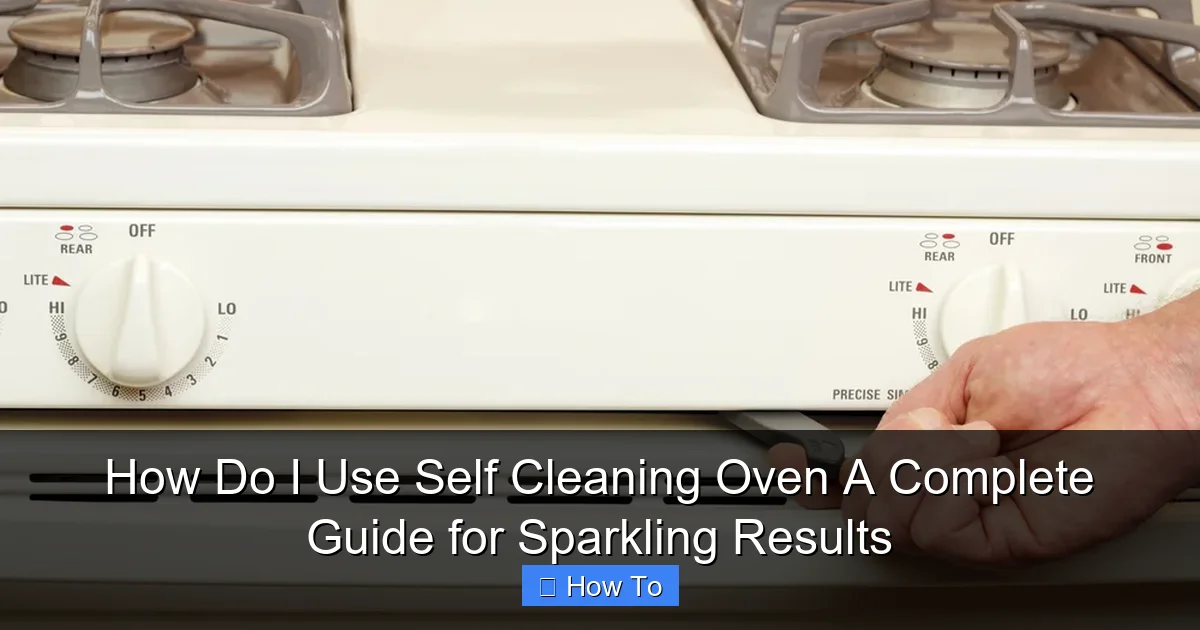
Featured image for how to use self cleaning oven
Image source: bobvila.com
Unlock effortless oven cleaning with your self-cleaning feature—simply remove racks, close the door, and select the cycle for a spotless interior in hours. This guide walks you through safe, step-by-step instructions, from prepping your oven to handling ash residue, ensuring sparkling results without harsh chemicals or scrubbing. Save time and protect your appliance with expert tips tailored for every self-cleaning oven model.
How to How Do I Use Self Cleaning Oven A Complete Guide for Sparkling Results
Why This Matters / Understanding the Problem
Ever opened your oven and been greeted by baked-on spaghetti sauce, greasy fingerprints, or that mysterious charred spot from last week’s casserole? Cleaning the oven is one of those household chores nobody enjoys—scraping, scrubbing, and using harsh chemicals just to get mediocre results. That’s where the self-cleaning oven comes in. If you’ve ever asked, “How do I use self cleaning oven a complete guide for sparkling results?”—you’re not alone. Many people avoid using this feature because they’re unsure how it works, fear damage, or don’t know the right steps to maximize its effectiveness.
The truth is, your self-cleaning oven can turn stubborn grime into ash with minimal effort—but only if you use it correctly. Missteps can lead to smoke, lingering odors, or even damage to oven components. This guide walks you through the entire process, from prep to post-clean inspection, ensuring your oven comes out spotless and safe. Whether you’re a first-time user or a hesitant veteran, this complete guide to self-cleaning ovens will give you the confidence to tackle oven messes like a pro.
What You Need
Before you start, gather these essential tools and materials. You don’t need fancy gear—just a few basics to protect your home and get the best results from your self-cleaning oven.
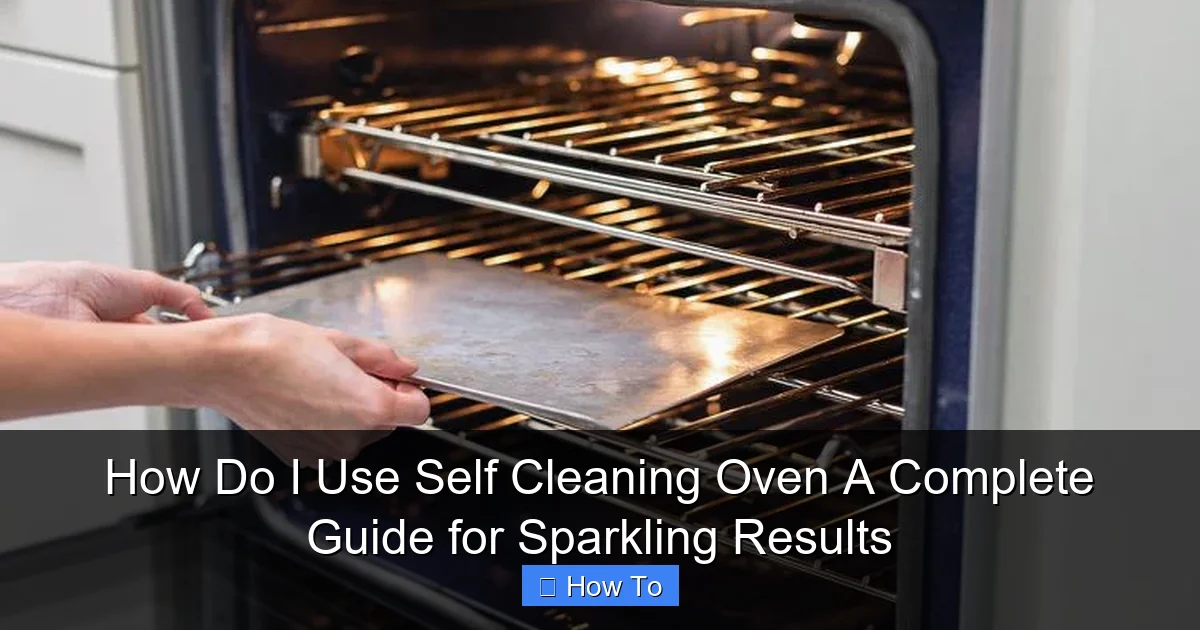
Visual guide about how to use self cleaning oven
Image source: thespruce.com
- Oven racks (optional): Most guides say you can leave them in, but we recommend removing them to avoid discoloration or warping.
- Oven-safe container: A metal baking sheet or roasting pan to catch drips if you’re worried about smoke.
- Rubber gloves: For handling hot racks after cleaning.
- Soft microfiber cloth: To wipe down the oven door and interior after the cycle.
- Oven cleaner (optional): For cleaning racks in the sink or tub if you remove them.
- Ventilation tools: Open windows, turn on exhaust fans, or use a box fan to reduce smoke and odor.
- Timer: Most self-clean cycles last 2–4 hours—set a reminder so you don’t forget.
Pro tip: Check your oven’s user manual for model-specific instructions. Some high-end ovens have steam-clean or light clean modes that are gentler and faster. This complete guide to self-cleaning ovens covers the standard high-heat cycle, but knowing your oven’s features helps you pick the best method.
Step-by-Step Guide to How Do I Use Self Cleaning Oven A Complete Guide for Sparkling Results
Step 1: Clear the Oven and Remove Racks (Recommended)
Start by taking everything out of the oven—baking sheets, thermometers, pizza stones, and especially the racks. While some manufacturers say racks can stay in, high heat (up to 900°F!) can cause discoloration, warping, or permanent staining. Removing them protects their finish and makes post-cleaning easier.
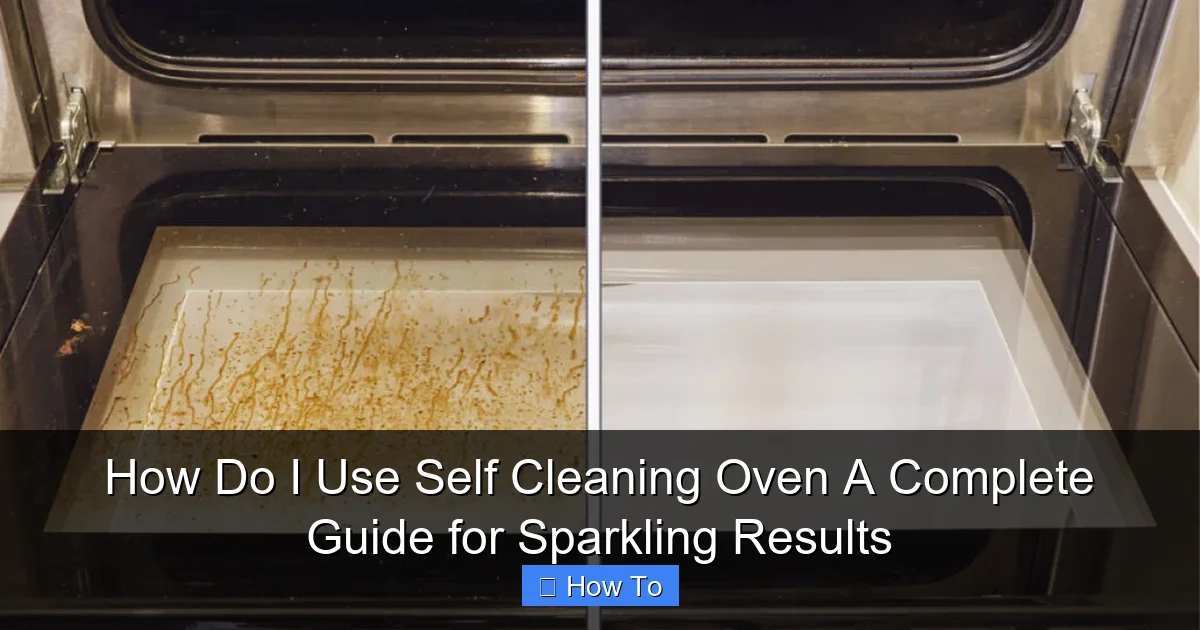
Visual guide about how to use self cleaning oven
Image source: cdn.homedit.com
If you choose to leave them in, inspect for loose or damaged parts. A wobbly rack can fall during the cycle and damage the oven floor.
💡 Pro Tip: Clean the racks separately in the sink with warm, soapy water and a scrub brush. For stubborn stains, use a paste of baking soda and water. Let them soak while the oven runs.
Step 2: Wipe Out Loose Debris
Use a dry microfiber cloth or paper towel to wipe away loose crumbs, grease, or spills. You don’t need to scrub—just remove large particles. The self-cleaning cycle will handle the rest, but starting with a tidy oven reduces smoke and odor.
Never use liquid cleaners or water inside the oven before the cycle. Moisture can damage the heating elements or create steam that stresses the oven walls.
For sticky spots, gently scrape with a plastic spatula. Avoid metal tools—they can scratch the interior enamel.
Step 3: Close and Lock the Oven Door
Make sure the door is fully closed and latched. Most self-cleaning ovens have a door lock mechanism that activates automatically when the cycle starts. This keeps the door shut for safety and maintains the high temperature needed for cleaning.
Never force the door open during the cycle. The oven will stay locked until it cools to a safe temperature (usually below 450°F).
⚠️ Warning: Keep pets and kids away from the oven during cleaning. The door gets extremely hot, and the lock prevents accidental opening.
Step 3a: Set the Self-Clean Cycle (Gas vs. Electric)
On electric ovens, press the “Clean” or “Self Clean” button. Choose the duration (usually 2–4 hours) based on how dirty the oven is. A light mess? Go with 2 hours. Heavy buildup? Opt for 3–4.
On gas ovens, the process is similar, but some models require you to turn the knob to “Clean” and set a timer. The oven will preheat to the cleaning temperature and run the cycle automatically.
Double-check that the cycle has started. You’ll hear fans running and see the temperature climb on the display.
Step 4: Ventilate the Kitchen
As the oven heats up, it will burn off food residue, producing smoke and a strong odor. This is normal, but it can set off smoke alarms or bother sensitive lungs.
Open nearby windows and turn on the kitchen exhaust fan. Place a box fan in a window to pull smoke outside. If you have a range hood, run it on high.
For extra odor control, place a bowl of vinegar or lemon slices on the stovetop. The mild scent helps neutralize the burnt smell.
💡 Pro Tip: Run the self-clean cycle during cooler parts of the day (like early morning) to avoid overheating your kitchen. Avoid using it in summer if your AC is struggling!
Step 5: Let the Cycle Finish and Cool Down
The cycle will run for the set time (2–4 hours), then begin cooling. This can take another 1–2 hours. The oven door will remain locked until it’s safe to open.
Never try to speed up cooling by opening the door or using ice. Rapid temperature changes can crack the oven door glass or damage internal components.
Use this time to clean the oven racks in the sink or prep dinner. Just don’t forget—set a timer so you don’t leave the oven unattended for too long.
Step 6: Wipe Away Ash and Residue
Once the oven is cool and the door unlocks, open it carefully. You’ll see a layer of fine, gray ash—this is what’s left of the baked-on gunk. Use a damp microfiber cloth to wipe it away. The ash should come off easily with light pressure.
If you see stubborn spots, use a plastic scraper or a paste of baking soda and water. Never use steel wool or abrasive cleaners—they’ll scratch the enamel.
For the oven window, use a glass cleaner or a mix of vinegar and water. Wipe in a circular motion for a streak-free shine.
Step 7: Reassemble and Inspect
Reinsert the oven racks. Make sure they slide in smoothly and lock into place. Check the oven floor for any missed ash or debris.
Give the interior one final wipe to remove fingerprints or smudges. Now your oven is not just clean—it’s sparkling and ready for use.
Run a quick 5-minute preheat (to 350°F) to burn off any remaining residue or cleaning product traces. This ensures your next meal doesn’t taste like smoke.
Pro Tips & Common Mistakes to Avoid
Even with the complete guide to self-cleaning ovens, small errors can ruin your results. Here’s how to avoid them:
- Don’t clean a brand-new oven with heavy buildup: If you’ve never cleaned it, do a light manual clean first. The self-clean cycle can struggle with extreme grease, leading to smoke and incomplete cleaning.
- Avoid using self-clean on a hot oven: Let it cool to room temperature first. Starting with a hot oven can damage the thermostat or heating elements.
- Never use water or liquid cleaners during the cycle: It can cause steam damage or electrical issues.
- Don’t ignore smoke alarms: If your alarm goes off, don’t panic. Open windows, turn on fans, and wait it out. If smoke is excessive, cancel the cycle (if possible) and ventilate.
- Check your oven light: The high heat can burn out the light bulb. Replace it after cleaning if it’s dim or out.
💡 Pro Tip: Use the self-clean feature every 3–6 months, depending on use. Regular cleaning prevents buildup and makes each cycle faster and more effective.
FAQs About How Do I Use Self Cleaning Oven A Complete Guide for Sparkling Results
Q: Can I leave the oven racks in during the self-clean cycle?
A: Technically, yes—but we recommend removing them. The extreme heat can discolor, warp, or permanently stain the racks. Cleaning them separately in the sink is safer and gives better results. This is a key part of our complete guide to self-cleaning ovens.
Q: How hot does the oven get during self-cleaning?
A: It reaches 800–900°F (427–482°C). This is hot enough to incinerate food residue but not so hot that it damages the oven—if used correctly.
Q: Why does my oven smoke during the cycle?
A: Smoke happens when grease and food particles burn off. It’s normal, but excessive smoke means you had too much buildup. Wipe the oven before cleaning to reduce it. Always ventilate well!
Q: Can I cancel the self-clean cycle?
A: Most ovens let you cancel by pressing “Cancel” or “Stop,” but the door will stay locked until the oven cools. Never force it open.
Q: Is self-cleaning safe for all oven types?
A: Yes, for ovens with a self-clean feature. But never use it on non-oven appliances (like toaster ovens or microwaves). Check your manual for model-specific rules.
Q: How often should I use the self-clean function?
A: Every 3–6 months is ideal. Overusing it can wear out door seals or heating elements. For light messes, try a quick wipe or a shorter “light clean” mode if your oven has one.
Q: What if the oven door won’t unlock after cooling?
A: Wait longer—it may still be too hot. If it’s been 4+ hours and still locked, check the manual for a reset. Unplug the oven for 10 minutes, then plug it back in.
🎥 Related Video: Oven Cleaning Hack – The Easiest Way to Get a Spotless Oven! #oven #cleaning #tricks
📺 All Star Clean & Clear
Check this https://www.cleaningservicenear.com/ Oven Cleaning Hack – The Easiest Way to Get a Spotless Oven! ✨ #oven …
Final Thoughts
Using your self-cleaning oven doesn’t have to be scary or overwhelming. By following this complete guide to self-cleaning ovens, you’ll get sparkling results without the elbow grease of traditional cleaning. Remember: prep is key—remove racks, clear debris, and ventilate. Let the oven do the hard work, then wipe away the ash for a like-new interior.
Don’t let fear of smoke or confusion hold you back. With the right steps, your oven can stay clean, safe, and ready for your next meal. So the next time you ask, “How do I use self cleaning oven a complete guide for sparkling results?”—you’ll have the answer: just follow this guide, stay patient, and let the heat handle the mess.
Now go enjoy your clean oven—and maybe bake a batch of cookies to celebrate!