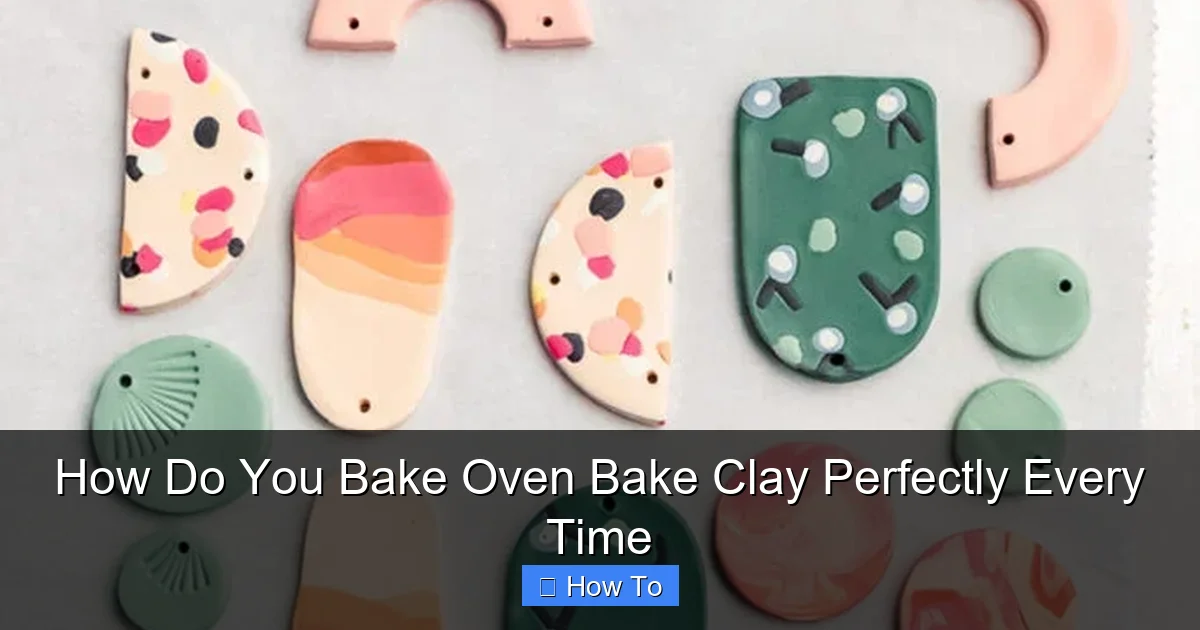
Featured image for how to bake oven bake clay
Image source: sarahmaker.com
Precision is key when baking oven-bake clay—always follow the manufacturer’s recommended temperature and time to prevent burning or under-curing. Use an oven thermometer and bake on a lined tray for even heat distribution and consistent, professional results every time.
How to How Do You Bake Oven Bake Clay Perfectly Every Time
Why This Matters / Understanding the Problem
Ever pulled your handmade clay creation out of the oven, only to find cracks, warping, or a brittle mess? You’re not alone. Many crafters struggle with how do you bake oven bake clay perfectly every time—especially when projects take hours to sculpt. Oven-bake clay (like Sculpey, FIMO, or Premo) is a favorite for jewelry, figurines, and DIY décor, but improper baking ruins even the most detailed designs.
The good news? With the right technique, you can bake clay safely and consistently. This guide covers everything from prep to post-bake care, so your creations stay strong, smooth, and professional-looking. Whether you’re making a custom keychain or a detailed sculpture, mastering the baking process is key to long-lasting results.
What You Need
Before you start, gather these tools and materials. Having them ready saves time and prevents mistakes.
Visual guide about how to bake oven bake clay
Image source: i.pinimg.com
- Oven-bake polymer clay (e.g., Sculpey III, FIMO Soft, Premo!)
- Oven thermometer (crucial for accurate temperature)
- Baking surface: glass, ceramic tile, or parchment paper on a baking sheet
- Timer (use your phone or kitchen timer)
- Aluminum foil (for covering delicate parts)
- Oven mitts (to handle hot items safely)
- Cooling rack (prevents condensation and warping)
- Clay conditioning tools (roller, pasta machine, or hands)
Pro tip: Avoid using your regular baking pans for clay—they can retain odors or transfer food residues. Dedicate a pan or tile just for clay projects.
Step-by-Step Guide to How Do You Bake Oven Bake Clay Perfectly Every Time
Step 1: Preheat Your Oven & Use a Thermometer
Never skip preheating. Set your oven to the temperature listed on your clay’s packaging (usually 265°F–275°F or 130°C). This ensures even heat from the start.
Visual guide about how to bake oven bake clay
Image source: i.ytimg.com
Place an oven thermometer inside and wait for it to stabilize. Most ovens run hotter or cooler than displayed—this is the #1 cause of under/over-baked clay. For example, your oven might show 275°F but actually hit 300°F, leading to scorching.
Warning: Never rely on the oven’s built-in dial. Always use a thermometer to verify temperature. This is essential for knowing how do you bake oven bake clay perfectly every time.
Step 2: Prepare Your Baking Surface
Place your clay piece on a heat-safe surface. Use one of these options:
- Glass pan: Provides even heat but can trap moisture.
- Ceramic tile: Great for flat pieces; heats evenly and cools slowly.
- Parchment paper on a baking sheet: Prevents sticking and makes removal easy.
For 3D pieces, elevate them slightly. Use a wire cooling rack inside a pan or place them on a bed of cornstarch (acts as a heat diffuser and prevents flat spots).
Example: Baking a clay bowl? Place it upside-down over a small glass or bowl to maintain its shape.
Step 3: Position Clay Correctly in the Oven
Space matters. Arrange your pieces with at least 1 inch (2.5 cm) between them. This allows heat to circulate and prevents melting or fusing.
For tall or delicate items (like a clay vase), wrap the top with aluminum foil. This shields thin areas from direct heat, which can scorch or collapse.
Place the pan in the center rack of the oven. Avoid the top or bottom racks, where heat is uneven.
Step 4: Set the Right Bake Time
Bake time depends on thickness, not just size. Use this rule: 15 minutes per 1/4 inch (6 mm) of thickness. For example:
- A 1/4-inch thick tile: 15 minutes
- A 1/2-inch thick figurine: 30 minutes
- A 3/4-inch sculpture: 45 minutes
Set a timer and do not open the oven door during baking. Sudden temperature drops cause cracking. If you need to check, turn on the oven light and look through the window.
Step 5: Monitor the Baking Process
While you can’t open the door, you can observe. Watch for these signs:
- Color change: Clay darkens slightly but shouldn’t turn brown or black.
- Smell: A faint, sweet odor is normal. A strong, acrid smell means it’s overheating.
If you smell burning, turn off the oven immediately and ventilate the room. Overbaked clay becomes brittle and may release toxic fumes (rare but possible with extreme overheating).
Step 6: Cool Gradually & Safely
After baking, turn off the oven and let the clay cool inside for 10–15 minutes. This slow cooling prevents thermal shock, which causes cracks.
Then, remove the pan and transfer the clay to a wire cooling rack. Avoid placing hot clay on cold surfaces (like a marble counter), which can warp it.
Wait until it’s fully cool (30–60 minutes) before handling. Warm clay is soft and can dent easily.
Step 7: Post-Bake Care & Finishing
Once cooled, inspect your piece. If it feels soft or gummy, it’s underbaked—re-bake for 5–10 minutes. If it’s hard but slightly rough, sand it with fine-grit sandpaper (start with 400 grit, then 800–1000 for polish).
For a glossy finish, apply a polymer clay glaze (like Varathane or Sculpey Glaze) and cure according to instructions. Some glazes require a second bake.
Real-life tip: A crafter once baked a clay ring at 300°F (15°F too high) and it cracked when cooled. After re-baking at 275°F with a thermometer, it came out perfect.
Pro Tips & Common Mistakes to Avoid
- Use a dedicated clay oven: If possible, use a toaster oven or small convection oven. It heats more evenly than a full-sized oven and reduces the risk of food contamination.
- Condition clay thoroughly: Knead it until soft and pliable. Cold, stiff clay bakes unevenly.
- Test-bake small pieces: For new projects, bake a sample first to check time/temperature.
- Avoid metal tools in the oven: Metal conducts heat and can create hot spots. Use ceramic or silicone tools if needed.
Common Mistake: Baking multiple colors together. Some clays (like white or translucent) can yellow if baked with darker clays. Bake similar colors in separate batches.
Pro Tip: For large sculptures, bake in layers. Bake the base first, then attach and bake the top. This prevents overcooking the bottom.
Warning: Never bake clay in a microwave, air fryer, or outdoor grill. These appliances don’t provide consistent, safe heat. Stick to ovens for reliable results when figuring out how do you bake oven bake clay perfectly every time.
FAQs About How Do You Bake Oven Bake Clay Perfectly Every Time
Q: Can I bake clay in a toaster oven?
A: Yes! A toaster oven is often better than a full-sized oven. It heats more evenly and uses less energy. Just ensure the thermometer fits and the pan isn’t touching the heating elements.
Q: Why does my clay crack after baking?
A: Cracks usually mean thermal shock (opening the oven too soon) or underbaking. Cool the clay slowly in the oven, and always bake for the full recommended time based on thickness.
Q: Can I re-bake clay if it’s underdone?
A: Absolutely. If your piece feels soft or flexible, re-bake it for 5–10 minutes. Just make sure it’s fully cooled first. You can re-bake 2–3 times if needed.
Q: Is it safe to bake clay in a kitchen oven?
A: Yes, as long as you follow the manufacturer’s temperature. Polymer clay is non-toxic when baked correctly. Avoid overheating (above 300°F/149°C) to prevent fumes.
Q: How do I bake clay with wire armatures?
A: Wrap the wire in aluminum foil first. This prevents the metal from transferring heat too quickly and burning the clay. Bake as usual, but add 5–10 minutes to the time.
Q: Can I paint clay before baking?
A: No. Paint can’t withstand oven heat. Always paint after baking and sealing. Use acrylics or specialized clay paints for best results.
Q: Why is my clay sticky after baking?
A: It’s likely underbaked. The clay hasn’t fully cured. Re-bake for 5–10 minutes. If it’s still sticky after two tries, the clay may be old or expired.
🎥 Related Video: Baking Polymer Clay – Everything you need to know to properly cure clay (& your FAQ's answered!)
📺 MyClayCo
This video is a Polymer Clay tutorial on how to bake and cure polymer clay correctly. This is one of the topics that we get the most …
Final Thoughts
Now you know how do you bake oven bake clay perfectly every time—it’s all about precision, patience, and the right tools. Use a thermometer, follow thickness-based bake times, and let your pieces cool slowly. These small steps make a huge difference in durability and finish.
Remember: Every crafter makes mistakes. If your first batch cracks or warps, don’t give up. Adjust your method, test again, and keep creating. With practice, you’ll bake clay like a pro—turning simple blocks into beautiful, lasting art.
Ready to start? Grab your clay, set your timer, and bake with confidence. Your next masterpiece is just an oven away!