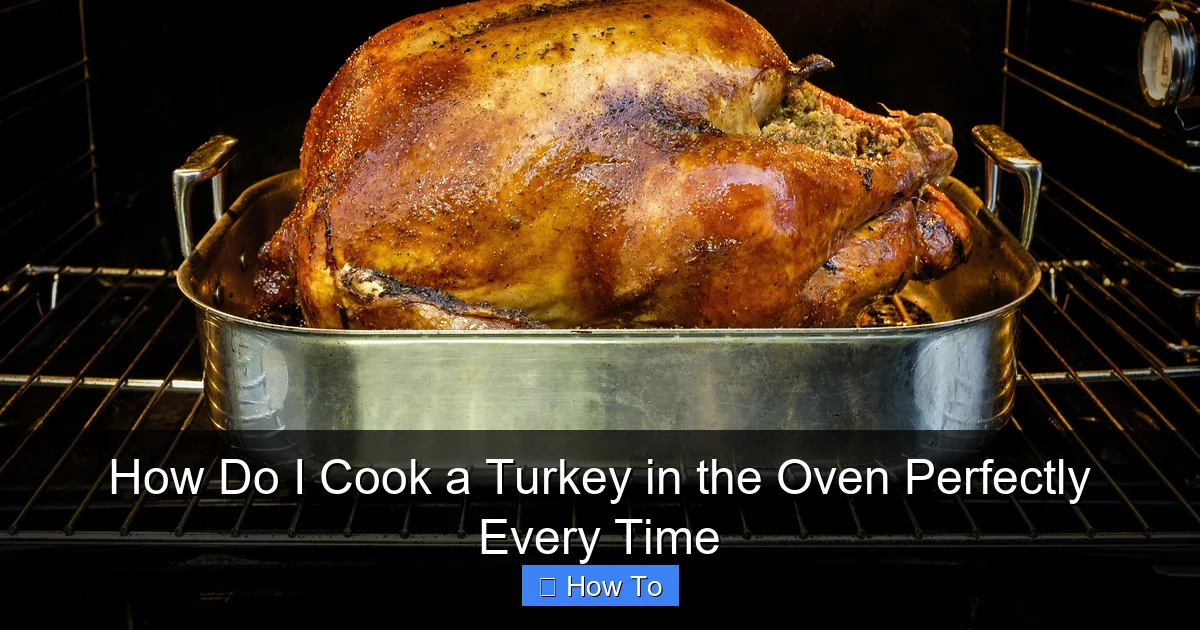
Featured image for how to cook a turkey in the oven
Image source: thespruceeats.com
Cooking a turkey in the oven perfectly every time starts with proper preparation and precise temperature control. Brine the bird for juiciness, season generously, and roast at 325°F (165°C), using a meat thermometer to ensure the thickest part of the breast reaches 165°F (74°C) and the thighs 175°F (80°C). Let it rest for 30 minutes before carving to lock in flavor and moisture—guaranteeing a golden, tender turkey every holiday.
How to How Do I Cook a Turkey in the Oven Perfectly Every Time
Why This Matters / Understanding the Problem
Let’s be real: cooking a turkey can feel like a high-stakes kitchen showdown. You’ve got one shot—especially on Thanksgiving or Christmas—to impress your family with a juicy, golden-brown bird. But every year, someone ends up with a dry turkey, a burnt skin, or worse: undercooked meat. That’s why knowing how to cook a turkey in the oven perfectly every time is more than just a recipe—it’s a skill.
Overcooking is the #1 turkey crime. It dries out the breast, ruins the flavor, and makes leftovers taste like cardboard. Undercooking? That’s a health hazard. The good news? With the right method, you can avoid both. Whether you’re a first-time cook or a seasoned pro, this guide will walk you through how to cook a turkey in the oven perfectly every time—no stress, no guesswork, just delicious results.
What You Need
Before you even preheat the oven, gather your tools and ingredients. A successful turkey starts with preparation.

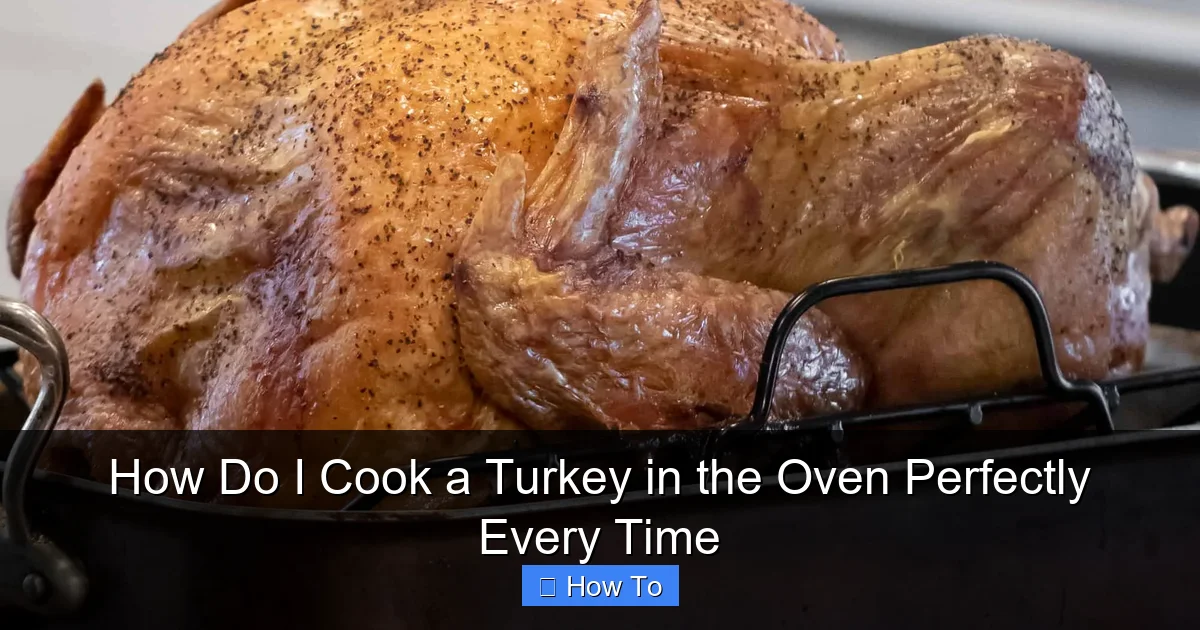
Visual guide about how to cook a turkey in the oven
Image source: cdn.apartmenttherapy.info
- Turkey: 12–16 lbs (ideal for 8–10 people; adjust size as needed)
- Roasting pan with rack: A sturdy, heavy-duty pan with a V-rack keeps the turkey elevated and promotes even browning
- Meat thermometer: Essential for checking internal temperature (don’t rely on pop-up timers)
- Oven-safe basting brush: For glazing or butter application
- Aluminum foil: For tenting to prevent over-browning
- Kitchen twine: To truss the legs and keep shape
- Fresh herbs: Sage, thyme, rosemary (optional, but adds amazing flavor)
- Butter or oil: For browning and moisture
- Seasonings: Salt, pepper, garlic powder, onion powder (simple is best)
- Optional: Citrus (lemon, orange), onion, garlic for cavity stuffing
Pro Tip: Always thaw your turkey completely before cooking. A frozen turkey will cook unevenly and take much longer. Plan for 24 hours of thawing in the fridge per 4–5 pounds.
Step-by-Step Guide to How Do I Cook a Turkey in the Oven Perfectly Every Time
This method focuses on even cooking, moisture retention, and golden skin—no dry turkey allowed. Follow these steps, and you’ll master how to cook a turkey in the oven perfectly every time.
Visual guide about how to cook a turkey in the oven
Image source: theblackpeppercorn.com
Step 1: Thaw and Prep the Turkey (Day Before)
Start by removing the turkey from the freezer and placing it in the fridge on a rimmed baking sheet. Thaw for 24 hours per 4–5 pounds (e.g., 12-pound turkey = 3 days).
Once thawed, remove giblets and neck from the cavity (they’re usually in a bag). Pat the entire bird dry with paper towels—this is crucial for crispy skin.
Warning: Never rinse raw turkey. It spreads bacteria. Just dry it well.
Step 2: Season and Flavor (3–4 Hours Before Roasting)
Preheat your oven to 325°F (165°C)—this is the sweet spot for even cooking.
Rub the entire turkey with ½ cup of softened butter or olive oil. Season generously with salt and pepper, especially under the skin on the breast and legs. For extra flavor, mix in garlic powder, onion powder, and a pinch of paprika.
Stuff the cavity with fresh herbs, quartered lemon, onion, and garlic. This adds aroma and subtle flavor—not strong taste, but it makes the kitchen smell amazing.
Pro Tip: Loosen the skin over the breast with your fingers and slide in herb butter (butter + minced herbs). It bastes the meat from the inside!
Step 3: Truss and Position
Trussing keeps the legs close to the body, which helps the turkey cook evenly. Use kitchen twine to tie the legs together and tuck the wing tips under the shoulders (they burn easily).
Place the turkey breast-side up on the roasting rack. The rack lifts it off the pan, allowing hot air to circulate and preventing soggy bottoms.
For even browning, rotate the pan halfway through cooking (we’ll get to that).
Step 4: Roast Using the “Low and Slow” Method
Roast at 325°F. Use this timing guide (based on unstuffed turkey weight):
- 8–12 lbs: 2¾–3 hours
- 12–14 lbs: 3–3¾ hours
- 14–18 lbs: 3¾–4¼ hours
- 18–20 lbs: 4¼–4½ hours
After the first 90 minutes, check the skin. If it’s browning too fast, tent the breast with foil (loosely—don’t seal tightly). This protects the delicate breast meat while the legs finish cooking.
Rotate the pan 180 degrees halfway through cooking. Ovens have hot spots—this ensures even browning.
Step 5: Baste (Optional, But Helpful)
Basting every 30–45 minutes adds flavor and keeps the skin moist. Use pan juices, butter, or broth. But don’t obsess—opening the oven too often lowers the temperature and slows cooking.
After 2 hours, start checking the internal temperature (see next step).
Common Mistake: Basting too early or too often. Wait until the turkey has started browning (after 60–90 mins), and do it quickly.
Step 6: Check Temperature—The Golden Rule
This is how you really know your turkey is done. Insert a meat thermometer into the thickest part of the breast (avoid bone) and the inner thigh.
Target temperatures:
- Breast: 165°F (74°C)
- Thigh: 175°F (80°C)
Once the breast hits 165°F, remove the turkey—even if the thigh isn’t at 175°F. The residual heat (carryover cooking) will raise the thigh temperature by 5–10 degrees during resting.
Pro Tip: Insert the thermometer at the start of cooking so you’re not fumbling later. Use an instant-read thermometer for accuracy.
Step 7: Rest Before Carving
This step is non-negotiable. Let the turkey rest, tented with foil, for at least 30–45 minutes. Resting allows the juices to redistribute, so when you carve, the meat stays moist—not dry and stringy.
Use this time to make gravy from the pan drippings (deglaze with broth, whisk in flour, simmer).
While resting, the internal temperature will stabilize, and the skin will crisp slightly.
Step 8: Carve and Serve
Remove twine and discard stuffing (if used). Start by slicing the legs and wings off, then make horizontal cuts across the breast. Angle the knife slightly for even, thin slices.
Serve with gravy, cranberry sauce, and sides. Leftovers? Store in airtight containers for up to 4 days.
Pro Tips & Common Mistakes to Avoid
Even with the best plan, small errors can ruin your turkey. Here’s how to stay ahead.
- Don’t stuff the turkey with bread stuffing. It increases cooking time and can lead to undercooked stuffing (a food safety risk). Bake stuffing in a separate dish.
- Never cook a partially frozen turkey. The outside will burn before the inside thaws.
- Don’t skip the thermometer. Pop-up timers are unreliable. A meat thermometer is your best friend for how to cook a turkey in the oven perfectly every time.
- Avoid high heat (400°F+). It browns the skin fast but dries the meat. Stick to 325°F for even cooking.
- Don’t carve immediately. Resting is key. A rushed carving = dry turkey.
- Use a dark roasting pan. It absorbs heat better than shiny pans, helping with browning.
- Brining (optional but excellent): Soak the turkey in a saltwater brine (with herbs and sugar) for 12–24 hours before cooking. It adds moisture and flavor—especially helpful for lean white meat.
Real-Life Scenario: Sarah cooked her first turkey and skipped the thermometer. The skin was golden, but the breast was dry, and the stuffing was raw. Lesson? Always check the internal temperature.
FAQs About How Do I Cook a Turkey in the Oven Perfectly Every Time
Q: Can I cook a turkey without a rack?
Yes, but it’s not ideal. Without a rack, the bottom of the turkey steams instead of roasting, leading to soggy skin. If you don’t have one, ball up foil and place it under the turkey to lift it slightly.
Q: How long should I let the turkey rest?
Minimum 30 minutes, but 45–60 is better. Resting allows the meat to reabsorb juices. Think of it like letting a steak sit—same principle. The turkey stays warm under foil for up to an hour.
Q: What if my turkey is browning too fast?
Loosely tent the breast with foil. This slows browning while letting the legs and back finish cooking. Remove the foil during the last 30 minutes if you want extra crisp skin.
Q: Can I cook a turkey at 350°F instead of 325°F?
Yes, but reduce cooking time by about 15–20%. Monitor the temperature closely. Higher heat risks drying out the breast. 325°F is more forgiving for how to cook a turkey in the oven perfectly every time.
Q: How do I know if my turkey is undercooked?
The breast should reach 165°F, and the thigh 175°F. Juices should run clear, not pink. If you’re unsure, insert a knife into the thickest part—if it’s hot, it’s safe.
Q: Can I season the turkey the night before?
Absolutely! Rub it with butter and seasonings, then cover and refrigerate. This enhances flavor and helps the skin crisp up. Just bring it to room temperature for 1–2 hours before roasting.
Q: What’s the best way to store leftover turkey?
Remove meat from the bone and store in shallow, airtight containers. Use within 3–4 days or freeze for up to 3 months. Reheat gently in the oven or microwave with a splash of broth.
🎥 Related Video: The Only Turkey Recipe You Need
📺 The Golden Balance
shorts.
Final Thoughts
Cooking a turkey doesn’t have to be stressful. With the right tools, timing, and temperature control, you can master how to cook a turkey in the oven perfectly every time—no matter your experience level.
Remember: thaw it, dry it, season it, roast it low and slow, check the temperature, and let it rest. These steps are your roadmap to juicy, flavorful turkey that wows your guests.
Next time you plan a holiday dinner, don’t wing it. Use this guide, trust the thermometer, and enjoy the compliments. Happy cooking!