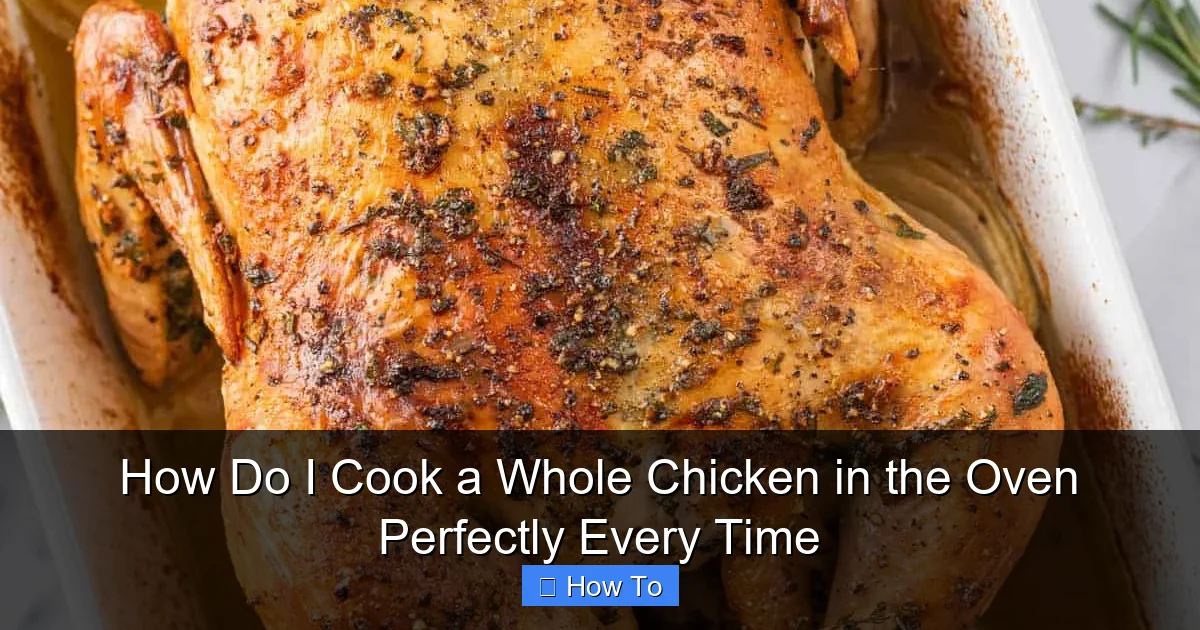
Featured image for how to cook a whole chicken in the oven
Image source: cookinwithmima.com
Cooking a whole chicken in the oven perfectly every time starts with proper seasoning, even heat, and precise timing. Use a meat thermometer to ensure the internal temperature reaches 165°F (74°C) at the thickest part of the thigh for juicy, fully cooked results. Roast at 425°F (220°C) for crisp skin and tender meat, basting occasionally for maximum flavor.
How to How Do I Cook a Whole Chicken in the Oven Perfectly Every Time
Why This Matters / Understanding the Problem
Cooking a whole chicken can feel intimidating, especially when you’re unsure about the right temperature, timing, or technique. Many people end up with dry breast meat or undercooked legs—frustrating when you’re trying to make a delicious, juicy roast for dinner or meal prep.
The good news? Learning how to cook a whole chicken in the oven perfectly every time is simpler than you think. With the right method, you can achieve golden, crispy skin and tender, flavorful meat throughout. This guide breaks down the process so you can skip the guesswork and serve a restaurant-quality roast at home—every single time.
Whether you’re cooking for a family dinner, holiday meal, or batch-prepping for the week, mastering this skill saves money, reduces food waste, and gives you control over ingredients. Let’s get started.
What You Need
Before you begin, gather these tools and ingredients. Nothing fancy—just kitchen essentials and a few smart choices.
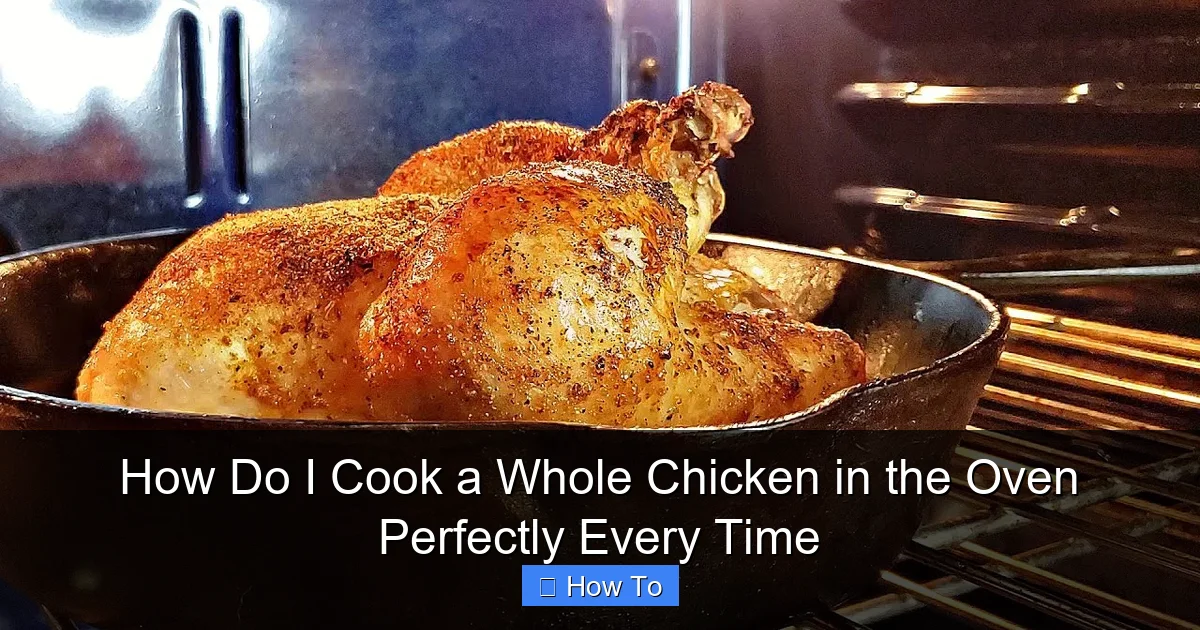
Visual guide about how to cook a whole chicken in the oven
Image source: i.ytimg.com
Essential Tools
- Oven-safe roasting pan with a rack (or use a baking sheet with a wire rack)
- Meat thermometer (digital probe type works best)
- Sharp knife and cutting board
- Kitchen twine (for trussing, optional but helpful)
- Basting brush
- Aluminum foil or roasting tent
Ingredients for One 4–5 lb Whole Chicken
- 1 whole chicken (3–6 lbs, depending on your needs)
- 1–2 tablespoons olive oil or melted butter
- 1 teaspoon salt (kosher or sea salt preferred)
- ½ teaspoon black pepper
- 1 teaspoon garlic powder
- 1 teaspoon paprika (smoked or sweet)
- Optional: 1 lemon, halved; 1 onion, quartered; 4 garlic cloves; fresh herbs (thyme, rosemary, sage)
Pro Tip: A meat thermometer is the #1 tool for nailing how to cook a whole chicken in the oven perfectly every time. Guessing by time or color leads to overcooking—don’t skip this!
Step-by-Step Guide to How Do I Cook a Whole Chicken in the Oven Perfectly Every Time
Step 1: Prep the Chicken (Dry It & Season It)
Remove the chicken from the fridge 30 minutes before cooking. This helps it cook more evenly. Pat the chicken very dry with paper towels—inside and out. Moisture is the enemy of crispy skin.

Visual guide about how to cook a whole chicken in the oven
Image source: eatwhatweeat.com
Rub the entire bird with olive oil or melted butter. This helps the seasoning stick and promotes browning. Then, sprinkle salt, pepper, garlic powder, and paprika evenly over the skin. Don’t forget the cavity—season inside too.
If using, stuff the cavity with lemon, onion, garlic, and herbs. These add flavor as the chicken roasts and create steam for juiciness.
Warning: Never rinse raw chicken. It spreads bacteria. Just pat it dry—no water needed.
Step 2: Truss the Chicken (Tie It for Even Cooking)
Trussing keeps the chicken compact, so heat circulates evenly. It helps the legs and wings stay close to the body, preventing them from drying out.
Place the chicken breast-side up. Cross the legs and tie them together with kitchen twine. Loop twine around the wings to secure them to the body. If you don’t have twine, you can tuck the wings under the back—but trussing gives the best results.
This step isn’t mandatory, but it’s a game-changer for how to cook a whole chicken in the oven perfectly every time. Think of it like giving your chicken a cozy hug.
Step 3: Position the Chicken on the Rack
Place the chicken breast-side up on a roasting rack inside your pan. The rack keeps the chicken elevated, allowing hot air to circulate underneath. This prevents steaming and ensures crispy skin all around.
No rack? No problem. Use a bed of chopped vegetables (carrots, onions, celery) as a natural roasting trivet. Bonus: those veggies make a tasty side or base for gravy.
Make sure the pan has a lip to catch drippings—you’ll use these later for gravy or roasting potatoes.
Step 4: Preheat & Set the Oven Temperature
Preheat your oven to 425°F (220°C). This high heat jumpstarts browning and crisps the skin fast. After 30 minutes, you’ll reduce the heat—this method locks in moisture while ensuring even cooking.
Place the chicken in the center of the oven. Avoid opening the door during the first 30 minutes. Heat loss slows cooking and can make the skin soggy.
This two-stage temperature method (high heat, then lower) is a chef’s secret for juicy meat and perfect texture—key to mastering how to cook a whole chicken in the oven perfectly every time.
Step 5: Roast the Chicken (First 30 Minutes)
Roast at 425°F for 30 minutes. This creates a golden, crispy crust. The high heat causes the skin to contract, sealing in juices.
After 30 minutes, reduce the oven temperature to 350°F (175°C)—do not remove the chicken. Let it continue roasting.
At this point, you can add vegetables around the pan if desired. They’ll absorb chicken drippings and roast beautifully.
Step 6: Check Internal Temperature (The Key Step)
Start checking the internal temperature at 45–60 minutes after lowering the heat (so 75–90 minutes total). Insert your meat thermometer into the thickest part of the thigh, avoiding the bone.
The chicken is safe and perfectly cooked when the internal temperature reaches 165°F (74°C). The breast should hit 160°F (71°C)—it will rise slightly while resting.
For a 4–5 lb chicken, total cook time is usually 90–110 minutes. But always trust the thermometer, not the clock.
Pro Tip: If the skin is browning too fast, tent it loosely with foil. This protects it without steaming.
Step 7: Rest the Chicken (Don’t Skip This!)
Once the chicken hits 165°F, remove it from the oven. Loosely tent with foil and let it rest for at least 15–20 minutes. This is crucial.
Resting lets the juices redistribute. If you cut into it right away, the juices spill out, leaving dry meat. A well-rested chicken stays moist and tender.
Use this time to make gravy from the pan drippings or finish side dishes. Your patience will pay off.
Step 8: Carve and Serve
Place the chicken on a cutting board. Cut the twine and remove any stuffing. Use a sharp knife to:
- Remove the legs and thighs (cut where they meet the body)
- Slice the breast meat against the grain
- Separate the wings
Serve immediately with roasted veggies, mashed potatoes, or a fresh salad. Save the bones to make homemade chicken stock later.
Pro Tips & Common Mistakes to Avoid
Pro Tips for Perfect Results
- Brine for extra juiciness: Soak the chicken in a saltwater brine (1 cup salt + 1 gallon water) for 4–12 hours. Rinse and pat dry before seasoning.
- Spatchcock for faster, even cooking: Remove the backbone and flatten the chicken. Cooks in 45–60 minutes at 425°F—great for weeknights.
- Baste for flavor (optional): Use melted butter or pan juices every 20 minutes after lowering the heat. Enhances browning and taste.
- Use leftover drippings: Deglaze the pan with broth, add flour, and whisk into a rich gravy. One of the best parts of roasting a whole chicken!
Common Mistakes to Avoid
- Not drying the skin: Wet skin = rubbery, not crispy. Pat dry thoroughly.
- Overcooking: Relying on time instead of temperature leads to dry meat. Always use a thermometer.
- Skipping the rest: Cutting too soon means lost juices. Be patient.
- Using a cold chicken: A cold bird takes longer to cook and may be uneven. Let it sit out for 30 minutes.
- Overstuffing the cavity: Too many aromatics trap heat. Use 1–2 cups max to avoid uneven cooking.
Warning: Never stuff a chicken with raw stuffing (like bread or rice) unless you’re baking it separately. Raw stuffing in a cavity takes longer to cook and can be unsafe.
These tips help you avoid the pitfalls and truly master how to cook a whole chicken in the oven perfectly every time. With practice, it becomes second nature.
FAQs About How Do I Cook a Whole Chicken in the Oven Perfectly Every Time
1. Can I cook a frozen whole chicken in the oven?
It’s not safe or recommended. Cooking from frozen leads to uneven heating—the outside may be dry while the inside is still raw. Always thaw the chicken completely in the fridge (1–2 days for a 5 lb bird). If you’re in a rush, use the cold water thaw method (sealed bag, submerge, change water every 30 minutes).
2. How long does it take to cook a 6-pound chicken?
A 6-pound chicken typically takes 2 to 2.5 hours at 350°F after the initial 30 minutes at 425°F. Again, use a thermometer: cook until the thigh reaches 165°F. Larger chickens benefit from brining or spatchcocking to reduce cook time.
3. Can I cook a whole chicken at 375°F the whole time?
Yes, but it may take longer (about 20% more time) and the skin won’t be as crispy. For best results, stick to the 425°F/350°F method. If you prefer 375°F, cook until internal temp hits 165°F and tent with foil if browning too fast.
4. What’s the best way to get extra-crispy skin?
Three things: dry the skin thoroughly, use oil (not butter, which burns), and start at high heat. You can also sprinkle a pinch of baking powder with the salt—it raises the skin’s pH, helping it crisp up faster.
5. Can I use a slow cooker or Instant Pot instead?
Yes, but the texture is different. Slow cookers yield tender, fall-off-the-bone meat but no crispy skin. Instant Pots cook fast and retain moisture, but again, skin won’t crisp. For how to cook a whole chicken in the oven perfectly every time, the oven is best for texture and flavor.
6. How do I know when the chicken is done without a thermometer?
While not ideal, you can check by piercing the thigh—the juices should run clear, not pink. However, this method risks overcooking. A thermometer is the only reliable way to ensure safety and perfect doneness.
7. Can I use this method for a spatchcocked chicken?
Absolutely! Remove the backbone, flatten the chicken, and roast at 425°F for 45–60 minutes. No need to reduce the temperature. The flat shape cooks evenly and faster—perfect for busy nights.
🎥 Related Video: Whole Roasted Chicken
📺 COOKING WITH SHEREEN
Shorts #WholeRoastedChicken My CookBook is Now available; Cooking with Shereen from Scratch.. Because you Can! Amazon: …
Final Thoughts
Cooking a whole chicken doesn’t have to be stressful. With the right tools, technique, and a little patience, you can master how to cook a whole chicken in the oven perfectly every time—and enjoy juicy, flavorful results that impress your family and save you money.
Remember: dry the skin, use a thermometer, and let it rest. Those three steps make all the difference. Whether you’re roasting for Sunday dinner, meal prep, or a holiday feast, this method works every time.
Now it’s your turn. Grab a chicken, preheat that oven, and give it a try. Once you nail it, you’ll wonder why you ever bought rotisserie chicken from the store. Happy roasting!
Bonus Action Step: After your first successful roast, save the carcass and make homemade stock. It’s free, flavorful, and the ultimate kitchen win.