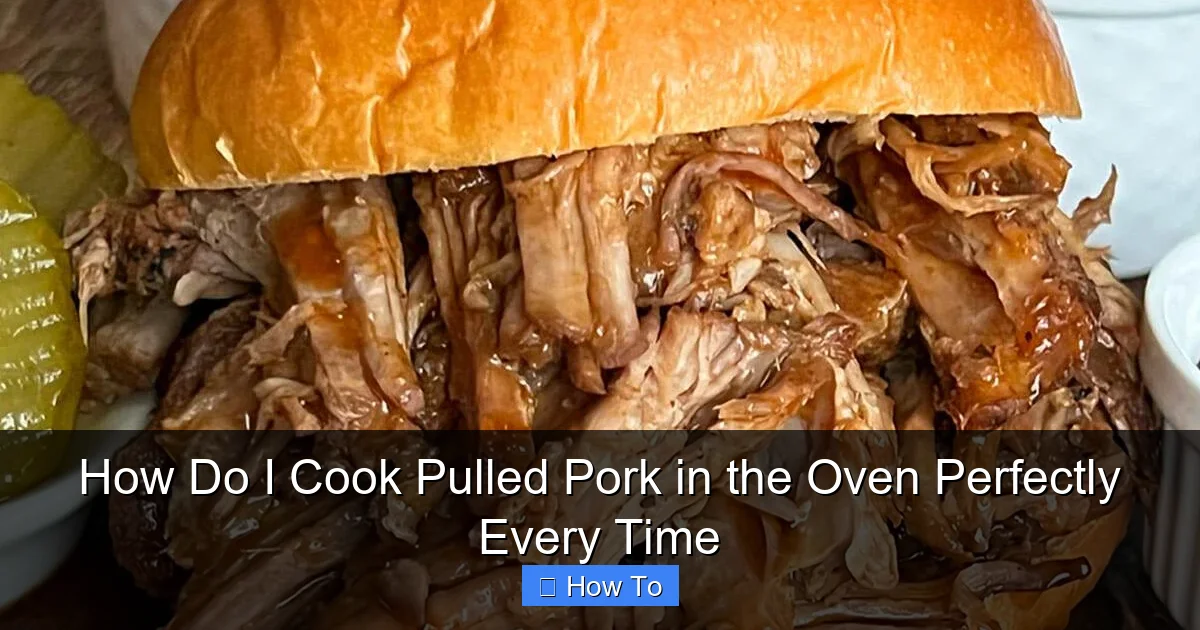
Featured image for how to cook pulled pork in the oven
Image source: recipeteacher.com
Cooking pulled pork in the oven perfectly every time starts with low and slow roasting at 275°F (135°C) to break down collagen and ensure tender, juicy meat. Season generously, cover tightly with foil, and cook for 4–6 hours until it shreds effortlessly with a fork—no smoker or grill needed. Finish with a quick broil for crispy edges, and rest before serving to lock in flavor and moisture.
How to How Do I Cook Pulled Pork in the Oven Perfectly Every Time
Why This Matters / Understanding the Problem
You’ve probably had pulled pork that’s dry, chewy, or just plain bland. Maybe you’ve tried slow-cooking it, but the texture was off, or the flavor didn’t pop. The truth? How do I cook pulled pork in the oven perfectly every time isn’t just about following a recipe—it’s about understanding the science behind tender, juicy, fall-apart meat.
When done right, oven-cooked pulled pork is rich, smoky, and so tender it practically melts in your mouth. Whether you’re feeding a crowd or meal-prepping for the week, nailing this technique means no more guesswork, no more failed batches. With the right method, you can turn a humble pork shoulder into a show-stopping dish that tastes like it came from a Southern barbecue joint—without needing a smoker or hours of babysitting the grill.
The key lies in low-and-slow cooking, proper seasoning, and knowing when the meat is truly done. Let’s break it down so you can master this kitchen classic with confidence.
What You Need
You don’t need fancy tools or hard-to-find ingredients to answer the question: how do I cook pulled pork in the oven perfectly every time? Just a few kitchen staples and a little planning.
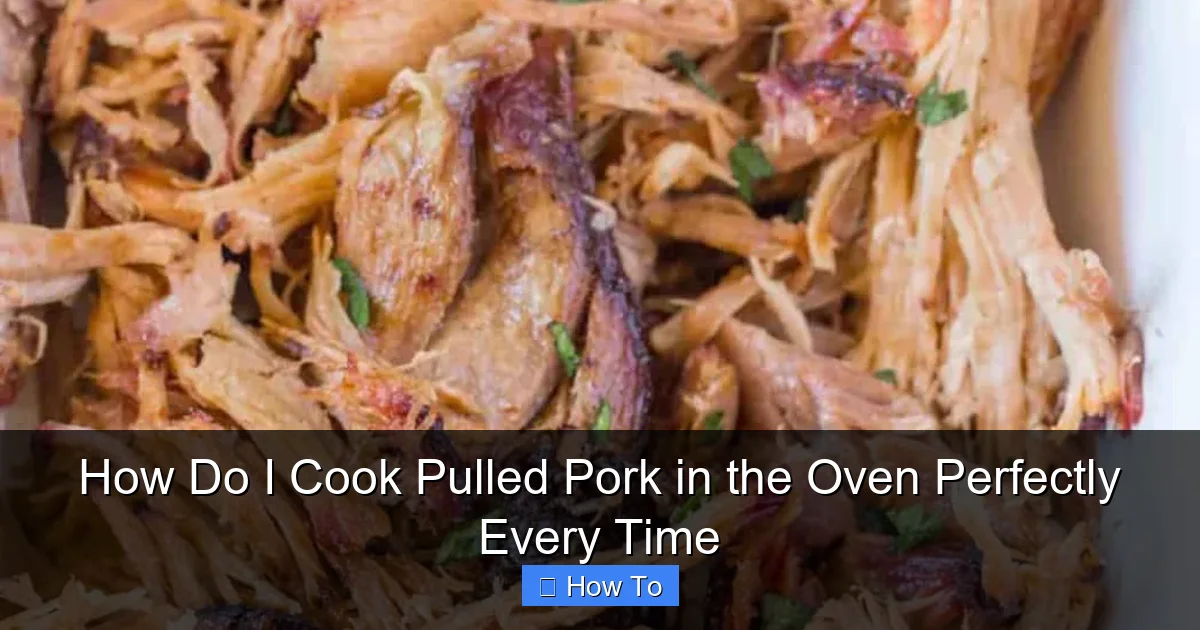
Visual guide about how to cook pulled pork in the oven
Image source: i.pinimg.com
- Pork shoulder (also called pork butt): 4–6 pounds, bone-in for extra flavor (but boneless works too).
- Oven-safe roasting pan or Dutch oven: Heavy-duty to retain heat evenly.
- Aluminum foil or oven-safe lid: To trap moisture during cooking.
- Meat thermometer: Essential for checking doneness (no guessing!).
- Mixing bowl and fork/tongs: For seasoning and pulling the meat.
- Optional but helpful: Baking rack (to elevate meat for even browning).
For the rub (simple and effective):
- 2 tbsp brown sugar
- 1 tbsp smoked paprika
- 1 tbsp garlic powder
- 1 tbsp onion powder
- 1 tsp chili powder
- 1 tsp salt
- ½ tsp black pepper
- ½ tsp cumin (optional, for depth)
For braising liquid (optional but recommended):
- 1 cup apple cider vinegar
- 1 cup water or low-sodium broth
- ½ cup ketchup (adds tang and sweetness)
- 2 cloves garlic, crushed
- 1 tbsp Worcestershire sauce
Pro tip: Always use a meat thermometer. It’s the only way to guarantee your pulled pork hits the perfect internal temperature—195°F to 203°F—for that ideal “fork-tender” texture.
Step-by-Step Guide to How Do I Cook Pulled Pork in the Oven Perfectly Every Time
Step 1: Choose and Prep the Pork Shoulder
Start with a well-marbled pork shoulder (4–6 lbs). The fat cap on top helps baste the meat as it cooks, keeping it juicy. If the skin is still on, leave it—it adds flavor and helps form a delicious crust (you’ll remove it later).
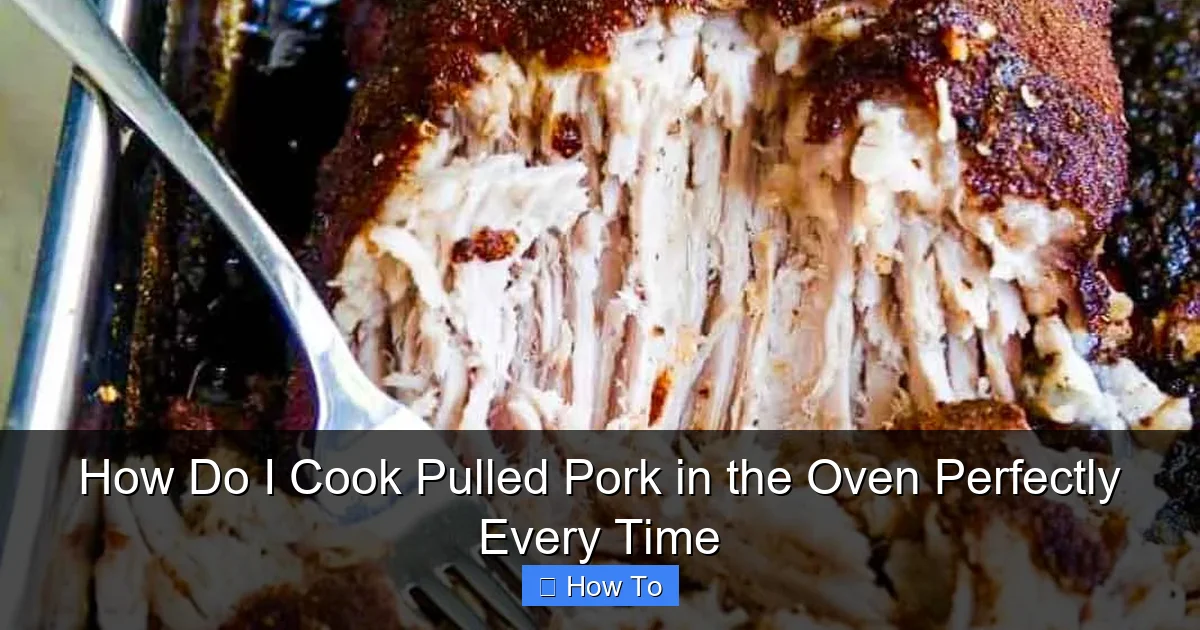
Visual guide about how to cook pulled pork in the oven
Image source: delicioustable.com
Pat the pork dry with paper towels. Moisture on the surface can steam the meat instead of searing it, which affects flavor development. This dry-brining step is crucial for achieving that golden, flavorful bark.
Let the pork sit at room temperature for 30–60 minutes before cooking. Cold meat takes longer to cook evenly, which can lead to overcooked edges and undercooked centers.
Step 2: Make and Apply the Dry Rub
In a small bowl, mix all the dry rub ingredients. This blend balances sweetness, smokiness, and heat—perfect for pulled pork. Don’t skip the brown sugar; it helps create a caramelized crust.
Generously rub the mixture all over the pork, pressing it into the meat so it sticks. Make sure to season under the fat cap and into any crevices. For even deeper flavor, let it sit covered in the fridge for 4–12 hours (or overnight). This is called a dry brine and it seasons the meat from the inside out.
Warning: Don’t over-season. Too much salt can draw out moisture, making the pork dry. Stick to the recipe or adjust slightly based on your taste.
Step 3: Preheat the Oven and Prepare the Pan
Set your oven to 300°F (150°C). This low-and-slow temperature is the secret to tender pulled pork. High heat = tough meat.
Place a roasting rack inside your pan (if using one) and set the pork on top, fat side up. This allows heat to circulate evenly and prevents the bottom from stewing in its own juices. If you don’t have a rack, that’s okay—just make sure the pan has a little liquid at the bottom.
Add the braising liquid ingredients to the bottom of the pan. This creates steam and keeps the meat moist during the long cook. The vinegar tenderizes the meat, while the ketchup and broth add depth and richness.
Step 4: Roast Low and Slow
Cover the pork tightly with aluminum foil or a heavy lid. This traps steam and heat, mimicking a slow cooker or smoker. Roast for 4 to 6 hours, depending on the size of your pork shoulder.
Check the internal temperature after about 3.5 hours. Insert the meat thermometer into the thickest part, avoiding the bone. You’re aiming for 195°F to 203°F. At this point, the collagen has fully broken down into gelatin, making the meat tender enough to pull apart with a fork.
Every 2 hours, baste the pork with the pan juices. This keeps the surface moist and builds flavor. But don’t open the oven too often—each time you do, you lose 10–15 minutes of cooking time as the oven reheats.
Step 5: Rest the Meat (Don’t Skip This!)
When the pork hits 195°F+, remove it from the oven. Let it rest for at least 30 minutes, covered with foil. This is non-negotiable. Resting allows the juices to redistribute, so when you pull it, it stays moist instead of spilling out.
While it rests, you can warm up buns, make coleslaw, or prepare your favorite BBQ sauce for serving. The meat will continue to cook slightly from residual heat, so pulling it at 195°F ensures it doesn’t dry out.
Pro tip: For extra flavor, skim excess fat from the braising liquid and reduce it on the stovetop to make a quick pan sauce. Mix it with a little BBQ sauce for a tangy glaze.
Step 6: Pull the Pork
After resting, transfer the pork to a large bowl or cutting board. Use two forks or clean hands (if it’s cool enough) to pull the meat apart. The meat should shred easily with little resistance. Discard any large chunks of fat or gristle.
For a more authentic texture, use a “pull and chop” method: shred the big pieces, then finely chop some of the bark (the crispy, flavorful outer layer) and mix it back in. This adds texture and concentrated flavor.
Optional: Toss the pulled pork with some of the reduced pan juices or your favorite BBQ sauce. This keeps it moist and adds a glossy finish. But don’t drown it—serve extra sauce on the side so guests can add as much (or as little) as they like.
Step 7: Serve and Store
Serve your pulled pork on toasted buns with pickles, coleslaw, and extra sauce. It’s perfect for sandwiches, nachos, tacos, or even over rice.
To store, let the meat cool completely, then transfer to airtight containers. It keeps in the fridge for 4–5 days or in the freezer for up to 3 months. Reheat gently on the stove or in the microwave with a splash of broth or sauce to restore moisture.
For meal prep, portion it out in sandwich-sized containers. That way, you can grab and go during busy mornings.
Pro Tips & Common Mistakes to Avoid
Even with a great recipe, small mistakes can ruin your pulled pork. Here’s how to avoid them:
- Don’t rush the cook time. Low and slow is the only way to achieve tender meat. If you cook at 400°F, you’ll end up with a tough exterior and raw interior.
- Never skip the thermometer. Relying on time alone is risky. Ovens vary, and meat thickness changes. The only way to know for sure is by checking the internal temp.
- Don’t pull it too early. Pulling pork at 180°F? It will be chewy and stringy. Wait until it’s at least 195°F for that fork-tender texture.
- Don’t discard the fat too soon. The fat cap adds flavor during cooking. You can trim most of it after pulling, but don’t remove it before roasting.
- Avoid over-saucing. Too much BBQ sauce at the end can mask the natural flavor of the pork. Let the meat shine, then sauce to taste.
Real-life scenario: Sarah tried cooking pulled pork at 350°F to save time. The outside was dry, the inside was tough, and her guests barely ate it. The fix? She now sticks to 300°F and uses a thermometer every time.
Bonus tip: For a smoky flavor without a smoker, add 1–2 teaspoons of liquid smoke to the braising liquid. Just a little goes a long way!
FAQs About How Do I Cook Pulled Pork in the Oven Perfectly Every Time
Q: Can I use a boneless pork shoulder?
Yes! Boneless works just as well. Just make sure it’s well-trimmed of excess fat but still has some marbling. Cook time may be slightly shorter, so check the internal temperature early.
Q: How do I know when pulled pork is done?
The best way is with a meat thermometer. The meat is done when it reaches 195°F to 203°F and shreds easily with a fork. If you don’t have a thermometer, poke it with a skewer—it should slide in with no resistance.
Q: Can I cook pulled pork ahead of time?
Absolutely. It actually tastes better the next day as the flavors deepen. Store it in the fridge and reheat slowly in a saucepan with a little broth or sauce. This prevents drying.
Q: What if I don’t have a roasting pan?
A Dutch oven, heavy casserole dish, or even a large baking dish with high sides will work. Just make sure it’s oven-safe and has a tight-fitting lid or can be sealed with foil.
Q: Can I use a different liquid for braising?
Yes! Try beer, apple juice, or cola for a sweet twist. Just avoid anything too acidic (like pure vinegar) in large amounts, as it can make the meat mushy.
Q: Why is my pulled pork dry?
This usually happens from overcooking, not resting, or not using enough braising liquid. Always use a thermometer, rest the meat, and keep the pan covered.
Q: How do I make it spicier?
Add cayenne pepper (¼–½ tsp) to the rub, or mix hot sauce into the braising liquid. You can also serve it with spicy pickles or a chipotle mayo.
Final Thoughts
Now you know exactly how do I cook pulled pork in the oven perfectly every time—no more guesswork, no more dry meat. With a simple rub, low-and-slow roasting, and a trusty meat thermometer, you can turn a basic pork shoulder into a crowd-pleasing masterpiece.
Remember: the secret isn’t just the recipe—it’s the patience. Let the oven do the work. Rest the meat. Taste as you go. And don’t forget to save the pan juices—they’re liquid gold.
Whether you’re serving it at a backyard BBQ, packing it for lunch, or freezing it for later, this method delivers consistent, delicious results. So fire up your oven, grab that pork shoulder, and get cooking. Your taste buds (and your guests) will thank you.
Ready to try it? Start tonight—and let that golden, smoky aroma fill your kitchen.