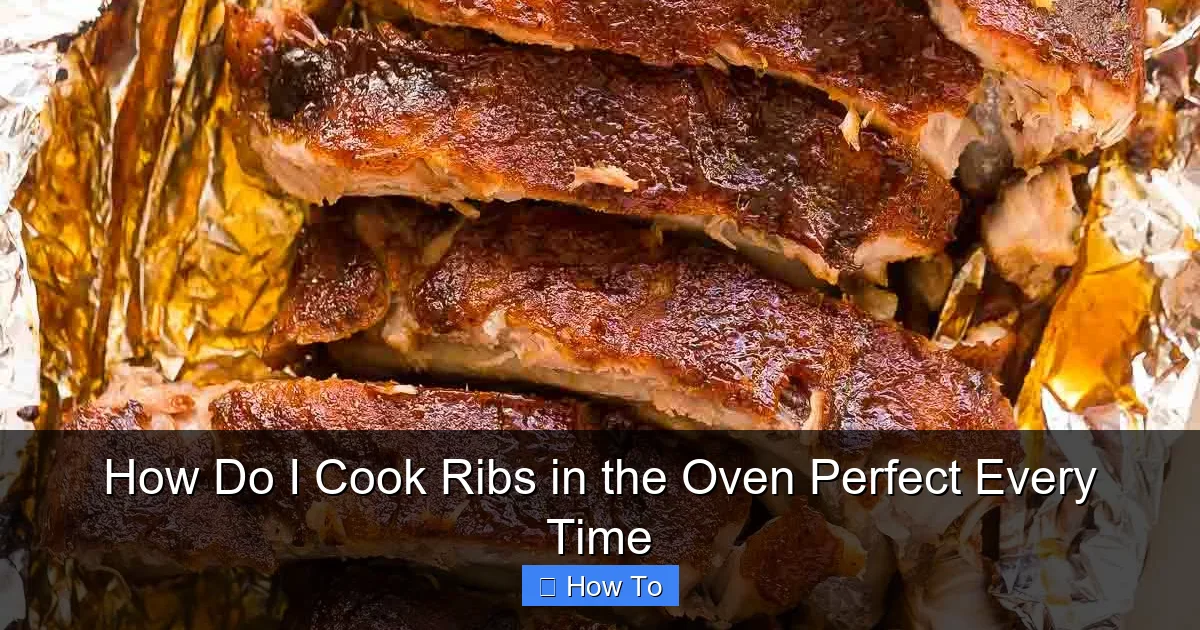
Cooking ribs in the oven perfectly every time starts with low-and-slow baking at 275°F for 2.5 to 3 hours, ensuring tender, fall-off-the-bone results. Use a dry rub, wrap in foil with a splash of liquid to lock in moisture, and finish under the broiler with barbecue sauce for a caramelized crust. This foolproof method delivers competition-worthy ribs without a smoker or grill.
How Do I Cook Ribs in the Oven Perfect Every Time
Why This Matters / Understanding the Problem
Ever pulled a rack of ribs out of the oven, excited for tender, juicy meat—only to find them dry, tough, or falling apart? You’re not alone. Many home cooks struggle with how to cook ribs in the oven perfectly every time because they skip key steps or misunderstand the process.
Unlike grilling, oven cooking gives you full control over heat and humidity, making it ideal for consistent results. The secret lies in low-and-slow cooking, proper seasoning, and the right wrap or sauce timing. Mastering how to cook ribs in the oven perfect every time means no more guessing, no more disappointment—just restaurant-quality ribs at home.
Whether you’re feeding a family or hosting a game-day party, this method works for baby back, spare, or St. Louis-style ribs. Let’s turn your oven into a rib-cooking powerhouse.
What You Need
Before you start, gather these tools and ingredients. Nothing fancy—just essentials that make the process smooth and effective.
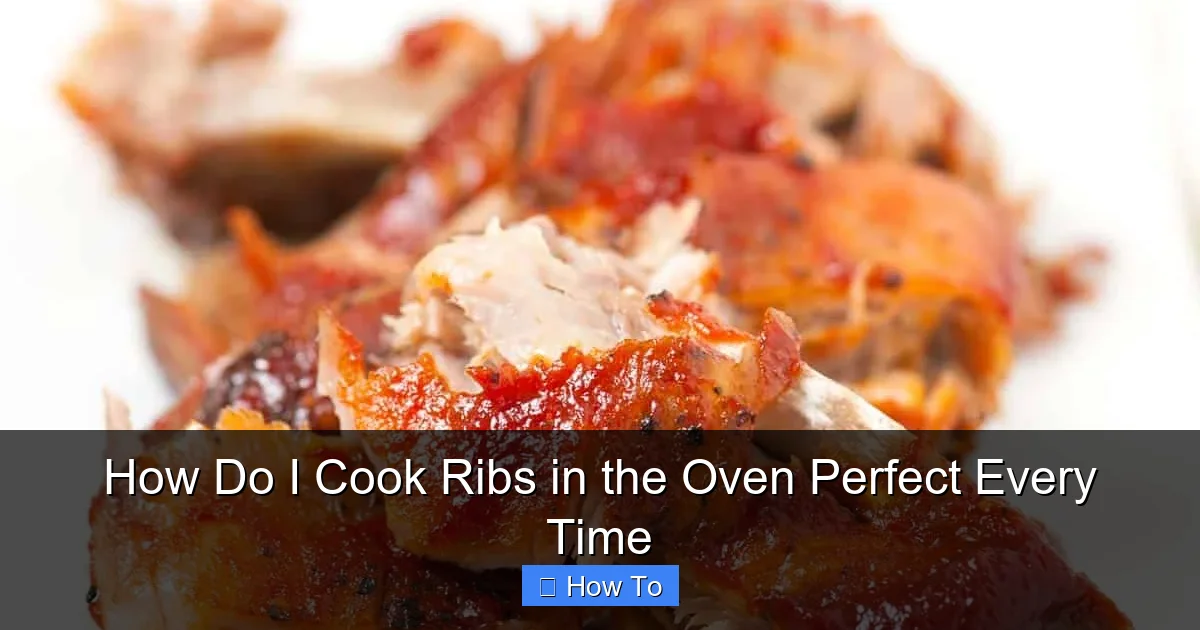
Visual guide about how to cook ribs in the oven
Image source: thereciperebel.com
- Ribs: 1–2 racks (baby back or spare ribs work best)
- Rub: 2–3 tbsp of your favorite dry rub (store-bought or homemade)
- Seasoning: Salt, black pepper, garlic powder, onion powder, paprika, brown sugar (optional)
- Liquid (for wrapping): 1/4 cup apple juice, apple cider vinegar, or beer
- Aluminum foil: Heavy-duty works best
- Baking sheet: With a wire rack (optional but helpful)
- Oven-safe pan: For catching drips
- BBQ sauce (optional): For glazing in the final step
- Kitchen shears or sharp knife: For trimming and scoring
- Meat thermometer (optional but recommended): For doneness check
This setup ensures you have everything for how to cook ribs in the oven perfect every time without mid-cooking trips to the store.
Step-by-Step Guide to How Do I Cook Ribs in the Oven Perfect Every Time
Step 1: Choose and Prep Your Ribs
Start with fresh or thawed ribs. If frozen, thaw them overnight in the fridge. Look for racks with even meat distribution and no large fat pockets.
Visual guide about how to cook ribs in the oven
Image source: inspiredtaste.net
Trim excess fat and remove the thin membrane on the back of the ribs (the bony side). This membrane prevents seasoning and smoke from penetrating and makes ribs tough. Use a knife to lift one corner, then grab with a paper towel and pull it off in one motion.
Pat the ribs dry with paper towels. Moisture blocks seasoning from sticking and slows browning.
Pro tip: If you can’t remove the membrane, score the back of the ribs in a crosshatch pattern with a knife. This helps seasoning penetrate and speeds up cooking.
Step 2: Season Generously and Rest
Apply a thin layer of yellow mustard (optional, but it helps the rub stick and adds flavor) on both sides. Then, sprinkle your dry rub evenly—don’t be shy! Use about 1 tbsp per side.
Common rub ingredients: 1 part brown sugar, 1 part paprika, 1/2 part garlic powder, 1/2 part onion powder, 1/4 part black pepper, 1/4 part salt, and a pinch of cayenne (if you like heat).
Let the ribs sit at room temperature for 30 minutes. This helps the seasoning absorb and promotes even cooking. While you wait, preheat your oven to 300°F (150°C).
Warning: Don’t skip the rest. Cold ribs cook unevenly and can dry out.
Step 3: Wrap in Foil with Liquid (The Secret Step)
Place each rack on a large sheet of heavy-duty foil (about 18 inches long). Add 1/4 cup of liquid—apple juice is ideal because it adds sweetness and moisture without overpowering. You can also use beer, vinegar, or even broth.
Fold the foil tightly around the ribs, sealing all edges. This creates a steam pouch that tenderizes the meat without drying it out. Think of it like a mini oven within your oven.
Place the foil-wrapped ribs on a baking sheet (to catch any leaks) and put them in the oven.
Real-life scenario: One reader skipped the liquid and ended up with chewy ribs. Adding even a small amount of juice makes a huge difference in texture.
Step 4: Low-and-Slow Bake (2.5 to 3 Hours)
Bake at 300°F for 2.5 to 3 hours. The exact time depends on the rack size and oven calibration. Larger spare ribs may need closer to 3 hours; smaller baby backs can be done in 2.5.
Low heat breaks down collagen into gelatin, making the ribs tender but not mushy. Avoid opening the oven—this drops the temperature and extends cooking time.
If you have a meat thermometer, check internal temp: ribs are done when the meat reaches 190–203°F. At this point, it’s pullable and juicy.
Pro tip: For extra tenderness, add a splash of liquid to the foil halfway through. Just open carefully to avoid steam burns.
Step 5: Unwrap and Crisp (Optional but Recommended)
After baking, carefully open the foil (watch the steam!). Transfer the ribs to a clean baking sheet. At this point, they’re tender but soft. For that classic “bark” and slight crust, broil them.
Turn the oven to broil (high) and place the ribs 6 inches from the heat. Broil for 3–5 minutes per side, watching closely to prevent burning.
Alternatively, brush with BBQ sauce before broiling for a sticky, caramelized finish. Do this in 2–3 thin layers, broiling between each for 2–3 minutes.
Warning: Don’t sauce too early. Sugar in BBQ sauce burns easily. Always apply during the final 10 minutes.
Step 6: Rest and Serve
Let the ribs rest for 10 minutes after broiling. This allows juices to redistribute. Cut between the bones with a sharp knife or kitchen shears.
Serve with extra sauce on the side, cornbread, coleslaw, or baked beans. Leftovers reheat well in the oven (325°F for 15–20 minutes).
Now you’ve mastered how to cook ribs in the oven perfect every time—tender, juicy, and full of flavor.
Pro Tips & Common Mistakes to Avoid
Even small mistakes can ruin your ribs. Here’s what to watch for—and how to fix it.
- Don’t rush the cook time. Low-and-slow is non-negotiable. High heat dries ribs out. Stick to 300°F.
- Skip the sauce until the end. Applying sauce too early causes burning. Use it only in the final broil stage.
- Use heavy-duty foil. Regular foil tears easily and leaks liquid. This ruins the steam environment.
- Don’t skip the rest. Letting ribs sit at room temp ensures even cooking. Cold ribs = uneven texture.
- Check for doneness by feel. If a knife slides in easily between bones, they’re done. Or, use the “bend test”: lift with tongs. If they bend and crack slightly, they’re ready.
- Try different liquids. Apple juice is classic, but try beer for malty flavor, vinegar for tang, or pineapple juice for tropical sweetness.
- Make your own rub. Store-bought is fine, but homemade lets you control sugar, salt, and spice. Try: 2 tbsp paprika, 1 tbsp brown sugar, 1 tsp each of garlic powder, onion powder, salt, pepper, and cayenne.
Real-life insight: A reader once used water instead of juice and said the ribs tasted bland. Flavorful liquid = flavorful meat.
By avoiding these pitfalls, your journey to how to cook ribs in the oven perfect every time becomes foolproof.
FAQs About How Do I Cook Ribs in the Oven Perfect Every Time
Q: Can I cook ribs without wrapping in foil?
Yes, but they’ll be drier and less tender. The foil traps steam, which breaks down connective tissue. For unwrapped ribs, bake at 275°F for 3.5–4 hours, basting every hour with sauce or juice. Not ideal for beginners, but doable.
Q: How do I know when ribs are done?
Use the “bend test”: pick up the rack with tongs. If it bends easily and the meat cracks slightly on top, they’re done. Or, insert a knife between bones—if it slides in with little resistance, they’re ready. Internal temp: 190–203°F.
Q: Can I use a slow cooker instead of the oven?
Yes! Place seasoned ribs in a slow cooker, add 1/4 cup liquid, and cook on low for 6–8 hours. Then, broil in the oven for 5 minutes to crisp and glaze. This method is hands-off but lacks oven crispness unless finished under the broiler.
Q: Should I remove the membrane from the back of the ribs?
Absolutely. The membrane blocks flavor and makes ribs tough. If you can’t remove it, at least score it deeply with a knife. It’s a small step that makes a big difference in texture.
Q: Can I cook frozen ribs in the oven?
Yes, but add 1–2 hours to the cook time. Wrap them frozen in foil with liquid and bake at 300°F. Check internal temp to avoid overcooking. Thawing first is better, but not required.
Q: What’s the best type of ribs for oven cooking?
Baby back ribs (from the top of the rib cage) are leaner and cook faster (2.5 hours). Spare ribs (from the belly) are meatier and need 3 hours. St. Louis-style ribs (trimmed spare ribs) are a great middle ground—meaty and tender.
Q: Can I add wood chips for smoke flavor?
Yes! Use a smoker box or foil pouch with soaked wood chips (hickory or apple). Place it on the oven rack next to the ribs. Bake as usual. This adds subtle smokiness—great for mimicking a smoker.
Final Thoughts
Now you know exactly how to cook ribs in the oven perfect every time—no guesswork, no dry meat, no stress. This method combines science (low-and-slow heat), technique (foil wrapping), and flavor (seasoning and sauce).
Remember: prep is key. Trim, season, rest, wrap, bake, crisp, rest again. Each step builds on the last. And don’t be afraid to experiment—try new rubs, sauces, or liquids to find your signature style.
Next time you’re craving ribs, skip the takeout. Fire up your oven, follow these steps, and impress your family with juicy, fall-off-the-bone ribs that taste like they came from a BBQ joint.
Your oven isn’t just for casseroles. It’s a rib-cooking champion. Now go make it proud.