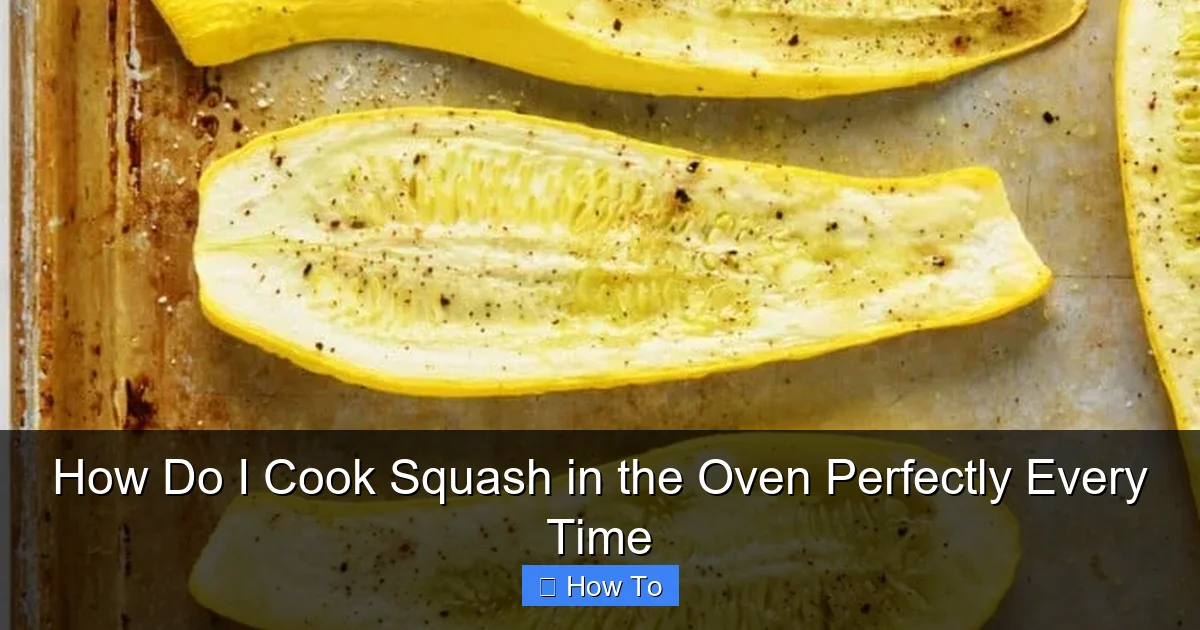
Featured image for how to cook squash in the oven
Image source: addapinch.com
Roast squash at 400°F (200°C) for 25–35 minutes, cut-side down on a parchment-lined tray, to guarantee caramelized edges and tender flesh every time. For maximum flavor, toss with olive oil, salt, and a touch of maple syrup or herbs before baking—no flipping required. This foolproof method works for all varieties, from butternut to acorn squash, ensuring consistent, oven-baked perfection.
How to How Do I Cook Squash in the Oven Perfectly Every Time
Why This Matters / Understanding the Problem
Squash is one of the most versatile and nutritious vegetables in your kitchen—but it’s also one of the most misunderstood. If you’ve ever ended up with mushy, bland, or unevenly cooked squash, you’re not alone. Many home cooks struggle to get that golden, caramelized exterior and tender interior that makes roasted squash so delicious.
The truth is, how do I cook squash in the oven perfectly every time isn’t just about tossing it in oil and baking it. It’s about timing, temperature, prep, and technique. Whether you’re working with butternut, acorn, spaghetti, or kabocha squash, mastering the oven method unlocks deep flavor, texture, and ease—especially during busy weeknights or holiday meal prep.
Roasting squash brings out its natural sweetness, enhances its fiber, and makes it a crowd-pleasing side dish, salad topper, or even a star ingredient in grain bowls. The good news? With a few simple tricks, you can nail it every single time.
What You Need
Before we dive into the steps, let’s gather your oven-roasting toolkit. You don’t need fancy gear—just a few basics you probably already own.
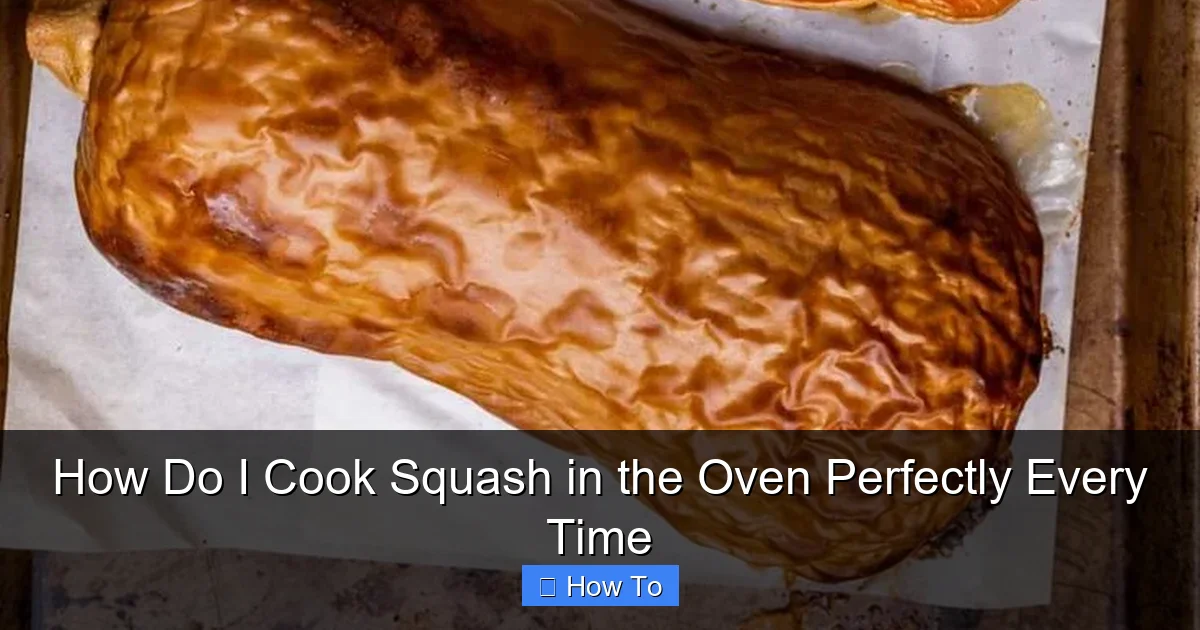
Visual guide about how to cook squash in the oven
Image source: i.pinimg.com
- A sharp chef’s knife and sturdy cutting board
- Vegetable peeler (for firm squashes like butternut)
- Large mixing bowl
- Baking sheet (rimmed, to prevent spills)
- Parchment paper or silicone baking mat (optional, but highly recommended)
- Tongs or spatula for flipping
- Measuring spoons
- Oven (obviously!)
For the squash: Choose firm, unblemished squash with smooth skin. For best results, pick smaller to medium-sized squash—they tend to be sweeter and more tender than giant ones.
For flavor: Olive oil, salt, black pepper, and optional seasonings like garlic powder, smoked paprika, rosemary, or maple syrup. These help answer the question: how do I cook squash in the oven perfectly every time—not just safely, but deliciously.
Step-by-Step Guide to How Do I Cook Squash in the Oven Perfectly Every Time
Step 1: Choose and Prep Your Squash
Start by selecting the right squash. For roasting, go with dense, sweet varieties like butternut, acorn, kabocha, or delicata (which you can roast with the skin on!). Avoid watery zucchini or yellow squash—they’re better grilled or sautéed.
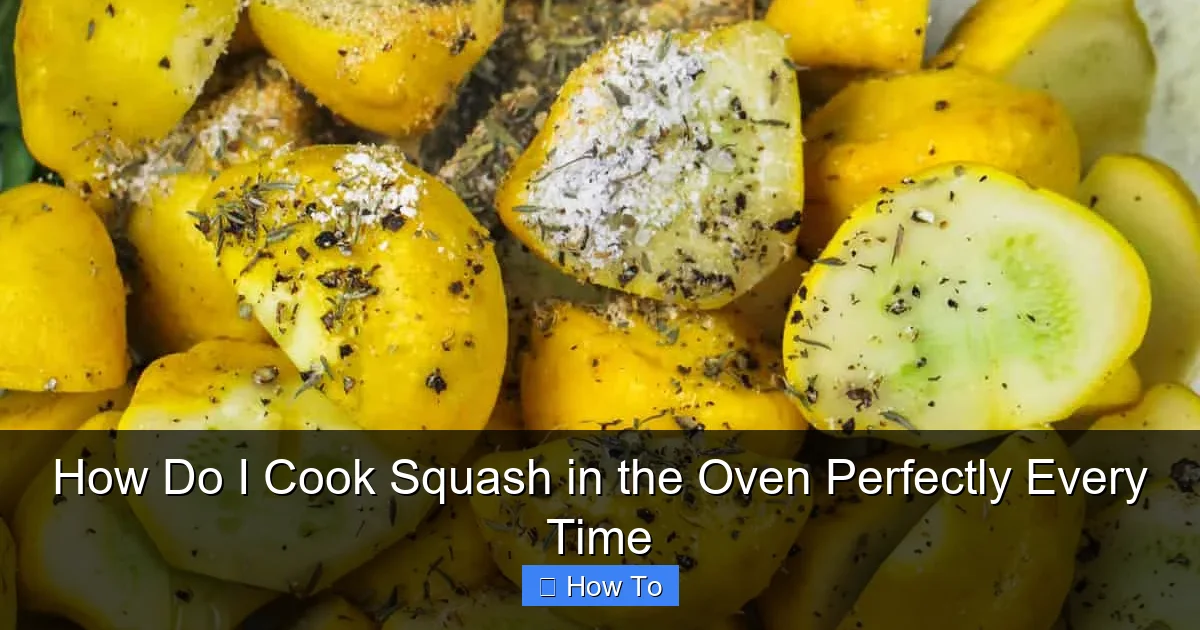
Visual guide about how to cook squash in the oven
Image source: ourzestylife.com
Wash the squash well. Then, slice it in half lengthwise. For butternut squash, cut off the stem and base first, then slice through the neck and bulb separately. Use a sturdy knife and go slow—squash can be tough!
Next, scoop out the seeds and stringy pulp with a spoon (save the seeds for roasting later—they make a tasty snack). For round squashes like acorn, slice into 1-inch half-moons after halving. For butternut, peel the skin off with a vegetable peeler, then cube into ¾- to 1-inch pieces. Consistent size = even cooking.
Step 2: Season Like a Pro
Place your cubed or sliced squash in a large bowl. Drizzle with 1–2 tablespoons of olive oil per medium squash. Too much oil? It’ll steam instead of roast. Too little? It’ll stick and burn.
Add ½ to 1 teaspoon of salt (start low—you can always add more later), ¼ teaspoon black pepper, and any extra seasonings you like. Try:
- 1 tsp garlic powder + ½ tsp rosemary (classic savory)
- 1 tbsp maple syrup + ½ tsp cinnamon (sweet & cozy)
- 1 tsp smoked paprika + pinch of cayenne (spicy & bold)
Toss well with your hands or tongs to coat every piece evenly. This step is crucial—dry spots won’t caramelize. Think of it as giving each cube a light, golden jacket before it hits the oven.
Step 3: Spread on a Baking Sheet (The Key to Crisp Edges)
Line your baking sheet with parchment paper or a silicone mat. Why? It prevents sticking and makes cleanup a breeze. Plus, it helps with even heat distribution.
Spread the squash in a single layer, leaving at least ½ inch between pieces. Overcrowding is the #1 reason people fail at roasting—it traps steam, leading to soggy, uneven results.
For extra crispness, place the squash cut-side down. This maximizes contact with the hot pan, helping the natural sugars caramelize. If you’re roasting half-moons, lay them flat with the skin side down.
Step 4: Roast at the Right Temperature
Preheat your oven to 425°F (220°C). This is the sweet spot for roasting squash: hot enough to caramelize, but not so hot that it burns before cooking through.
Place the baking sheet on the middle rack and roast for 25–35 minutes, depending on the squash type and size of pieces. Butternut cubes usually take 25–30 minutes, while thicker acorn slices may need 35.
Halfway through, flip the pieces with tongs or a spatula. This ensures both sides brown evenly. If you skip this, one side stays pale and underdeveloped.
Step 5: Check for Doneness (The Gold Standard)
How do you know when squash is done? Look for these signs:
- Edges are golden brown or slightly charred
- Fork-tender when pierced (but not mushy)
- Natural juices are bubbling around the edges
If the squash still feels firm, roast for 5–10 more minutes. But don’t overdo it—overcooked squash collapses into a sad, stringy mess.
Optional: For extra crispiness, broil for 1–2 minutes at the end. Watch closely! Broiling can go from golden to burnt in seconds.
Step 6: Rest and Serve
Let the squash sit for 2–3 minutes after removing from the oven. This allows the flavors to settle and prevents burning your tongue. It also helps any remaining moisture redistribute.
Taste and adjust seasoning if needed. A pinch more salt or a squeeze of lemon juice can brighten the flavors. Then, serve immediately for the best texture.
Pro Tips & Common Mistakes to Avoid
Pro Tip: Roast extra squash and store it in an airtight container for up to 4 days. Use it in salads, grain bowls, soups, or even as a base for roasted squash hummus. This makes how do I cook squash in the oven perfectly every time a time-saving habit, not just a one-off trick.
- Don’t skip the preheat. An oven that’s not hot enough leads to steaming, not roasting.
- Use parchment or silicone. It’s not lazy—it’s smart. Prevents sticking and ensures even browning.
- Cut evenly. Uneven pieces mean some are overcooked while others are raw.
- Don’t overcrowd. Use two baking sheets if needed. Better to cook in batches than ruin the texture.
- Season after roasting (optional). A final sprinkle of flaky salt, fresh herbs, or grated Parmesan adds a gourmet touch.
Warning: Avoid non-stick sprays. They can leave a residue and prevent proper browning. Stick to oil + parchment for the best results.
Another common mistake? Using too high a temperature. While 450°F might seem faster, it risks burning the outside before the inside cooks. 425°F gives you control and consistency.
Also, don’t be afraid to experiment with seasonings. Try balsamic glaze drizzled after roasting, or toss with toasted pecans and goat cheese for a fall-inspired side. The key is mastering the base method first—then getting creative.
FAQs About How Do I Cook Squash in the Oven Perfectly Every Time
1. Can I roast squash without peeling it?
Yes! Delicata and kabocha squashes have edible skins. Just scrub them well before roasting. For butternut and acorn, peeling is recommended—the skin is tough and fibrous.
2. How long does roasted squash last in the fridge?
Properly stored in an airtight container, roasted squash stays fresh for 3–4 days. Reheat in the oven at 350°F for 10 minutes or in a skillet with a little oil to restore crispness. Avoid the microwave—it makes it soggy.
3. Can I use frozen squash?
Yes, but thaw and drain it first. Frozen squash holds extra water, which can lead to steaming. Pat it dry with paper towels before seasoning. Roast at 425°F for 20–25 minutes, flipping once.
4. Why is my roasted squash soggy?
The most likely causes: overcrowding the pan, using too much oil, or not preheating the oven. Make sure your oven is fully hot, use a single layer, and don’t skip the flip halfway through.
5. Can I roast multiple types of squash together?
Yes—but cut them to similar sizes so they cook evenly. Butternut and kabocha work well together. Avoid mixing with watery vegetables like zucchini unless you’re okay with texture variation.
6. What’s the best way to cut butternut squash safely?
Use a sharp chef’s knife and a stable cutting board. Cut off the top and bottom first to create flat surfaces. Then, slice lengthwise through the neck and bulb. For the bulb, cut in half again, scoop out seeds, then peel and cube. A mandoline can help, but go slow!
7. Can I add other vegetables to the same pan?
Absolutely! Carrots, sweet potatoes, Brussels sprouts, and red onions roast beautifully with squash. Just ensure similar cook times and cut everything to similar sizes. Toss all together before roasting for a colorful, flavorful sheet-pan meal.
Final Thoughts
Now that you know how do I cook squash in the oven perfectly every time, you’re ready to turn this humble vegetable into a kitchen hero. No more guesswork. No more mushy mess. Just golden, caramelized, tender squash that wows at the dinner table.
Remember: the secret is in the prep. Cut evenly, season well, spread out, and flip halfway. That’s it. The oven does the rest. Whether you’re meal prepping, hosting guests, or just feeding your family, this method delivers every time.
Start with one squash tonight. Try a simple olive oil, salt, and pepper version. Once you nail it, branch out—add spices, herbs, or a sweet glaze. Before long, you’ll be roasting squash like a pro, saving time, and eating healthier with every bite.
And the best part? This technique scales. Double the batch for leftovers, or halve it for a quick side. Once you master how do I cook squash in the oven perfectly every time, you’ll wonder why you ever did it any other way.
So preheat that oven, grab your favorite squash, and roast with confidence. Your taste buds (and your dinner guests) will thank you.