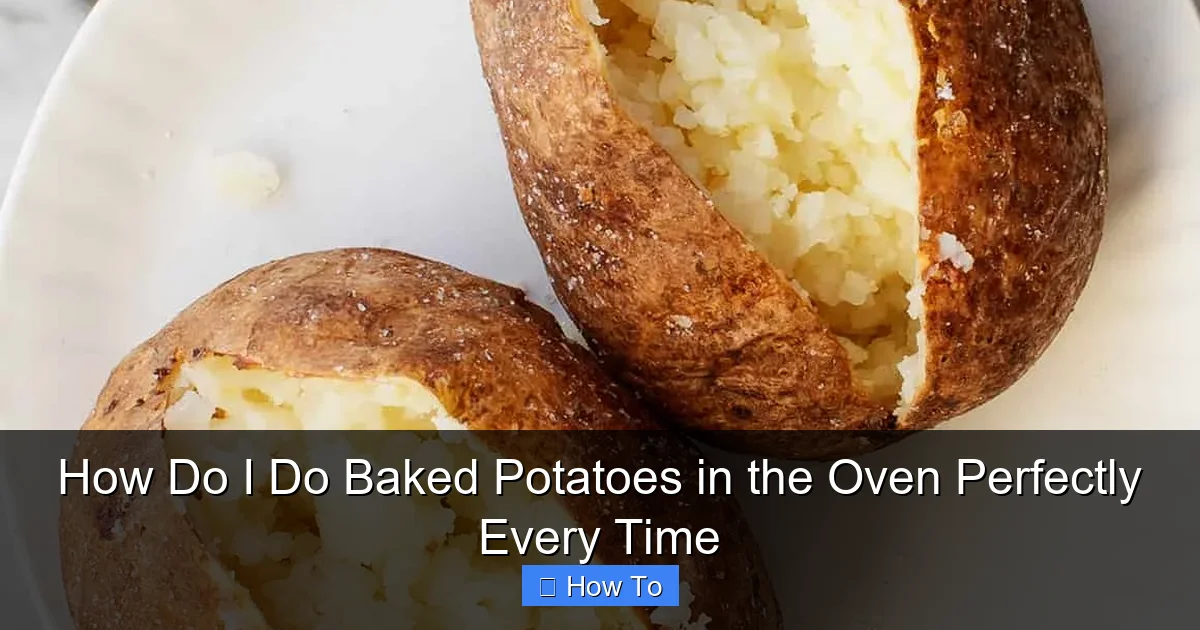
Featured image for how to baked potatoes in the oven
Image source: cdn.loveandlemons.com
Preheat your oven to 400°F (200°C) and prick the potatoes with a fork to ensure even cooking and prevent bursting. Rub them with oil, sprinkle with salt, and bake directly on the middle rack for 45–60 minutes—fluffy inside, crispy outside every time.
How to How Do I Do Baked Potatoes in the Oven Perfectly Every Time
Why This Matters / Understanding the Problem
Ever pulled a baked potato out of the oven only to find it’s dry inside, burnt on the outside, or still hard in the center? You’re not alone. Many home cooks struggle with getting that ideal texture—crispy skin, fluffy interior—without overcooking or undercooking.
Learning how to do baked potatoes in the oven perfectly every time isn’t just about following a recipe. It’s about understanding timing, temperature, and technique. Whether you’re serving them as a side dish, loading them with chili and cheese, or enjoying them simply with butter and chives, a perfectly baked potato can elevate any meal.
This guide will walk you through a foolproof method that guarantees consistent results—no guesswork, no failed attempts. By the end, you’ll know exactly how to do baked potatoes in the oven perfectly every time, no matter your oven or potato type.
What You Need
Before we dive into the steps, let’s gather your tools and ingredients. The beauty of this method? It uses items you likely already have in your kitchen.
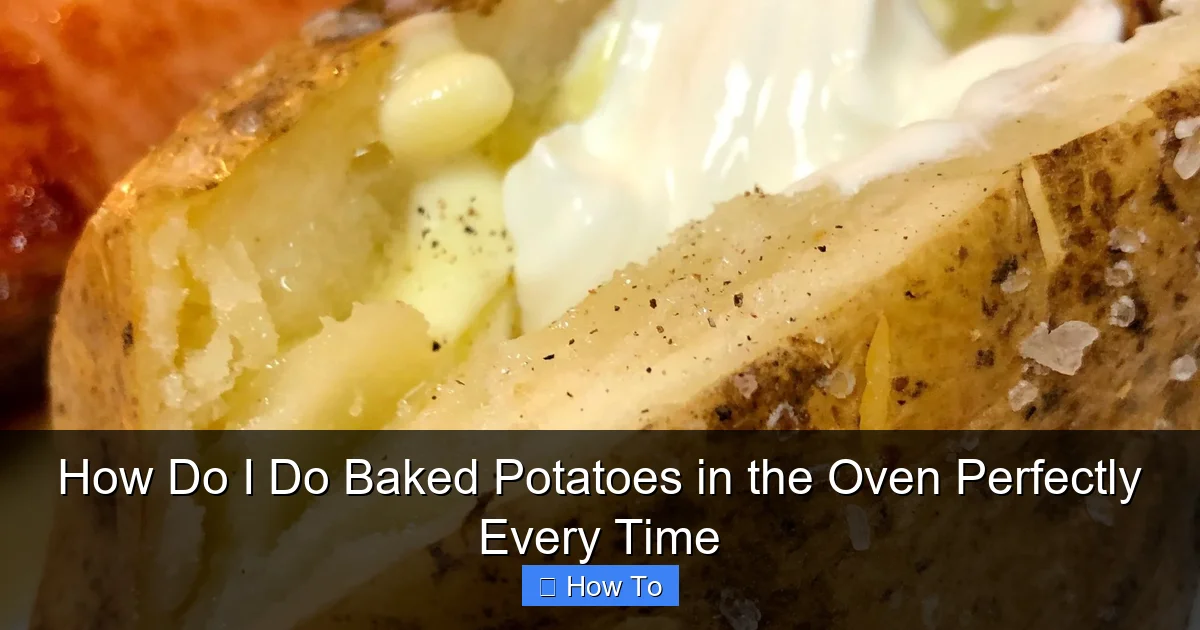
Visual guide about how to baked potatoes in the oven
Image source: eatwhatweeat.com
- Russet potatoes (or Idaho, Maris Piper) – 1 per person (look for firm, smooth-skinned spuds)
- Olive oil or avocado oil – about 1 tsp per potato (for crispiness)
- Coarse sea salt or kosher salt – ½ tsp per potato (enhances flavor and skin texture)
- Fork – for pricking the skin
- Paper towels or clean kitchen towel – for drying and handling
- Baking sheet – preferably rimmed (to catch drips)
- Wire rack (optional) – improves air circulation and crispier skin
- Oven – preheated to 425°F (220°C)
- Food thermometer (optional but recommended) – for checking doneness
Pro Tip: Russet potatoes are best for fluffy interiors. Avoid waxy varieties like red or fingerling—they’re better for roasting or boiling.
Step-by-Step Guide to How Do I Do Baked Potatoes in the Oven Perfectly Every Time
Step 1: Choose and Wash Your Potatoes
Start with medium to large russet potatoes—about 8 to 10 ounces each. Avoid potatoes with green spots, sprouts, or soft spots, as these indicate age or spoilage.

Visual guide about how to baked potatoes in the oven
Image source: gimmesomeoven.com
Rinse each potato thoroughly under cool running water. Use a vegetable brush to scrub off any dirt or debris. Dirt can interfere with even cooking and affect flavor.
After scrubbing, dry each potato completely with a paper towel. Moisture is the enemy of crispy skin, so a dry surface is key to achieving that golden, crunchy exterior.
Why it matters: A clean, dry potato ensures even heat transfer and helps the oil and salt stick properly—critical for how to do baked potatoes in the oven perfectly every time.
Step 2: Prick and Oil the Skin
Use a fork to poke 8–10 holes all over each potato. These small punctures allow steam to escape during baking, preventing dangerous explosions (yes, it happens!).
Rub each potato with about 1 teaspoon of oil—olive oil works great, but avocado oil adds a slightly nuttier flavor and higher smoke point. Make sure to coat the entire surface, including the ends.
Sprinkle coarse salt evenly over the oiled skin. The salt draws out moisture and creates a savory, crisp crust. Don’t skip this step—it’s what gives restaurant-quality texture.
Warning: Don’t use too much oil—just enough to lightly coat. Excess oil can make the skin soggy instead of crisp.
Step 3: Position for Even Cooking
Place the potatoes directly on the middle rack of your oven or on a rimmed baking sheet. If you want extra-crispy skin, use a wire rack on top of the baking sheet—this lifts the potatoes and allows air to circulate underneath.
Spacing matters. Keep at least 1 inch between each potato so heat flows evenly around them. Crowding causes steam buildup, leading to soft, unevenly cooked spuds.
For best results, avoid aluminum foil or parchment paper directly under the potatoes. These trap steam and can prevent crispiness.
Pro Tip: If you’re short on oven space, you can bake 2–4 potatoes at once. Just increase baking time by 10–15 minutes for every additional spud.
Step 4: Bake at 425°F (220°C) for 45–60 Minutes
Set your oven to 425°F (220°C) and bake the potatoes for 45 to 60 minutes. The exact time depends on size—larger potatoes need more time.
No need to flip or rotate. The high, steady heat ensures even cooking from all sides. Just let them bake undisturbed.
After 45 minutes, start checking for doneness. Gently squeeze the potato—it should feel soft but not mushy. The skin should be puffy and golden brown.
Science note: Baking at 425°F strikes the perfect balance: high enough to crisp the skin, low enough to cook the interior evenly without drying out.
Step 5: Check for Doneness (The Thermometer Trick)
For foolproof results, use a food thermometer. Insert it into the center of the largest potato. It should read 205–210°F (96–99°C) when fully cooked.
If you don’t have a thermometer, try the “fork test”: insert a fork into the center. It should slide in easily with little resistance.
Still hard? Give it another 10–15 minutes. Overcooked? That’s okay—you can still enjoy it, but the texture will be drier.
Why this works: Temperature is more accurate than time. Every oven is different, and knowing the internal temp ensures you master how to do baked potatoes in the oven perfectly every time.
Step 6: Let Them Rest and “Finish”
Remove the potatoes from the oven and let them rest for 5–10 minutes. This is a crucial, often skipped step.
During rest, residual heat continues to cook the interior slightly, while the skin firms up and becomes even crispier. It also makes the potato easier to handle without burning your hands.
Resting also helps the fluffy texture set—cutting into a hot potato too soon can make it collapse or release steam too quickly.
Real-life example: A potato pulled straight from the oven may seem perfect, but after resting, it’s even better—like a soufflé that’s had time to settle.
Step 7: Slice, Fluff, and Serve
Use a clean knife to make a long slit down the center of each potato. Gently press the ends toward the center to open it up.
Fluff the inside with a fork—this creates that classic “cloud-like” texture and increases surface area for toppings.
Add your favorite toppings: butter, sour cream, chives, cheese, bacon, chili, or even a drizzle of truffle oil. The fluffy interior absorbs flavors beautifully.
Bonus idea: For a fun twist, mix in roasted garlic or a spoonful of pesto into the fluffed potato before topping.
Pro Tips & Common Mistakes to Avoid
- Don’t wrap in foil. While it speeds up cooking, it steams the potato, making the skin soft and chewy instead of crisp. For how to do baked potatoes in the oven perfectly every time, skip the foil.
- Don’t overcrowd the oven. Airflow is essential for crispy skin. If baking multiple potatoes, use a second rack or bake in batches.
- Don’t skip the salt. Salt isn’t just for flavor—it draws moisture from the skin, helping it crisp up.
- Don’t use cold potatoes. Room-temperature potatoes cook more evenly. If you’re in a rush, microwave for 2–3 minutes before baking to jumpstart the process.
- Don’t cut before baking. Slicing the potato exposes the flesh to dry heat, leading to a tough, leathery texture.
- Use a convection oven? Reduce temp to 400°F. Convection fans circulate air faster, so lower the temperature by 25°F to prevent burning.
- Make ahead? Bake and reheat. Baked potatoes keep well in the fridge for up to 4 days. Reheat in a 350°F oven for 10–15 minutes to restore crispiness.
Warning: Avoid using non-stick baking sheets. The coating can degrade at high heat. Stick to stainless steel or ceramic.
FAQs About How Do I Do Baked Potatoes in the Oven Perfectly Every Time
1. Can I bake sweet potatoes the same way?
Yes! This method works great for sweet potatoes too. Just note: sweet potatoes have more sugar, so they may caramelize faster. Reduce baking time slightly (35–50 minutes) and keep an eye on them to avoid burning.
2. Why is my potato skin soggy?
Soggy skin usually means too much moisture. Make sure your potatoes are fully dried before oiling. Also, avoid using foil or covering them during baking. A wire rack helps air circulate and prevents steaming.
3. How do I know when my baked potato is done without a thermometer?
Use the squeeze test: press gently with oven mitts. It should feel soft all the way through. The skin should be puffy and golden. You can also pierce with a fork—it should glide in smoothly with no resistance.
4. Can I bake potatoes ahead of time and reheat them?
Absolutely. Bake them, let them cool, then store in an airtight container in the fridge for up to 4 days. Reheat in a 350°F oven for 10–15 minutes. For crispier skin, brush with a little oil before reheating.
5. What’s the best type of potato for baking?
Russet (also called Idaho) potatoes are ideal. They have a high starch and low moisture content, which gives them that fluffy, light interior and crisp skin. Avoid waxy potatoes like red or new potatoes—they’re better for roasting or boiling.
6. Can I use an air fryer instead?
Yes! For one potato, preheat air fryer to 400°F, cook for 35–45 minutes, flipping halfway. It’s faster and uses less energy, but you can only fit 1–2 potatoes at a time. Still a great option if you’re mastering how to do baked potatoes in the oven perfectly every time on a smaller scale.
7. Why do I need to prick the potatoes?
Pricking releases steam as the potato heats up. Without holes, pressure builds inside and can cause the potato to burst open—messy and dangerous. It’s a small step with a big payoff.
Final Thoughts
Now you know exactly how to do baked potatoes in the oven perfectly every time—no more guesswork, no more disappointment. This method is simple, reliable, and works for weeknight dinners, holiday sides, or meal prep.
Remember: clean and dry the skin, oil and salt it well, bake at 425°F, check with a thermometer, rest before slicing, and fluff before serving. These small details make all the difference.
Next time you’re craving a classic loaded potato or just a buttery side, skip the microwave and fire up the oven. With this guide, you’ll get crispy, fluffy, restaurant-quality results every single time.
So go ahead—bake with confidence. Your perfect potato is just 60 minutes away.