Featured image for how to light a gas oven
Image source: wikihow.com
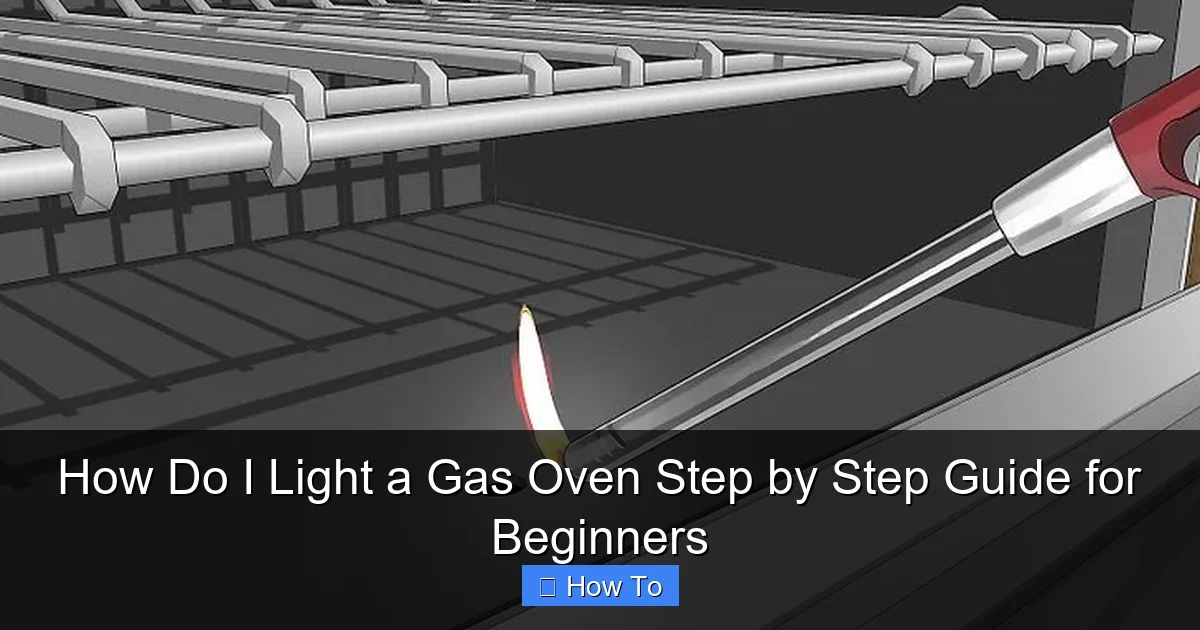
Lighting a gas oven safely starts with ensuring the gas supply is on and the control knob is set to “Off” before igniting. Hold a long lighter near the burner, turn the knob to “Light,” and wait for the flame to catch—never lean over the oven during ignition. If the flame fails, wait 5 minutes to prevent gas buildup before retrying.
How to How Do I Light a Gas Oven Step by Step Guide for Beginners
Why This Matters / Understanding the Problem
If you’ve just moved into a new home or upgraded to a gas oven, you might be wondering: How do I light a gas oven step by step guide for beginners? Unlike electric ovens, gas ovens require manual ignition, and doing it wrong can lead to gas leaks, failed baking, or even safety risks.
Many beginners panic when their oven doesn’t light instantly, or they accidentally leave the gas on without a flame. But don’t worry—lighting a gas oven is simple once you know the right process. This how do I light a gas oven step by step guide for beginners breaks down the process into clear, safe, and repeatable actions.
Whether you’re baking cookies, roasting a chicken, or preheating for pizza night, knowing how to ignite your gas oven correctly is a kitchen essential. And the best part? You don’t need to be a pro to get it right.
What You Need
Before you begin, gather these simple tools and materials. Most are already in your kitchen—no special skills or equipment required.
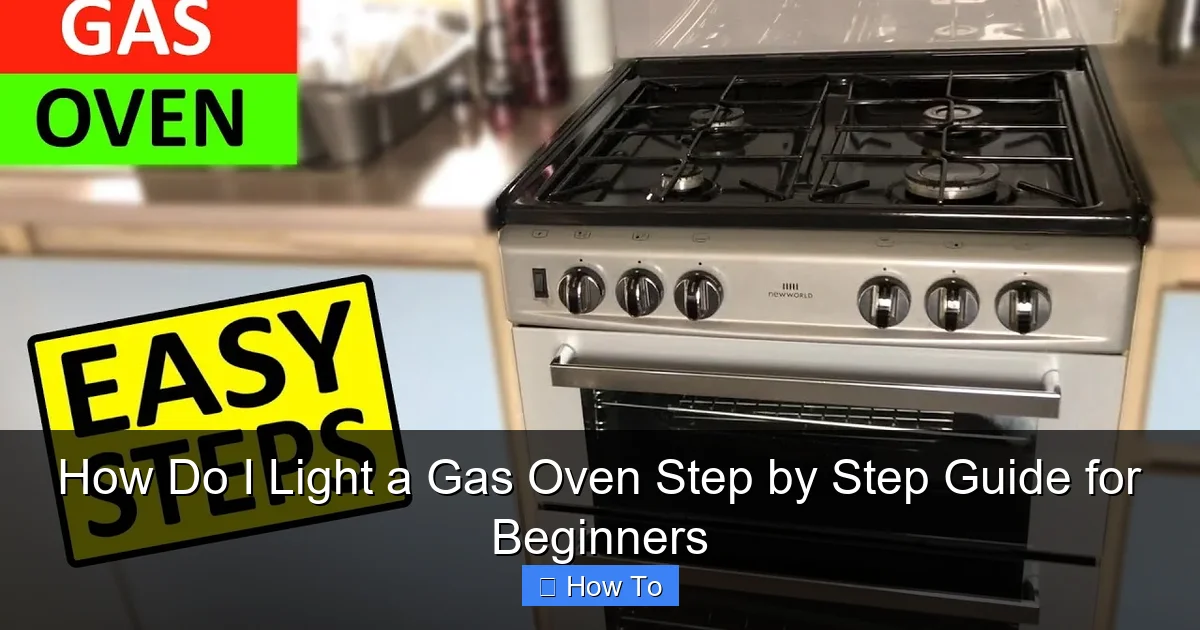
Visual guide about how to light a gas oven
Image source: i.ytimg.com
- Your gas oven (obviously!)
- Oven mitts (for safety)
- A long match or long-reach lighter (if your oven doesn’t have an electric igniter)
- Flashlight (optional, to see inside the oven if it’s dark)
- Ventilation (open a window or turn on the kitchen fan to prevent gas buildup)
- Patience (sometimes the flame takes a few seconds to catch)
Note: Most modern gas ovens have an electric igniter (a clicking sound when you turn the knob), but older models may require a manual match or lighter. Check your oven’s manual if you’re unsure.
Step-by-Step Guide to How Do I Light a Gas Oven Step by Step Guide for Beginners
Step 1: Ensure Safety First – Ventilate and Remove Flammables
Before you touch the oven, make sure the kitchen is well-ventilated. Open a nearby window or turn on the exhaust fan. This prevents gas from building up if the oven fails to light on the first try.
Visual guide about how to light a gas oven
Image source: wikihow.com
Remove any flammable items from the stovetop and oven—paper towels, plastic containers, oven mitts left on the door, or even a dish towel hanging nearby. Safety is the first step in any how do I light a gas oven step by step guide for beginners.
If you smell gas before lighting, do not proceed. Turn off the oven, leave the room, and call your gas company immediately.
Step 2: Turn Off the Oven and Wait (If It Was Recently On)
If the oven was recently used, let it cool for 5–10 minutes. A hot oven can ignite gas too quickly or cause a small flare-up.
Also, if the oven was left on (even at low), turn the control knob to “Off” and wait a minute. This allows any lingering gas to disperse. Never skip this step—it’s a common cause of failed ignition or small flames.
Think of it like starting a car: you wouldn’t turn the key if the engine was still hot and running. Same logic applies here.
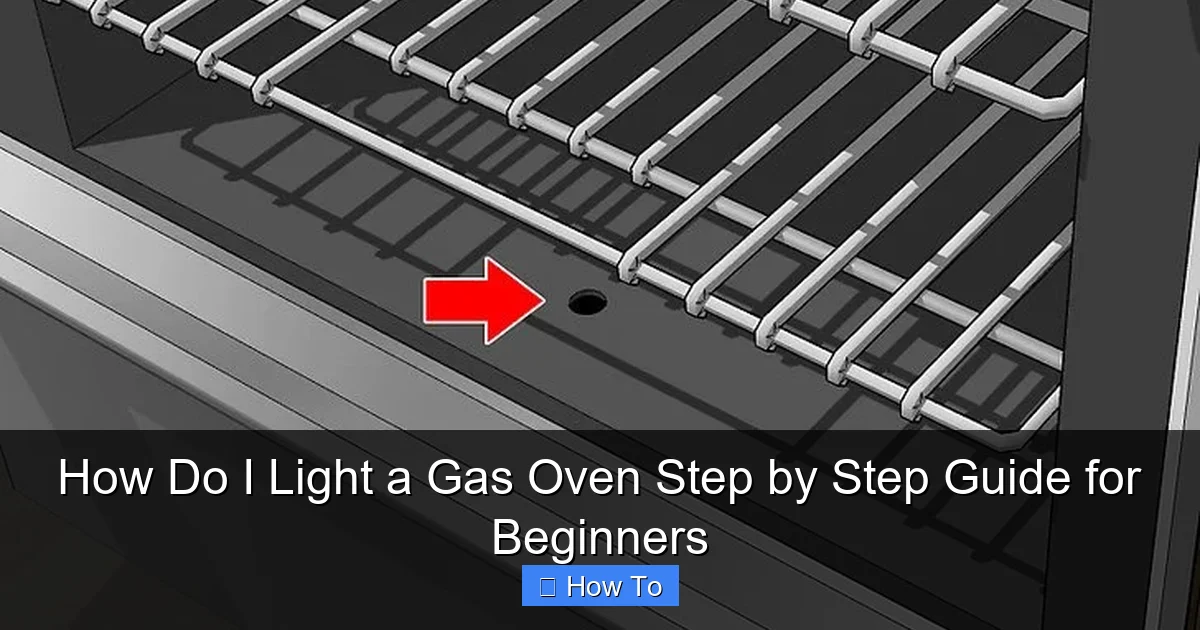
Step 3: Open the Oven Door and Locate the Burner
Open the oven door fully. Look at the bottom of the oven—you’ll see a metal tube or grate with small holes. That’s the oven burner, where the flame comes from.
Some ovens have a removable broiler drawer beneath the main oven. If yours does, slide it out gently to check for debris or food buildup. A clogged burner can prevent gas from flowing evenly.
Use a flashlight if it’s hard to see. You don’t need to clean it now unless it’s visibly dirty—just make sure it’s clear.
Step 4: Turn the Oven Knob to “Ignite” or “Light”
Find the oven temperature knob (usually on the control panel). Turn it to “Ignite,” “Light,” or the lowest temperature setting (like 200°F). You should hear a clicking sound—this means the electric igniter is sparking.
If you don’t hear clicking, your oven may require manual lighting. In that case, skip to Step 5.
For electric igniters: Keep the knob pressed down for 15–30 seconds. The spark will ignite the gas, and you’ll see a blue flame spread across the burner. If it doesn’t light after 30 seconds, turn the knob off, wait 5 minutes, and try again.
Pro Tip: If the igniter clicks but no flame appears, the gas may not be reaching the burner. Check that the gas supply valve (near the floor behind the oven) is fully open.
Step 5: Manually Light the Oven (If No Electric Igniter)
If your oven doesn’t have an electric igniter, or if the igniter is broken, you’ll need to light it manually. This is common in older models.
Turn the oven knob to “Light” or “Pilot” and hold it down. This allows gas to flow into the oven chamber. Now, light a long match or long-reach lighter and carefully insert it through the hole in the oven floor (or near the burner).
You should see the flame catch and spread across the burner. Keep holding the knob for another 10–15 seconds to let the flame stabilize. Then, slowly release the knob. The flame should stay lit.
Warning: Never use a regular lighter or match held in your hand—this is dangerous. Always use a long-reach lighter to avoid burns.
Step 6: Confirm the Flame Is Stable and Blue
Once lit, check the flame. It should be steady and blue, with a slight yellow tip. A flickering, yellow, or orange flame can mean incomplete combustion—often due to a dirty burner or low gas pressure.
Look for even flame distribution across the burner. If only one side lights, the burner may be clogged. Turn off the oven, let it cool, and gently clean the burner with a soft brush or compressed air.
For safety, never leave the oven unattended during this step. Watch the flame for at least 30 seconds to ensure it’s stable.
Step 7: Set Your Desired Temperature and Close the Door
Now that the oven is lit, turn the knob to your desired temperature (e.g., 350°F for baking cookies). The flame will adjust automatically to maintain the heat.
Close the oven door gently. The flame will continue burning, and the oven will start heating up. You’ll feel warmth through the glass after a few minutes.
Most ovens take 10–15 minutes to preheat. Use an oven thermometer (not the built-in dial) to verify the actual temperature—many ovens run hot or cold.
Step 8: Monitor and Adjust as Needed
While baking, check the oven occasionally. The flame should stay lit the entire time. If it goes out, the safety system may have shut off the gas (a good thing!).
If the flame repeatedly goes out, it could mean a faulty igniter, blocked burner, or low gas pressure. Refer to your oven manual or call a technician.
Remember: A properly functioning gas oven uses less energy and cooks more evenly than an electric one—once you master the lighting process.
Pro Tips & Common Mistakes to Avoid
Even with a solid how do I light a gas oven step by step guide for beginners, small errors can cause big problems. Here’s how to stay safe and successful:
- Don’t hold the knob too long: Holding the “Light” knob for more than 30 seconds without ignition can flood the oven with gas. If no flame appears, turn it off, wait 5 minutes, then retry.
- Never use water to clean a hot burner: This can warp the metal. Wait until the oven is cool, then wipe with a dry cloth.
- Check for gas smell: If you smell gas after lighting, turn off the oven, ventilate, and call for help. Don’t ignore it.
- Keep the igniter clean: Wipe the igniter tip with a dry cloth. Food splatter or grease can block the spark.
- Use an oven thermometer: Your oven’s dial isn’t always accurate. A thermometer helps you bake with confidence.
Real-Life Example: Sarah tried to light her oven but kept smelling gas. She realized she was holding the knob too long without ignition. After waiting 5 minutes and trying again, the flame lit safely. Patience saved the day!
FAQs About How Do I Light a Gas Oven Step by Step Guide for Beginners
Q: Why isn’t my oven lighting even though I hear clicking?
A: The igniter is sparking, but gas may not be reaching the burner. Check the gas supply valve (behind the oven) and ensure it’s fully open. Also, a clogged burner can block gas flow. Clean it gently with a soft brush.
Q: Can I use a regular lighter to light the oven?
A: No. A regular lighter is too short and can burn your hand. Always use a long-reach lighter or match. Safety first!
Q: What if the flame keeps going out?
A: This could be due to a weak igniter, a blocked burner, or a faulty thermocouple (a safety sensor). Try cleaning the burner first. If the problem continues, call a technician. Don’t ignore it—gas safety is critical.
Q: Do I need to leave the oven door open while lighting?
A: Yes, for the first few seconds. Open the door to let gas escape and prevent a small explosion if it ignites suddenly. Once lit, you can close it and set the temperature.
Q: How long should I hold the “Light” knob?
A: Hold it for 15–30 seconds. If the oven doesn’t light, turn it off, wait 5 minutes, then try again. Holding it too long can flood the oven with gas.
Q: Can I light the oven with the racks inside?
A: Yes, but remove any plastic or flammable items. Metal racks are fine. Just don’t place anything directly over the burner.
Q: Is it normal for the flame to make a “whoosh” sound when it lights?
A: Yes! A soft “whoosh” is normal when the gas first ignites. But if it’s a loud bang or the flame shoots up, turn it off immediately—this could mean a gas buildup.
Final Thoughts
Lighting a gas oven doesn’t have to be scary. With this how do I light a gas oven step by step guide for beginners, you now have the knowledge to do it safely, confidently, and correctly every time.
Remember: Ventilate, check for gas leaks, use the right tools, and never rush the process. Whether you’re using an electric igniter or a long lighter, patience and attention to detail make all the difference.
Now that you’ve mastered the basics, try baking your favorite dish. You’ll notice how evenly gas ovens cook—especially for roasting and broiling. Keep this guide handy, and share it with anyone new to gas cooking.
And if you ever doubt the process, stop, ventilate, and try again. Safety always comes first. Happy cooking!