Featured image for how to preheat an oven
Image source: wikihow.com
Preheating your oven properly is the key to consistent, professional-quality baking and roasting. Always allow your oven to fully heat to the target temperature—verified with an oven thermometer for accuracy—before adding food, as most built-in dials are off by 25°F or more. This simple step ensures even cooking, proper rise, and perfectly golden results every time.
How to How Do I Preheat an Oven Perfectly Every Time
Why This Matters / Understanding the Problem
Have you ever pulled a golden-brown cookie out of the oven, only to find the center undercooked or the edges burned? Or maybe your pizza crust turned out soggy instead of crisp? These common kitchen mishaps often trace back to one simple mistake: improper oven preheating.
Knowing how to preheat an oven perfectly every time isn’t just a baking tip—it’s a cooking essential. Whether you’re roasting vegetables, baking sourdough bread, or making lasagna, your oven needs time to reach a stable, even temperature. Skipping or rushing this step leads to inconsistent results, wasted ingredients, and frustration.
But here’s the good news: with a few smart techniques and the right habits, you can master the art of oven preheating. This guide will walk you through the exact steps, tools, and insider tricks to ensure your oven is ready—every single time—so your food turns out perfectly.
What You Need
You don’t need fancy gadgets to preheat your oven correctly. Just a few basic tools and a little attention to detail.
Visual guide about how to preheat an oven
Image source: i.ytimg.com
- Oven (gas, electric, or convection)
- Oven thermometer (highly recommended for accuracy)
- Timer or smartphone (to track preheating time)
- Baking sheet or oven rack (to test heat distribution)
- Recipe (with required temperature)
While most ovens have built-in temperature settings, many run hotter or cooler than displayed. An oven thermometer is your secret weapon—it gives you real-time feedback so you know when your oven truly hits the right temperature. This is especially important when learning how to preheat an oven perfectly every time, as it removes guesswork.
Step-by-Step Guide to How Do I Preheat an Oven Perfectly Every Time
Step 1: Clean Your Oven and Check the Racks
Start with a clean oven. Leftover food debris or grease can smoke or catch fire, throwing off temperature and flavor. Wipe down the interior with a damp cloth or use a safe oven cleaner.
Visual guide about how to preheat an oven
Image source: wikihow.com
Remove any racks you won’t need and position the ones you will use. For even cooking, place the middle rack at the oven’s center. This ensures your food is in the sweet spot for heat circulation.
Tip: Never preheat with foil or parchment on the oven floor—this can block airflow and create hot spots.
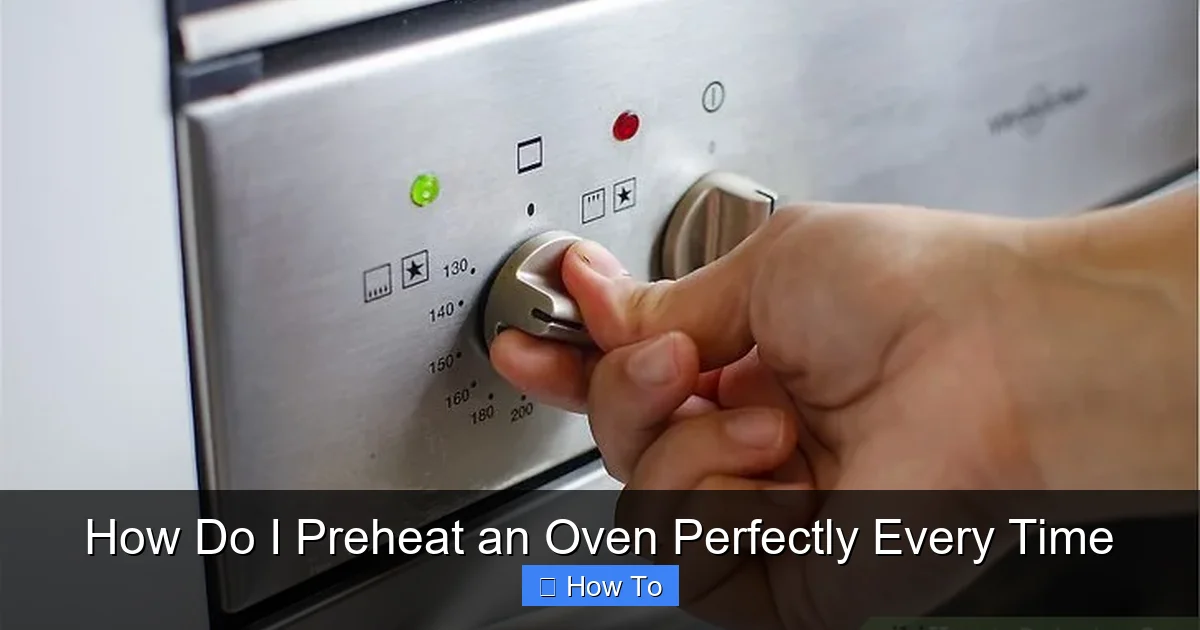
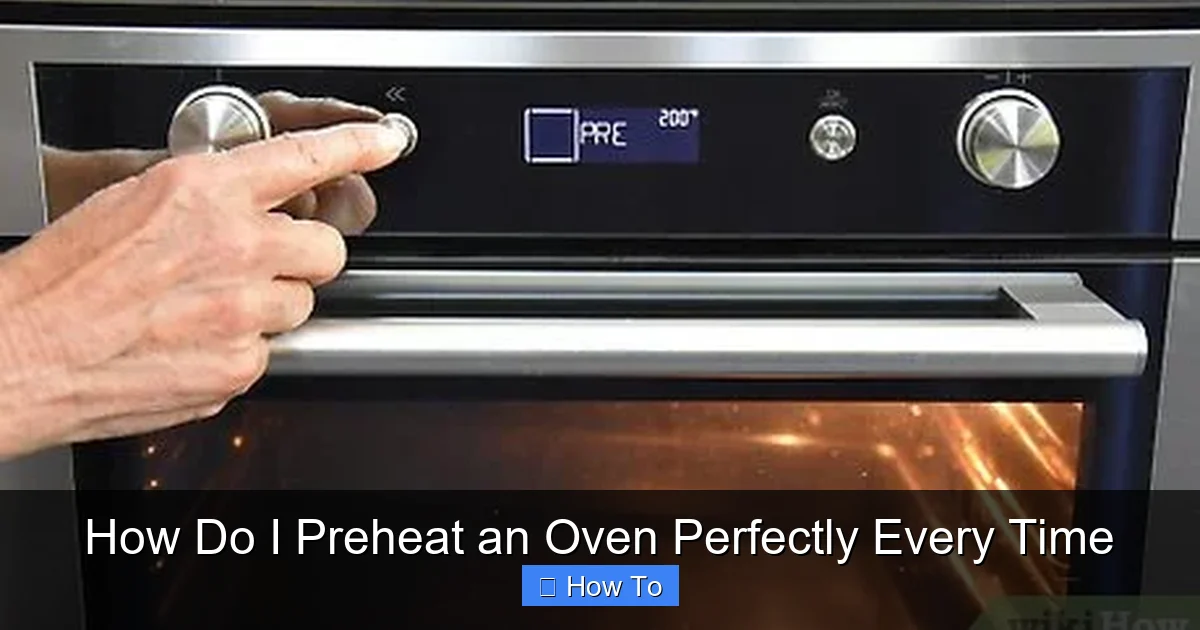
Step 2: Set the Correct Temperature
Check your recipe and set your oven to the required temperature. Use the knob or digital controls to input the number. For example, set it to 350°F (177°C) for cookies or 425°F (220°C) for roasted veggies.
If you’re using a convection oven, reduce the temperature by 25°F (about 15°C) unless the recipe says otherwise. Convection fans circulate air, so food cooks faster and more evenly.
This step is crucial for mastering how to preheat an oven perfectly every time—starting with the right number ensures you’re not over- or under-heating.
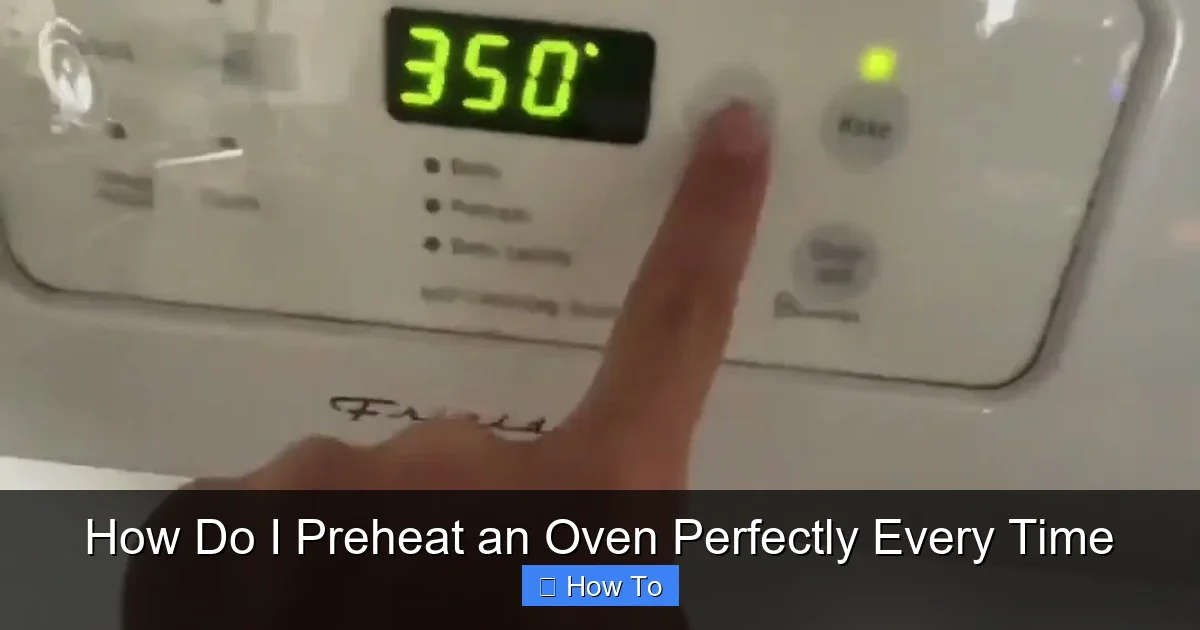
Step 3: Insert an Oven Thermometer
Place an oven thermometer on the center rack. This small tool measures the actual internal temperature—not what the oven display says.
Why? Many ovens are inaccurate by 25–50°F. A thermometer tells you when the air has truly stabilized at your target temp. For example, your oven might show 350°F, but the thermometer could read 325°F—meaning you’re still preheating.
Wait until the thermometer reads your desired temperature. This is the true “preheated” signal, not the oven’s beep.
Bonus: Test Your Oven’s Accuracy
Run this test once a month: Set your oven to 350°F and wait 20 minutes. Check the thermometer. If it reads 325°F, your oven runs 25°F cool. Adjust future settings accordingly (e.g., set to 375°F when you need 350°F).
Step 4: Allow Enough Time—Don’t Rush It
Most ovens take 10–20 minutes to preheat, but this varies by model and temperature. Higher temps (400°F+) can take up to 30 minutes.
Start preheating before you prep ingredients. For example, set the oven to 375°F while you chop vegetables. This way, everything is ready when the oven is.
Never open the door during preheating. Every peek drops the temperature by 25–50°F, forcing the oven to work harder and delaying the process. This is a top mistake people make when trying to learn how to preheat an oven perfectly every time.
Step 5: Use the “Baking Sheet Test” for Even Heat
Once your oven thermometer hits the target, do a quick heat distribution check. Place an empty baking sheet on the center rack and leave it for 2 minutes.
Remove it and touch the surface. It should feel hot all over. If one corner is cool, your oven has uneven heating. Rotate the sheet or adjust rack position in future bakes.
For convection ovens, this test helps confirm the fan is working properly and spreading heat evenly.
Step 6: Wait for Thermal Stability (The Final 5 Minutes)
Even after your oven reaches the right temperature, wait an extra 5 minutes. This allows the oven walls, floor, and air to stabilize. Think of it like warming up a car engine—it runs better after a few minutes.
During this time, the heating elements will cycle on and off to maintain the set temperature. This “settling” phase ensures consistent cooking from the first minute your food goes in.
Warning: Placing food in too early means it starts cooking in fluctuating heat, leading to uneven browning or texture.
Step 7: Confirm with a Visual or Sound Cue
Some ovens have a light that turns off or a beep when “preheated.” But don’t rely on these alone. They often signal when the oven reaches the set temp—not when it’s stabilized.
Use your thermometer as the final judge. When it holds steady for 3–5 minutes, you’re ready to bake.
Now, place your dish in the center of the middle rack. Close the door quickly to minimize heat loss.
Pro Tips & Common Mistakes to Avoid
Even experienced cooks make preheating errors. Here’s how to stay ahead of the game.
Pro Tip 1: Preheat in Stages for Precision Baking
For delicate recipes (like soufflés or macarons), preheat to a lower temp first (e.g., 300°F), then increase to the target (350°F) after 10 minutes. This avoids thermal shock to the oven and ensures smoother temperature rise.
Pro Tip 2: Use the Oven Light to Monitor
Keep the oven light on during preheating. You can see the heating element glow and cycle off—a sign the temperature is stable. No glow? The oven is still heating up.
Pro Tip 3: Avoid “Cold Start” Baking
Never put food in a cold oven unless the recipe specifically says to (e.g., some casseroles). Cold-start baking leads to soggy bottoms and uneven cooking. Always preheat first.
Common Mistake 1: Trusting the Oven Display
Many ovens are off by 25°F or more. Relying on the display without verification is the #1 reason for failed bakes. Always use a thermometer when mastering how to preheat an oven perfectly every time.
Common Mistake 2: Opening the Door Too Soon
Curiosity kills the cake. Opening the door drops the temperature fast. If you must check, do it after 10 minutes of baking—not during preheat.
Common Mistake 3: Skipping the 5-Minute Wait
Just because the oven hits 350°F doesn’t mean it’s ready. The extra 5 minutes allow heat to saturate the oven cavity, creating a stable environment. Skip this, and you risk undercooked centers.
FAQs About How Do I Preheat an Oven Perfectly Every Time
Q1: How long should I preheat my oven for?
Most ovens need 10–20 minutes to reach temperatures up to 375°F. For 400°F+, allow 20–30 minutes. Always wait an extra 5 minutes after the temperature is reached for stability. An oven thermometer ensures accuracy.
Q2: Can I skip preheating for quick recipes?
Only if the recipe says so. Dishes like no-bake cookies, slow-cooked casseroles, or some sheet-pan dinners may allow cold starts. But for baking, roasting, or crisping, preheating is non-negotiable for perfect results.
Q3: Why does my oven take so long to preheat?
Older models or large ovens take longer. Poor insulation, a faulty heating element, or frequent door opening can also slow it down. Clean the oven and check for obstructions. If it takes over 30 minutes, call a technician.
Q4: Do convection ovens need longer to preheat?
No—they often preheat faster due to the fan. But always reduce the temperature by 25°F (unless the recipe says otherwise) to prevent overcooking. Use a thermometer to confirm the actual temp.
Q5: Is it okay to preheat with the baking dish inside?
Only if the dish is oven-safe and room temperature. Never place a cold glass or ceramic dish in a hot oven—it can crack. For metal pans, it’s fine, but the pan will absorb some heat, so add 2–3 minutes to preheating time.
Q6: How can I tell if my oven is accurate?
Use an oven thermometer. Set the oven to 350°F and wait 20 minutes. If the thermometer reads 325°F, your oven runs 25°F cool. Adjust future settings upward by that amount.
Q7: Should I preheat for broiling?
Yes. Most broiling recipes require a 5–10 minute preheat to get the top element red-hot. This ensures a quick sear and even browning. Use your thermometer to monitor the air near the top.
🎥 Related Video: How to Preheat an Oven: The Ultimate Guide #preheatoven #howtopreheatoven #ovenpreheat
📺 Latest Reviews
In this video, I’ll show you how to preheat an oven like a pro! I’ll cover everything you need to know, from setting the correct …
Final Thoughts
Mastering how to preheat an oven perfectly every time isn’t about speed—it’s about precision, patience, and using the right tools. A clean oven, an accurate thermometer, and a few extra minutes of waiting make all the difference between a kitchen disaster and a golden success.
Start small: next time you bake, grab that thermometer and time your preheat. You’ll be amazed at how much better your cookies rise, your bread browns, and your roast cooks evenly.
Remember, every great dish begins with a perfectly preheated oven. So don’t rush the process. Let your oven warm up, let the heat stabilize, and let your food shine. With these steps, you’re not just preheating—you’re setting the stage for cooking perfection.
Now go ahead, turn that dial, and bake with confidence. Your oven—and your taste buds—will thank you.