Featured image for how to season a dutch oven
Image source: bestcastirons.com
Seasoning a Dutch oven properly starts with clean, dry cookware and a thin, even coat of high-smoke-point oil like flaxseed or grapeseed. Bake it upside-down in the oven at 375°F (190°C) for an hour to polymerize the oil, creating a durable, non-stick surface—repeat 2–3 times for best results. Consistent seasoning builds flavor and protects your cast iron for years of reliable cooking.
How to How Do I Season a Dutch Oven Perfectly Every Time
Why This Matters / Understanding the Problem
You’ve just bought a beautiful cast iron Dutch oven—maybe you found one at a flea market, or you splurged on a new enameled model. But now you’re stuck wondering: How do I season a Dutch oven perfectly every time?
Seasoning isn’t just for show. It’s the secret to a non-stick, rust-resistant, and long-lasting cooking surface. Without proper seasoning, your Dutch oven can stick, rust, or develop off-flavors—especially when cooking acidic foods like tomato sauce or braising meats.
Whether you’re using bare cast iron or an uncoated carbon steel Dutch oven, seasoning creates a natural polymerized layer that bonds to the metal. This layer improves with use and care. But if done wrong, you could end up with a sticky, flaky mess. That’s why learning how to season a Dutch oven perfectly every time is essential for every home cook.
What You Need
Before you start, gather these simple tools and ingredients. Most are already in your kitchen.
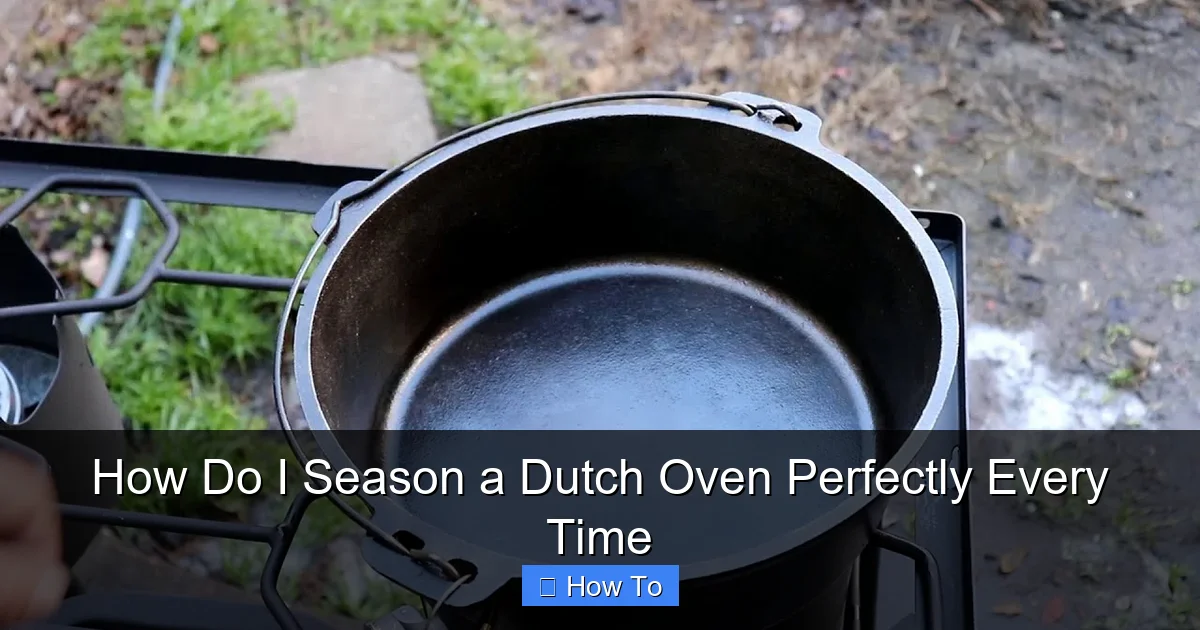
Visual guide about how to season a dutch oven
Image source: i.ytimg.com
- Cast iron or carbon steel Dutch oven (bare metal, no enamel coating)
- High-smoke-point oil: Flaxseed, grapeseed, canola, avocado, or vegetable oil (avoid olive or butter—they burn easily)
- Paper towels or clean lint-free cloths
- Oven (conventional or toaster oven works)
- Baking sheet or aluminum foil (to catch drips)
- Heat-resistant oven mitts
- Soft scrubber or nylon brush (for cleaning)
- Optional: Baking soda or mild dish soap (only for initial deep cleaning)
Note: If your Dutch oven has an enamel coating, do not season it. Enameled cast iron doesn’t need seasoning—it already has a non-stick, rust-proof surface. This guide is for bare cast iron or carbon steel Dutch ovens only.
Step-by-Step Guide to How Do I Season a Dutch Oven Perfectly Every Time
Follow these steps carefully to build a durable, non-stick seasoning layer. This method works for new, used, or neglected Dutch ovens.

Visual guide about how to season a dutch oven
Image source: theskillfulcook.com
Step 1: Clean the Dutch Oven Thoroughly
Start with a clean slate. If your Dutch oven is brand new, it might have a factory coating (like beeswax or mineral oil) that needs to be removed.
- Wash it with hot water and a soft scrubber. Use a drop of mild dish soap if needed—yes, it’s safe for bare cast iron!
- For stubborn residue, use a paste of baking soda and water. Scrub gently, then rinse well.
- Dry immediately and completely with a towel, then place on a stovetop burner on low heat for 2–3 minutes to evaporate any moisture.
Pro Tip: Never let a bare cast iron Dutch oven air-dry. Water is its biggest enemy. Always dry it right away to prevent rust.
Step 2: Apply a Thin, Even Layer of Oil
This is the most important step in learning how to season a Dutch oven perfectly every time. Less is more.
- Pour a small amount (about 1 teaspoon) of high-smoke-point oil onto a paper towel or cloth.
- Rub the oil over the entire surface: inside, outside, lid, handles, and even the bottom.
- Use a second clean paper towel to wipe off all excess oil. The surface should look dry, not shiny or greasy.
Warning: Too much oil causes sticky, gummy residue. If it feels tacky after baking, you used too much. Start over with a lighter coat.
Why thin layers? Polymerization (the chemical process that bonds oil to metal) only works when oil is spread so thin it can fully oxidize. Thick layers peel or flake off.
Step 3: Bake Upside Down in the Oven
Preheat your oven to 450°F (230°C). This temperature is hot enough to polymerize the oil but not so hot it damages your oven or Dutch oven.
- Place the Dutch oven upside down on the middle rack. This prevents oil from pooling in the bottom.
- Put a baking sheet or foil on the rack below to catch any drips (though there shouldn’t be any if you wiped well).
- Bake for 1 hour, then turn off the oven.
- Let the Dutch oven cool completely inside the oven (1–2 hours). This slow cooling helps the seasoning bond better.
You’ll notice a slight smoke and a nutty, oily smell—this is normal. Open a window or use your oven vent if needed.
Step 4: Repeat the Process 2–3 More Times
One layer isn’t enough. To season a Dutch oven perfectly every time, you need multiple thin layers.
- After the first bake, let the Dutch oven cool until you can handle it (but don’t wait too long—warm metal absorbs oil better).
- Repeat Steps 2 and 3: oil, wipe, bake, cool.
- Do this 2–3 more times for a total of 3–4 layers.
Each layer builds durability and non-stick performance. Think of it like painting—each coat adds protection and depth.
Step 5: Test & Maintain the Seasoning
After the final bake, test your seasoning with a simple cook.
- Heat the Dutch oven on low for a few minutes.
- Drop in a teaspoon of oil, then a few drops of water. If the water dances and evaporates quickly, the seasoning is working.
- Try cooking a small egg. If it slides right off, you’ve done it right!
After cooking, clean with hot water and a soft sponge. No soap needed unless there’s stuck-on food. Dry immediately and apply a tiny drop of oil after cleaning to maintain the seasoning.
Pro Tips & Common Mistakes to Avoid
Even experienced cooks mess up seasoning. Here’s how to avoid the biggest pitfalls and get it right every time.
- Use the right oil. Flaxseed oil creates a hard finish but can flake if over-applied. Grapeseed and canola are more reliable. Avocado oil has a high smoke point and builds a smooth layer.
- Don’t skip the wipe-off step. This is the #1 reason seasoning fails. Excess oil = sticky mess.
- Bake in a clean oven. Grease buildup can smoke and ruin the seasoning. Wipe your oven before starting.
- Store properly. Keep your Dutch oven in a dry place with the lid slightly off to prevent moisture buildup. A paper towel inside helps absorb humidity.
- Season in the oven, not on the stove. Stove-top seasoning leads to uneven heat and weak bonds. Oven seasoning ensures even polymerization.
Real-Life Scenario: Sarah tried to season her Dutch oven with olive oil. It turned sticky after baking. Why? Olive oil has a low smoke point and contains impurities that don’t polymerize well. Switching to grapeseed oil fixed the issue.
Warning: Don’t use vinegar or lemon juice to clean a bare Dutch oven. Acid strips the seasoning. Use salt or baking soda for tough stains instead.
Also, avoid putting a cold Dutch oven in a hot oven. Let it heat up with the oven to prevent thermal shock and cracking.
Remember: How do I season a Dutch oven perfectly every time? The answer is consistency, not intensity. Regular light maintenance (wiping with oil after use) beats one perfect seasoning followed by neglect.
FAQs About How Do I Season a Dutch Oven Perfectly Every Time
Q1: Can I season an enameled Dutch oven?
No. Enameled cast iron has a glass-like coating that’s already non-stick and rust-proof. Seasoning it can damage the enamel. Just wash, dry, and use.
Q2: Why does my seasoning look patchy or flake off?
This usually happens because of too much oil or inadequate cleaning before seasoning. Make sure to wipe off all excess oil and start with a clean, dry surface. If it’s flaking, scrub it down with steel wool and start over.
Q3: How often should I re-season my Dutch oven?
Most Dutch ovens need re-seasoning only when performance drops—like food starts sticking or the surface looks dull. With regular use and light oiling after cleaning, you might only need to re-season every 6–12 months.
Q4: Can I use butter or lard to season?
Butter contains milk solids that burn and leave residue. Lard can work but often has a lower smoke point than refined oils. Stick with refined, high-smoke-point oils like canola or grapeseed for best results.
Q5: My Dutch oven smells like oil after baking. Is that normal?
Yes, especially the first few times. It’s the oil polymerizing. The smell fades with use. If it smells rancid or sour later, it might be rancid oil or food residue—clean and re-season.
Q6: Can I season in a toaster oven?
Absolutely! A toaster oven works great for small Dutch ovens (3–5 quarts). Just make sure it can reach 450°F and has enough space. Use the same steps.
Q7: What if my Dutch oven is rusted?
Don’t panic! Light rust can be removed with steel wool or a vinegar soak (1:1 vinegar and water, 10–15 minutes). Scrub, rinse, dry thoroughly, then follow the seasoning steps above. For heavy rust, consider professional restoration or replacement.
🎥 Related Video: This is how I like to season and eat a cast iron pan. WASH with little soap afterwards! #cookingtips
📺 Jose.elcook
Final Thoughts
Learning how to season a Dutch oven perfectly every time isn’t about a single perfect bake—it’s about building a routine. Start with clean, dry metal. Apply thin oil layers. Bake upside down. Repeat. And maintain it with care.
Your Dutch oven is more than a pot—it’s a kitchen heirloom. With proper seasoning, it can last generations, improving with every roast, stew, and loaf of bread you cook.
So don’t stress about perfection. Focus on consistency. Wipe off excess oil. Dry it fast. Oil it lightly after use. And when in doubt, just ask: “How do I season a Dutch oven perfectly every time?” The answer is simple—start small, stay clean, and keep cooking.
Now go season that Dutch oven. Your future self (and your next batch of chili) will thank you.