
Featured image for how to bake spaghetti squash in oven
Image source: i.pinimg.com
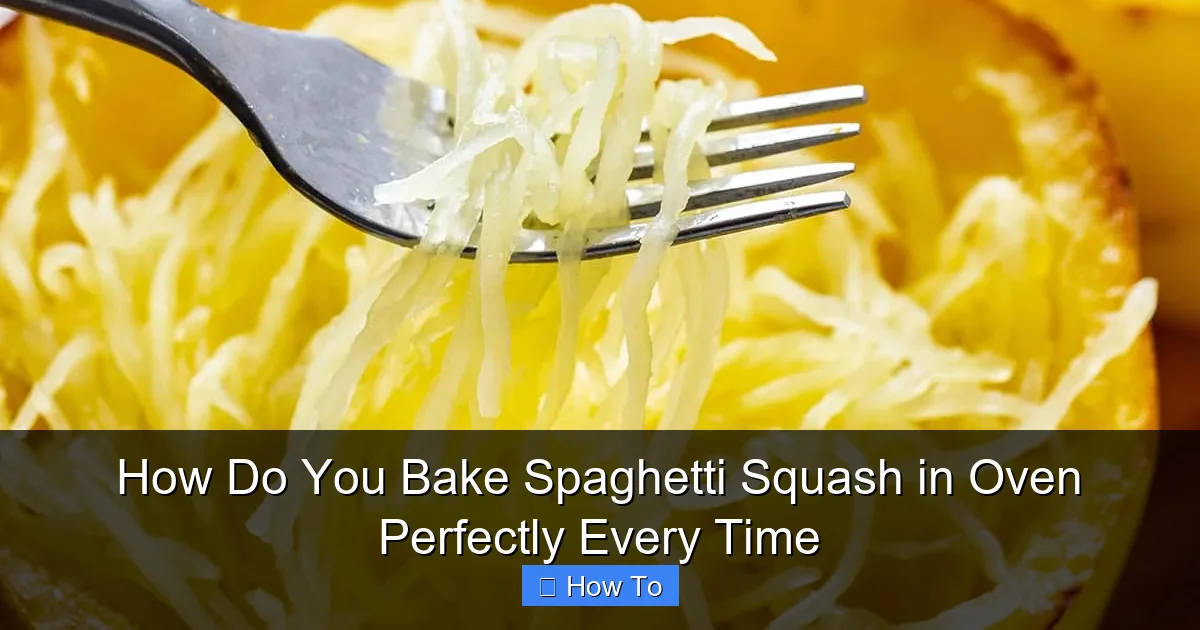
Baking spaghetti squash in the oven is foolproof when you start by cutting it in half and roasting it cut-side down at 400°F for 35–45 minutes. This method ensures tender, stringy flesh that easily shreds with a fork, creating the perfect low-carb base for any meal. For extra flavor, drizzle with olive oil, season with salt and pepper, and finish with a quick broil to caramelize the edges.
How to How Do You Bake Spaghetti Squash in Oven Perfectly Every Time
Why This Matters / Understanding the Problem
Spaghetti squash is a low-carb, nutrient-packed alternative to pasta that’s easy to love—when it’s cooked right. But many home cooks struggle with soggy, undercooked, or uneven results. That’s where learning how to bake spaghetti squash in oven perfectly every time makes all the difference.
Whether you’re meal prepping, managing your carb intake, or just want a delicious veggie side, getting the texture just right—tender but not mushy, with long, noodle-like strands—is key. The secret? A few simple techniques that ensure consistent results, no matter the squash size or oven quirks.
Forget guesswork. With this guide, you’ll master the oven method, which gives you the most control and the best texture. No boiling, no microwaving—just golden, flavorful squash ready to pair with your favorite sauces and proteins.
What You Need
You don’t need fancy tools or gourmet gear. Just a few kitchen basics and one key ingredient: a fresh spaghetti squash.
Visual guide about how to bake spaghetti squash in oven
Image source: wholesomeyum.com
- One spaghetti squash (2–4 lbs is ideal for even roasting)
- Sharp chef’s knife (for safe cutting)
- Cutting board (preferably with a non-slip base)
- Large baking sheet or rimmed baking pan
- Fork (for scraping strands)
- Olive oil or avocado oil (about 1–2 tbsp)
- Kosher salt and black pepper (to taste)
- Optional seasonings: garlic powder, smoked paprika, rosemary
- Kitchen towel or paper towels (for drying)
Pro Tip: Choose a squash with a firm, unblemished rind and a deep yellow or golden color. A dry, hard stem is a good sign of freshness. Avoid soft spots or dull color—these mean it’s past its prime.
Step-by-Step Guide to How Do You Bake Spaghetti Squash in Oven Perfectly Every Time
Step 1: Preheat the Oven and Prep the Squash
Start by preheating your oven to 400°F (200°C). This temperature is the sweet spot—hot enough to caramelize the edges, but not so hot that the squash burns before cooking through.
Visual guide about how to bake spaghetti squash in oven
Image source: wholesomeyum.com
While the oven heats, place the squash on a sturdy cutting board. Use a sharp knife to stab the squash 4–5 times around its equator. This small step prevents steam buildup, reducing the risk of cracking during roasting—a common issue when people skip it.
Warning: Never skip the piercing step. A whole squash can explode in the oven due to pressure, making a mess and a safety hazard.
Step 2: Cut the Squash in Half (Safely!)
Now, cut the squash in half lengthwise, from stem to tip. This is the trickiest part—so use caution.
Hold the squash firmly with one hand (use a towel for grip). With the other hand, place the knife at the top and press down with steady, controlled force. If it’s tough, rock the knife gently instead of sawing—this reduces strain and prevents slipping.
Once split, you’ll see a dense core of seeds and stringy pulp. Use a large spoon to scrape out the seeds and soft fibers. Save the seeds if you’d like to roast them later—they’re a tasty snack!
Pro Tip: If cutting feels too hard, microwave the whole squash for 2–3 minutes to soften it slightly. This makes cutting safer and easier, especially for beginners.
Step 3: Season and Oil the Flesh
Flip both halves so the cut side faces up. Drizzle each half with about 1 tablespoon of oil. Use your fingers or a pastry brush to spread it evenly over the flesh.
Sprinkle with salt, pepper, and any optional seasonings. For extra flavor, add a pinch of garlic powder or dried herbs. A light coating ensures the squash doesn’t dry out and develops a golden, slightly crisp edge.
For even better results, let it sit for 5 minutes after seasoning. This helps the oil penetrate and enhances browning.
Step 4: Roast Cut-Side Down
Place both halves cut-side down on a baking sheet. The flat side should touch the pan—this maximizes contact, promoting even heat transfer and steam release from the flesh.
Roast for 35–45 minutes, depending on size. A 2-pound squash usually takes 35–40 minutes; a 3–4 pound one may need up to 45. The squash is done when a fork easily pierces the rind and the flesh feels tender.
You’ll know it’s perfect when the edges start to caramelize and the skin puffs slightly. Don’t open the oven too early—this drops the temperature and can slow cooking.
Step 5: Cool, Scrape, and Fluff
Remove the squash from the oven and let it rest for 5–10 minutes. This cool-down period firms up the strands, making them easier to scrape and less likely to turn mushy.
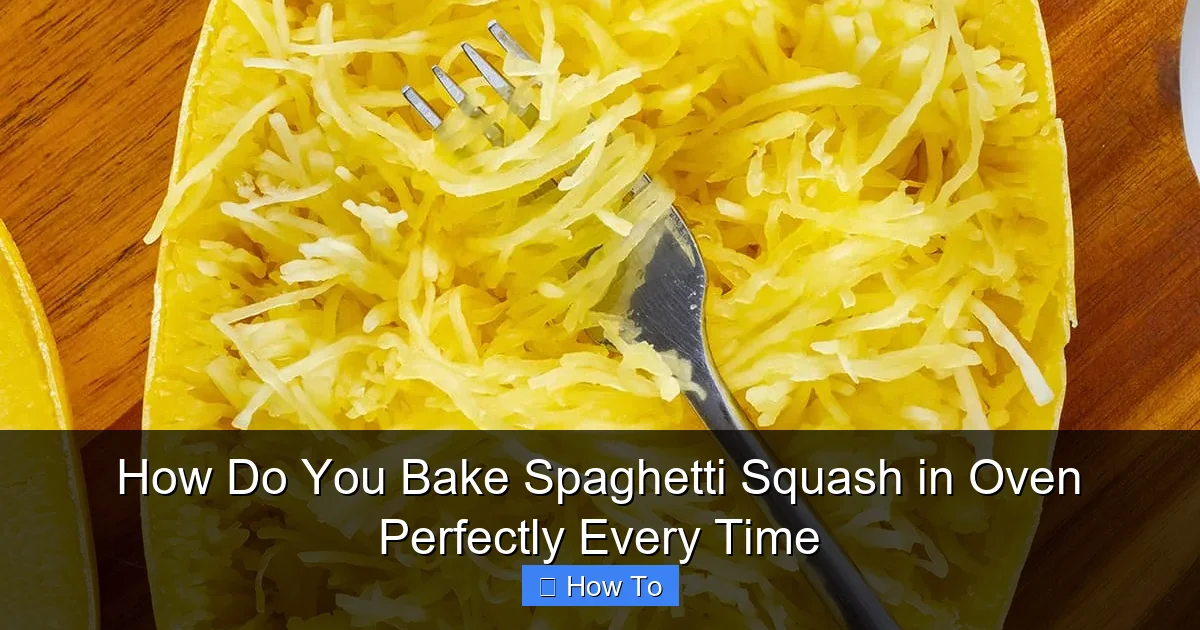
Using a fork, scrape the flesh from the rind in long, even strokes. The strands should come out like spaghetti—separate, tender, and slightly springy. If they’re clumpy or watery, you may have overcooked or under-pierced the squash.
Transfer the strands to a bowl. Taste and adjust seasoning if needed. A splash of lemon juice or a sprinkle of parmesan can brighten the flavor instantly.
Step 6: Serve or Store
Serve immediately with your favorite toppings: marinara sauce, pesto, grilled chicken, or sautéed mushrooms. The texture holds up well in warm dishes.
For meal prep, let the strands cool completely before storing. Place in an airtight container and refrigerate for up to 5 days. Reheat gently in a skillet with a splash of water or broth to revive moisture.
Pro Tip: For extra crispiness, spread the strands on a baking sheet and broil for 2–3 minutes after scraping. This “flash roast” adds texture without overcooking.
Pro Tips & Common Mistakes to Avoid
Even small missteps can ruin your squash. Here’s how to avoid the most frequent issues and elevate your results when learning how to bake spaghetti squash in oven perfectly every time.
- Don’t skip the oil. Dry squash turns rubbery. Oil promotes browning and keeps strands from sticking together.
- Don’t overcook. More than 45 minutes at 400°F risks mushiness. Check at 35 minutes—especially for smaller squash.
- Don’t roast cut-side up. This traps steam and leads to soggy, uneven cooking. Always place cut-side down.
- Don’t scrape right out of the oven. Let it cool first. Hot squash is fragile and harder to fluff properly.
- Don’t ignore seasoning. Plain squash can taste bland. A little salt, oil, and spice go a long way.
Real-Life Example: Sarah, a busy mom from Denver, tried baking squash without oil and got a dry, chewy mess. After adding oil and letting it rest, her family now asks for it weekly.
For extra flavor, try these upgrades:
- Add a clove of minced garlic or a sprig of rosemary to the cavity before roasting.
- Brush with a mix of oil and balsamic vinegar for a sweet-tart finish.
- Top with crispy breadcrumbs or toasted almonds for crunch.
FAQs About How Do You Bake Spaghetti Squash in Oven Perfectly Every Time
Q1: Can I bake spaghetti squash at 375°F instead of 400°F?
Yes, but it will take longer—about 45–50 minutes. Lower heat is gentler but can lead to less caramelization. For the best texture, stick to 400°F unless your oven runs hot.
Q2: Why is my squash watery after baking?
This usually happens if the squash wasn’t pierced before roasting (trapping steam) or if it’s overcooked. Always stab the rind and check doneness early. You can also drain excess liquid by placing strands in a colander for 1–2 minutes.
Q3: Can I cook more than one squash at a time?
Absolutely! Just make sure they’re not overcrowded on the baking sheet. Leave at least an inch between halves for proper air circulation. Rotate the pan halfway through if your oven has hot spots.
Q4: How do I know when it’s done without cutting it?
Press the rind with your finger. It should give slightly but not feel soft. The skin will also darken and pull away from the edges. A fork should slide into the flesh with little resistance.
Q5: Can I freeze baked spaghetti squash?
Yes! Cool completely, then place in freezer-safe bags or containers. Squeeze out air and freeze for up to 3 months. Thaw in the fridge overnight and reheat in a skillet with a little oil to restore texture.
Q6: Is baking better than microwaving?
For texture and flavor, yes. Baking gives you more control, better browning, and firmer strands. Microwaving is faster but often results in mushy or uneven results. If you’re in a rush, microwave first (4–5 minutes), then finish in the oven for 10–15 minutes.
Q7: What sauces work best with baked spaghetti squash?
Almost anything! Try marinara, Alfredo, pesto, or a creamy mushroom sauce. For a lighter option, toss with lemon zest, olive oil, and fresh herbs. Protein pairings like grilled shrimp, chicken, or tofu make it a full meal.
🎥 Related Video: HOW TO COOK SPAGHETTI SQUASH | easy roasted spaghetti squash recipe
📺 Downshiftology
Spaghetti squash is a versatile, delicious fall vegetable and mother nature’s version of gluten-free pasta. It’s really easy to cook …
Final Thoughts
Mastering how to bake spaghetti squash in oven perfectly every time is simpler than you think. It’s not about fancy techniques—it’s about consistency, attention to detail, and knowing the little things that make a big difference.
Remember: pierce before roasting, season generously, roast cut-side down, and let it rest. These steps ensure tender, strand-perfect squash that’s ready for any dish—from weeknight dinners to holiday sides.
Next time you’re at the market, grab a spaghetti squash and give it a try. Once you taste how easy and delicious it is, you’ll never go back to soggy, undercooked results. And if you’re meal prepping, bake a few extra halves—they reheat beautifully and keep you on track with healthy eating.
So preheat that oven, grab your fork, and get ready to enjoy squash that’s not just cooked—but cooked perfectly.