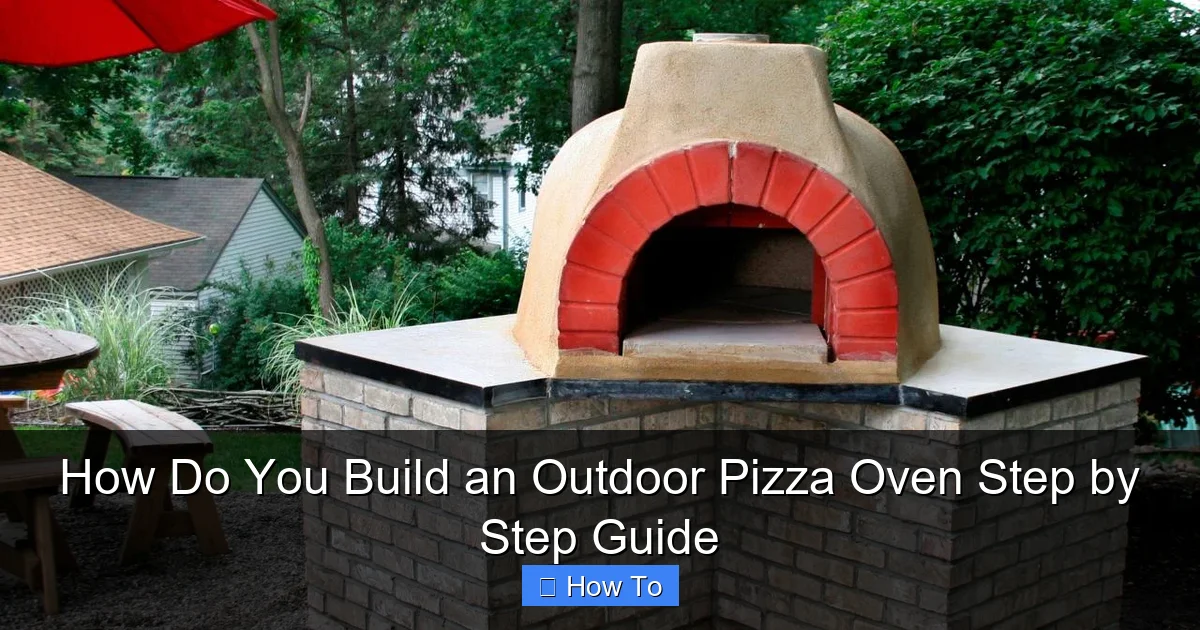
Featured image for how to build an outdoor pizza oven
Image source: hgtvhome.sndimg.com
Building an outdoor pizza oven starts with a solid foundation and proper insulation to retain high heat for perfect, wood-fired pizzas. Follow a step-by-step process—from laying firebrick floors and constructing a dome with refractory materials to sealing the exterior with stucco or stone—for a durable, efficient oven. With the right materials and careful attention to thermal dynamics, you can craft a backyard masterpiece that delivers restaurant-quality results in under 60 minutes of firing.
How Do You Build an Outdoor Pizza Oven Step by Step Guide
Why This Matters / Understanding the Problem
Imagine pulling a bubbling, golden-crusted Margherita pizza from a roaring wood-fired oven in your backyard. That smoky aroma, the crackling fire, the family gathered around—it’s not just cooking. It’s an experience.
But if you’re asking, how do you build an outdoor pizza oven step by step guide, chances are you’ve tried store-bought kits that cost a fortune or watched DIY videos that skip crucial details. Many beginners end up with cracked domes, poor heat retention, or ovens that never get hot enough. That’s why a clear, practical how do you build an outdoor pizza oven step by step guide is essential—it turns dream into reality without costly mistakes.
Whether you’re a weekend DIYer or a home chef craving authentic Neapolitan-style pizza, this guide breaks down every phase. From foundation to first fire, we’ll walk you through building a durable, efficient, and beautiful outdoor pizza oven using real-world tips and materials you can find locally.
What You Need
Before swinging a hammer, gather your tools and materials. A successful build starts with preparation. Here’s what you’ll need for your how do you build an outdoor pizza oven step by step guide project:
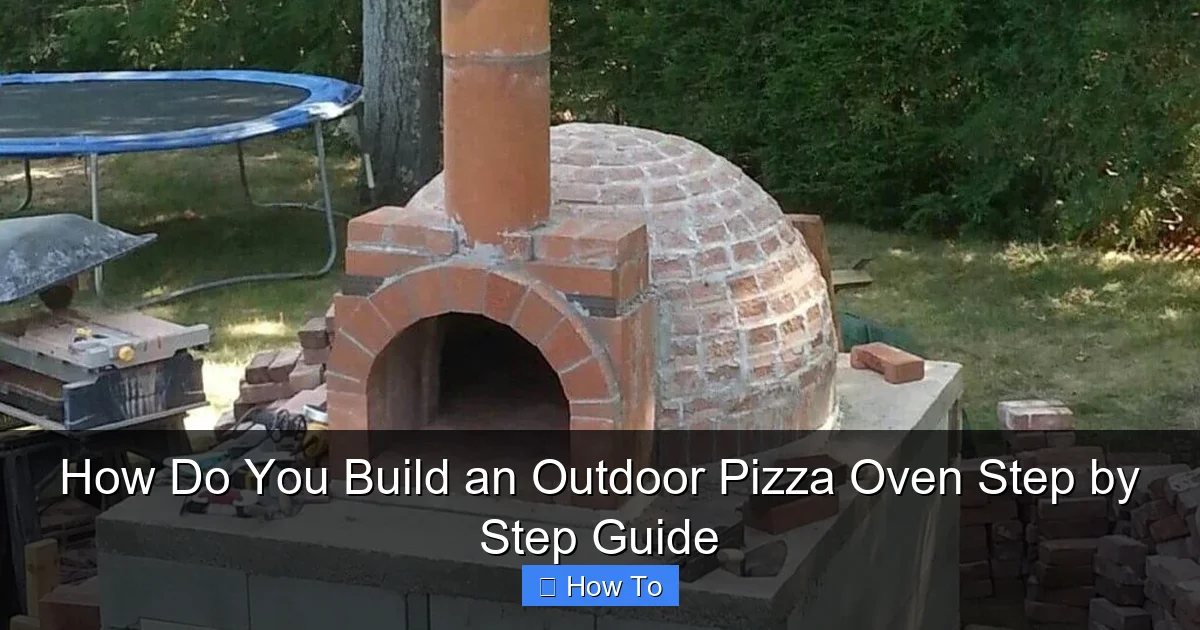
Visual guide about how to build an outdoor pizza oven
Image source: i.pinimg.com
Materials
- Concrete blocks or pavers (for base/foundation)
- Insulating fire bricks (for oven floor and dome)
- Fireclay or refractory mortar (rated for high heat)
- Refractory insulation board (e.g., Kaowool or ceramic fiberboard)
- Concrete mix (heat-resistant) for dome and outer shell
- Steel rebar (to reinforce the base)
- Metal flue pipe and cap (4–6 inches diameter)
- Exterior-grade stucco or stone veneer (for finish)
- Wooden form (mold) for shaping the dome (optional but helpful)
Tools
- Tape measure
- Spirit level
- Trowel (notched and flat)
- Angle grinder with masonry wheel
- Drill with masonry bit
- Work gloves and safety goggles
- Shovel and wheelbarrow (for mixing concrete)
- String line and plumb bob (for alignment)
Pro Tip: Buy 10–15% extra bricks and mortar. Cuts and misalignments happen—better to have spares than make a last-minute store run.
Step-by-Step Guide to How Do You Build an Outdoor Pizza Oven Step by Step Guide
Step 1: Choose the Right Location and Build a Solid Foundation
Start with location. Pick a level, dry area at least 3 feet from trees, fences, or structures. Avoid low spots that collect water—your oven needs drainage and airflow.
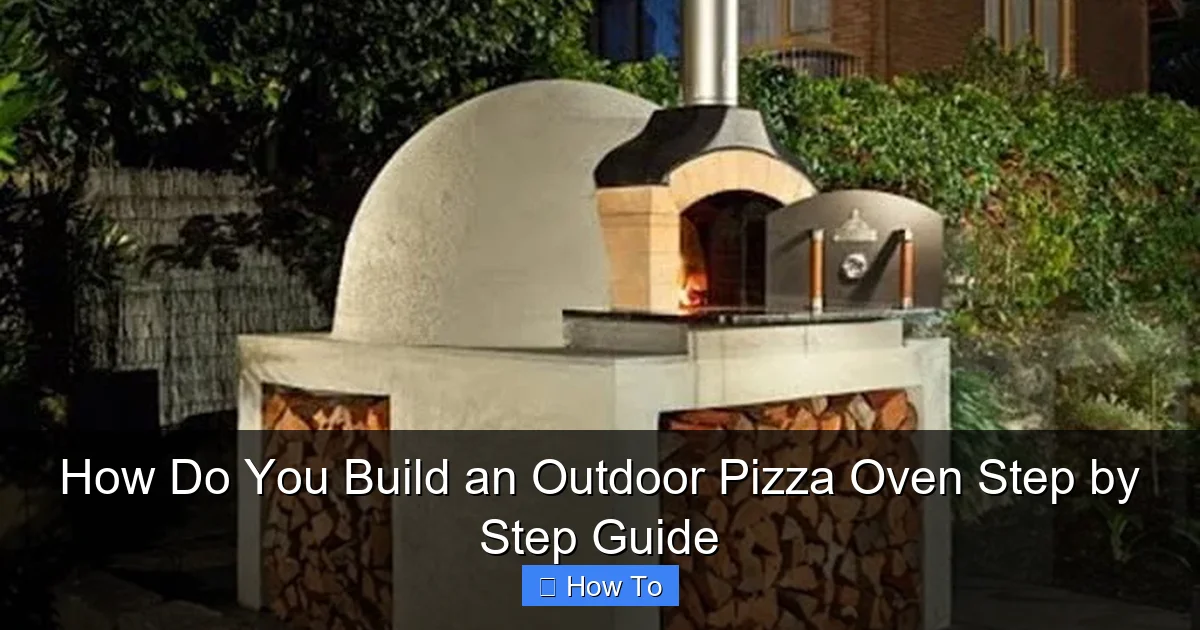
Visual guide about how to build an outdoor pizza oven
Image source: brooklyncraftpizza.com
Lay a concrete slab or use stacked concrete blocks with rebar for reinforcement. The base should be at least 36″ x 36″ and elevated 30–36 inches off the ground—comfortable for cooking without bending.
Use a spirit level to ensure the surface is perfectly flat. A crooked base leads to uneven heat distribution. This foundation is the backbone of your how do you build an outdoor pizza oven step by step guide—don’t rush it.
Step 2: Lay the Insulated Oven Floor
The floor is where your pizza sits. It must hold heat and resist cracking. Use insulating fire bricks (not regular bricks) laid in a herringbone or grid pattern.
Mix fireclay mortar to a peanut-butter consistency. Apply a thin bed (about 1/4″) and press each brick firmly. Leave 1/8″ gaps between bricks for expansion. These gaps also help heat circulate evenly.
Once set (24–48 hours), cover the floor with a layer of refractory insulation board (1–2 inches thick). This keeps heat in and protects the base from cracking under high temps.
Warning: Never use regular mortar or concrete for the floor or dome. It can explode when heated due to trapped moisture.
Step 3: Build the Dome Form and Frame
The dome is the heart of the oven. To shape it, create a sand mold: pile damp sand into a dome shape (about 18–20″ high, 30″ wide). Smooth it with a trowel—this becomes your internal form.
Cover the sand with plastic sheeting to prevent mortar from sticking. This mold supports the bricks as you build the dome. Alternatively, buy a reusable metal or cardboard dome form for easier shaping.
Start laying fire bricks around the entrance (leave a 22–24″ wide opening). Use fireclay mortar and stagger joints like brickwork. Each layer should overlap the one below.
Step 4: Construct the Dome Layer by Layer
Work in rings, moving upward. Keep joints tight—no gaps. As the dome curves inward, use a string line from the center to maintain symmetry. A plumb bob helps check vertical alignment.
When you reach the top, cap it with a keystone brick cut to fit snugly. This locks the dome in place. Let the mortar cure for at least 48 hours.
Once hardened, remove the sand mold (or collapse the form). Brush out loose sand and debris. Your dome should be solid, smooth, and symmetrical—ready for insulation.
Step 5: Add Insulation Layer
Heat loss is the enemy of efficiency. Wrap the entire dome with 2–3 inches of ceramic fiber insulation (Kaowool or similar). Secure it with stainless steel wire or mesh.
This layer traps heat, allowing your oven to reach 700–900°F (370–480°C) and stay hot for hours. Without insulation, your how do you build an outdoor pizza oven step by step guide project will fail—pizzas will cook unevenly, and reheating will be slow.
Step 6: Build the Outer Shell
Now protect the insulation with a concrete shell. Mix heat-resistant concrete (add perlite or vermiculite for lightness and insulation). Apply 1–2 inches over the insulation using a trowel.
Smooth the surface and shape the entrance arch. Embed the flue pipe at the front, just above the opening. Angle it slightly upward (5–10 degrees) so smoke escapes efficiently.
Let the concrete cure for 5–7 days. Keep it damp during curing to prevent cracking. A slow cure means stronger, longer-lasting structure.
Step 7: Finish with Exterior and Add a Chimney
Now it’s time for looks. Apply stucco, stone veneer, or tile for a polished finish. This protects the concrete and gives your oven a custom, professional look.
Install a chimney cap on the flue pipe to keep rain out. Make sure the cap is at least 2 feet above the oven roof for proper draft.
Optional: Build a small shelf or counter next to the oven for prep space. Use weatherproof materials like stainless steel or concrete.
Step 8: Season Your Oven
Before cooking, you must season the oven. This removes residual moisture and hardens the mortar.
Start with a small fire (hand-sized logs) for 1 hour. Increase fire size every 30 minutes over 4–6 hours. Gradually raise the temperature to 500°F, then 700°F.
After cooling, wipe the interior with a damp cloth. Your oven is now ready for its first pizza!
Pro Tips & Common Mistakes to Avoid
Pro Tip: Use a laser thermometer to check internal temps. Aim for 700°F for Neapolitan pizza (cooks in 90 seconds). Lower temps (400–500°F) work for calzones or bread.
- Use dry, seasoned hardwood (oak, maple, cherry). Green wood creates smoke and soot, ruining flavor.
- Preheat for 1–1.5 hours. The floor must be glowing red to cook evenly.
- Don’t rush the cure. Skipping the 5-day concrete cure leads to cracks.
- Keep a fire poker and ash shovel handy. You’ll need to push coals to the side when cooking.
- Cover your oven when not in use. A custom-fitted cover prevents water damage and extends life.
Common Mistake: Building the oven too close to the house. Not only is it a fire hazard, but smoke can enter windows. Always check local fire codes.
Another frequent error? Using regular bricks for the dome. They can’t handle repeated heating and cooling. Always use insulating fire bricks—they’re lighter, retain heat better, and last decades.
Also, avoid over-insulating. Too much insulation slows heat-up time. 2–3 inches is ideal for backyard use.
FAQs About How Do You Build an Outdoor Pizza Oven Step by Step Guide
Q: How much does it cost to build an outdoor pizza oven?
A: A DIY build typically costs $300–$700, depending on materials and finish. Fire bricks and insulation are the priciest items. You’ll save 50–70% compared to pre-made kits ($1,500+).
Q: Can I build this on a wooden deck?
A: No. The base must be on a non-flammable surface like concrete, stone, or gravel. Even with a metal stand, radiant heat can damage wood. Always place your oven on a fireproof foundation.
Q: How long does it take to build?
A: Plan for 2–3 weekends. Most time is spent on curing (mortar and concrete). Actual labor: 15–20 hours. Rushing leads to cracks and weak spots.
Q: Can I cook things other than pizza?
A: Absolutely! Once the fire dies down, the retained heat is perfect for roasting vegetables, baking bread, slow-cooking meats, or even making cookies. Your how do you build an outdoor pizza oven step by step guide unlocks endless cooking possibilities.
Q: Do I need a permit?
A: It depends on your city. Many areas require permits for permanent outdoor structures with fire. Check with your local building department. Some HOAs also have restrictions.
Q: How do I clean the inside?
A: Scrape out ash after each use with a metal shovel. For residue, use a dry brush. Never use water—it can crack hot bricks. If needed, wipe with a damp cloth when cool.
Q: Will it last through winter?
A: Yes—if properly built and covered. Use a waterproof cover and store firewood under shelter. Avoid lighting fires during freezing rain. With care, your oven can last 20+ years.
🎥 Related Video: How to Build a DIY Wood Fired Pizza Oven
📺 Family Handyman
In this tutorial, you’ll discover how to construct your very own wood-fired pizza oven using affordable materials and simple tools, …
Final Thoughts
Building an outdoor pizza oven isn’t just about cooking. It’s about creating a space for connection, celebration, and creativity. With this how do you build an outdoor pizza oven step by step guide, you’re not just following instructions—you’re building a legacy.
Start small, work carefully, and don’t skip the curing steps. A well-built oven rewards you with crispy crusts, smoky flavor, and years of backyard memories.
So grab your bricks, fire up your tools, and get started. Your first homemade Margherita is just a few steps away. And when friends ask, “How do you build an outdoor pizza oven step by step guide?”—you’ll have a delicious answer.
Now go build something amazing.