
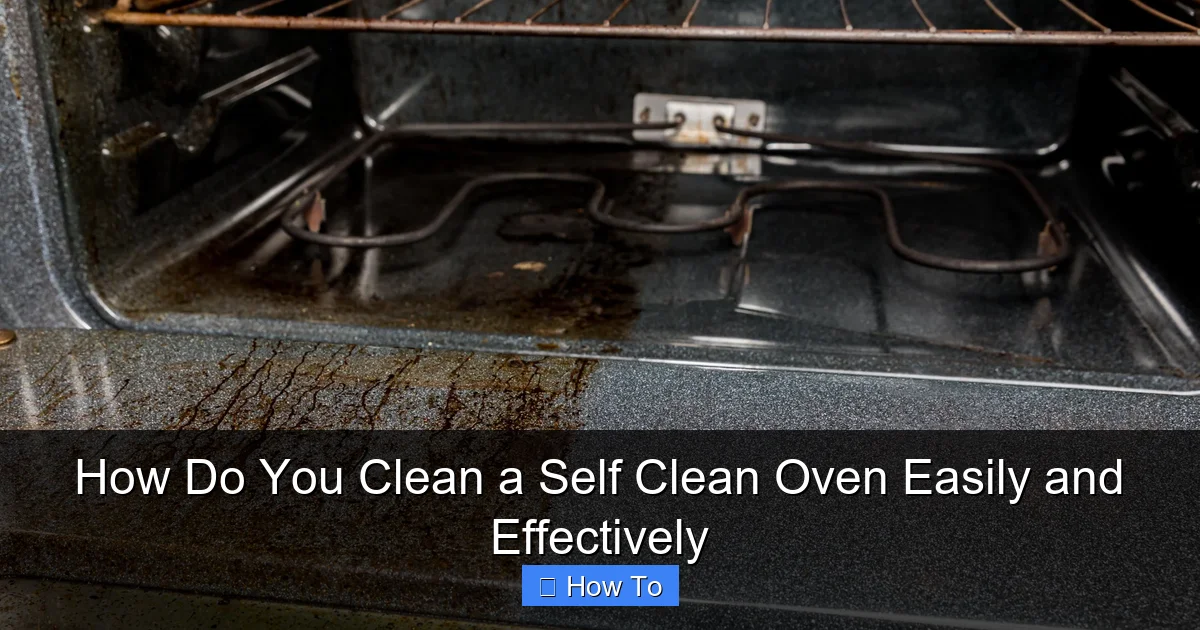
Featured image for how to clean a self clean oven
Image source: ovenu.com.au
Cleaning a self-cleaning oven is effortless when you use its built-in pyrolytic cycle, which incinerates food residue at extreme temperatures. Simply remove oven racks, select the self-clean mode, and let the high heat (up to 900°F) turn grime to ash—wipe away the remnants afterward with a damp cloth. For best results, avoid harsh chemicals and clean spills promptly to prevent buildup before the next cycle.
How to How Do You Clean a Self Clean Oven Easily and Effectively
Why This Matters / Understanding the Problem
You bought a self-cleaning oven for a reason—less scrubbing, right? But if you’ve ever tried to use the self-clean feature, you might have noticed a smoky kitchen, lingering fumes, or even stubborn grime left behind. The truth is, how you clean a self-clean oven easily and effectively isn’t just about pressing a button. It’s a process that needs preparation, timing, and a little know-how.
Self-clean ovens use extreme heat (up to 900°F) to burn off food residue. While powerful, this method can damage oven components, leave behind ash, or even create smoke if not done right. Plus, many people don’t realize that the self-clean cycle only handles the oven cavity—not the racks, door glass, or control panel. That’s why learning how do you clean a self-clean oven easily and effectively means combining the best of both worlds: using the self-clean feature wisely and following up with smart manual cleaning.
Whether you’re dealing with baked-on cheese, greasy splatters, or just routine maintenance, this guide shows you how to get a spotless oven without smoke, damage, or wasted time.
What You Need
Before you start, gather these tools and materials. Having everything ready saves time and avoids mid-process interruptions.

Visual guide about how to clean a self clean oven
Image source: applianceexpresstx.com
- Oven racks (remove and clean separately)
- Damp microfiber cloths (2–3)
- Baking soda
- White vinegar (distilled)
- Spray bottle
- Dish soap (mild, non-abrasive)
- Plastic scraper or old credit card
- Rubber gloves (heat-resistant if using hot water)
- Soft-bristle brush (toothbrush or small cleaning brush)
- Vacuum with hose attachment (for ash cleanup)
- Fan or open windows (for ventilation)
<
Optional but helpful: Oven cleaner wipes (non-toxic), aluminum foil (to protect the floor), and a flashlight (to inspect corners).
Pro Tip: Avoid ammonia-based cleaners or abrasive steel wool—they can damage the oven’s interior coating. Stick to natural cleaners like baking soda and vinegar for safe, effective results.
Step-by-Step Guide to How Do You Clean a Self Clean Oven Easily and Effectively
Step 1: Remove and Clean the Oven Racks
Start by taking out the oven racks. The self-clean cycle doesn’t clean them, and leaving them in can cause warping or discoloration from extreme heat.
Visual guide about how to clean a self clean oven
Image source: atoz1.com
Place the racks in your bathtub or a large sink. Fill with hot water and add ½ cup of baking soda and a few drops of dish soap. Let them soak for 1–2 hours. For tough stains, sprinkle baking soda directly and scrub with a soft brush. Rinse and dry completely before returning them to the oven.
This step is essential for how do you clean a self-clean oven easily and effectively—clean racks mean a cleaner overall oven experience.
Step 2: Prep the Oven Cavity
Before starting the self-clean cycle, clear out loose debris. Use a damp microfiber cloth to wipe away crumbs, grease, and loose food particles. For stuck-on bits, gently scrape with a plastic tool—never metal, which can scratch the interior.
Remove any oven liners or foil. These can catch fire during the high-heat cycle. Also, take out the oven thermometer or meat probe if you have one.
Wipe the door seal (the rubber gasket around the door) with a damp cloth. This area often traps grease and needs attention, even if it’s not part of the self-clean process.
Warning: Never use water or cleaning sprays inside the oven cavity right before starting the self-clean cycle. Moisture can cause cracking or electrical issues.
Step 3: Run the Self-Clean Cycle (Safely)
Now, set the oven to self-clean. Most models have a 3–5 hour cycle. Choose a time when you can monitor the oven and keep pets and kids away.
Ensure your kitchen is well-ventilated. Turn on exhaust fans, open windows, or place a fan nearby. The cycle produces smoke and strong odors—especially if you have a lot of grease buildup. Some people even run the cycle at night to avoid discomfort.
During the cycle, the oven heats to 800–900°F, turning food residue into ash. This is the magic of the self-clean feature, but it only works if the oven is properly prepped.
Once the cycle finishes, let the oven cool completely—this can take 2–3 hours. Never force it open or try to wipe it while hot.
This step is the core of how do you clean a self-clean oven easily and effectively—but it’s only half the job.
Step 4: Wipe Away the Ash
After the oven is cool, open the door and inspect the interior. You’ll likely see a layer of gray or black ash where food used to be.
Use a vacuum with a hose attachment to suck up loose ash from the floor and corners. This prevents spreading dust when wiping.
Then, dampen a microfiber cloth and wipe down the oven walls, floor, and ceiling. For stubborn ash, use a slightly damp cloth with a sprinkle of baking soda. Avoid soaking the cloth—excess moisture can damage heating elements.
Wipe the oven door interior with the same method. If you see residue on the glass, use a vinegar-water mix (1:1) in a spray bottle. Spray lightly and wipe with a lint-free cloth.
Step 5: Clean the Oven Door Glass (Inside and Out)
The door glass is often overlooked but can get greasy from frequent touching and cooking splatter.
For the inside glass: Use a vinegar-water spray or a paste of baking soda and water. Apply with a soft cloth and scrub gently. Rinse with a damp cloth and dry with a microfiber towel.
For the outside glass: Use a glass cleaner or vinegar spray. Wipe in a circular motion to avoid streaks. For fingerprints, a quick wipe with a dry cloth usually does the trick.
If your oven has a double-pane door, avoid spraying liquid between the glass. Use a cotton swab dipped in vinegar to clean the edges.
This step ensures your oven looks clean from every angle—part of truly mastering how do you clean a self-clean oven easily and effectively.
Step 6: Reassemble and Final Touches
Once everything is dry, return the clean oven racks. Make sure they slide in smoothly and don’t wobble.
Wipe the control panel and outer oven surface with a damp cloth. For stainless steel, use a stainless steel cleaner or a vinegar-water mix to avoid streaks.
Check the oven light and replace it if it’s burned out. A working light helps you inspect future messes early.
Finally, run a quick test: turn the oven on to 350°F for 10 minutes. This burns off any leftover residue and confirms everything is working.
Pro Tips & Common Mistakes to Avoid
Pro Tip 1: Run the self-clean cycle every 3–6 months, depending on use. Don’t wait until the oven is caked in grease—it increases smoke and fire risk.
Pro Tip 2: For light messes, skip the self-clean cycle. Use a baking soda paste (3 parts baking soda, 1 part water) and scrub with a soft brush. It’s faster, safer, and doesn’t produce smoke.
Pro Tip 3: Place a bowl of vinegar in the oven while it cools. It helps neutralize odors and loosens ash.
Common Mistake #1: Starting the self-clean cycle with large chunks of food or liquid. Always scrape and wipe first. Large spills can ignite and cause smoke.
Common Mistake #2: Using the self-clean cycle too often. The extreme heat can degrade oven door seals and damage heating elements over time. Use it only when necessary.
Common Mistake #3: Forgetting to clean the oven racks. Even if the oven looks clean, dirty racks can transfer grime back during cooking.
Common Mistake #4: Using abrasive tools. Steel wool, scouring pads, or harsh chemicals can scratch the oven’s enamel or glass. Always use soft cloths and natural cleaners.
By avoiding these errors, you’ll extend your oven’s life and make how do you clean a self-clean oven easily and effectively a stress-free routine.
FAQs About How Do You Clean a Self Clean Oven Easily and Effectively
Q1: Can I leave the oven racks in during the self-clean cycle?
A: No. High heat can warp, discolor, or damage oven racks. Always remove them and clean them separately. This is a key part of how do you clean a self-clean oven easily and effectively.
Q2: Why does my kitchen smell bad during the self-clean cycle?
A: The cycle burns off food residue, which produces smoke and odor. It’s normal, but ventilation is crucial. Run fans, open windows, or run the cycle when you’re not cooking or sleeping.
Q3: How often should I use the self-clean feature?
A: For most households, every 3–6 months is enough. If you cook frequently or have heavy spills, clean every 2–3 months. For light use, once a year may suffice.
Q4: What if there’s still grime after the self-clean cycle?
A: Some tough stains may survive the heat. Use a baking soda paste and scrub gently. For carbonized spots, a plastic scraper can help. Avoid metal tools to prevent scratches.
Q5: Is it safe to use the self-clean cycle with pets at home?
A: The cycle produces fumes that can irritate pets (especially birds). Keep animals in another room with closed doors. Run the cycle when they’re not home if possible.
Q6: Can I use commercial oven cleaners with a self-clean oven?
A: Avoid using chemical cleaners before or during the self-clean cycle. The heat can react with chemicals, creating toxic fumes. Stick to natural cleaners for manual cleaning.
Q7: How do I clean the oven light or fan?
A: Turn off power to the oven. Remove the light cover (usually a glass or plastic dome) and wipe with a damp cloth. For the fan (in convection ovens), use a soft brush to remove dust. Never use water near electrical components.
🎥 Related Video: Cleaning hack! Natural oven cleaner using lemons
📺 Selling The Suburbs
Final Thoughts
Learning how do you clean a self-clean oven easily and effectively isn’t about relying on technology alone—it’s about using it wisely. The self-clean cycle is a powerful tool, but it works best when paired with preparation, ventilation, and follow-up cleaning.
Remember: clean the racks first, prep the cavity, run the cycle safely, wipe the ash, and finish with a thorough wipe-down of the door and controls. Avoid common mistakes like leaving racks in or using harsh chemicals.
By making this process part of your kitchen routine, you’ll save time, reduce smoke, and keep your oven in top shape for years. And when in doubt, a little baking soda and vinegar go a long way.
So next time you see a splatter, don’t dread the mess. Now you know exactly how to handle it—easily and effectively.