Featured image for how to clean a self cleaning oven
Image source: i.ytimg.com
Self-cleaning ovens use high heat (up to 900°F) to incinerate food residue, turning it into ash for effortless wipe-down—no harsh chemicals needed. Simply remove racks, activate the cleaning cycle, and let the oven do the work, but always ventilate the area and wipe away ash with a damp cloth after cooling to maintain efficiency and safety.
How to How Do You Clean a Self Cleaning Oven Effortlessly
Why This Matters / Understanding the Problem
Let’s face it: oven cleaning is one of those chores nobody loves. Grease splatters, baked-on food, and that stubborn charred residue from last week’s lasagna can make your kitchen feel like a science experiment gone wrong. If you own a self-cleaning oven, you might assume it handles everything—but even the smartest ovens need a little help to keep them running smoothly.
Understanding how to clean a self cleaning oven effortlessly isn’t just about sparkle; it’s about safety, efficiency, and extending the life of your appliance. A poorly maintained self-cleaning cycle can lead to smoke, bad odors, or even damage to internal components. Plus, knowing the right method saves you time and elbow grease.
Many people misuse the self-clean feature, leaving behind ash or damaging racks. The secret? Combine the oven’s built-in tech with smart prep and post-cycle care. That’s exactly what this guide will show you—how to clean a self cleaning oven effortlessly without the stress or mess.
What You Need
You don’t need fancy tools or chemical sprays to clean your self-cleaning oven. In fact, the best method uses what you likely already have at home. Here’s your checklist:
Visual guide about how to clean a self cleaning oven
Image source: i.ytimg.com
- Oven racks (remove them first)
- Mild dish soap and a soft sponge
- Microfiber cloths (for wiping down surfaces)
- Plastic scraper or non-abrasive scrub pad (optional, for stubborn spots)
- Bucket of warm water
- Glass cleaner (for the door, if needed)
- Oven mitts (safety first!)
- Vacuum with a crevice tool (for ash cleanup)
- Timer (your phone works fine)
Pro tip: Avoid ammonia, bleach, or commercial oven cleaners during the self-clean cycle. These can react with high heat and release toxic fumes. The goal is to clean a self cleaning oven effortlessly—not create a hazmat situation.
Step-by-Step Guide to How Do You Clean a Self Cleaning Oven Effortlessly
Step 1: Remove the Oven Racks
The first rule of using the self-cleaning function: take out the racks. Most manufacturers warn that metal racks can warp, discolor, or even crack under extreme heat (up to 900°F).
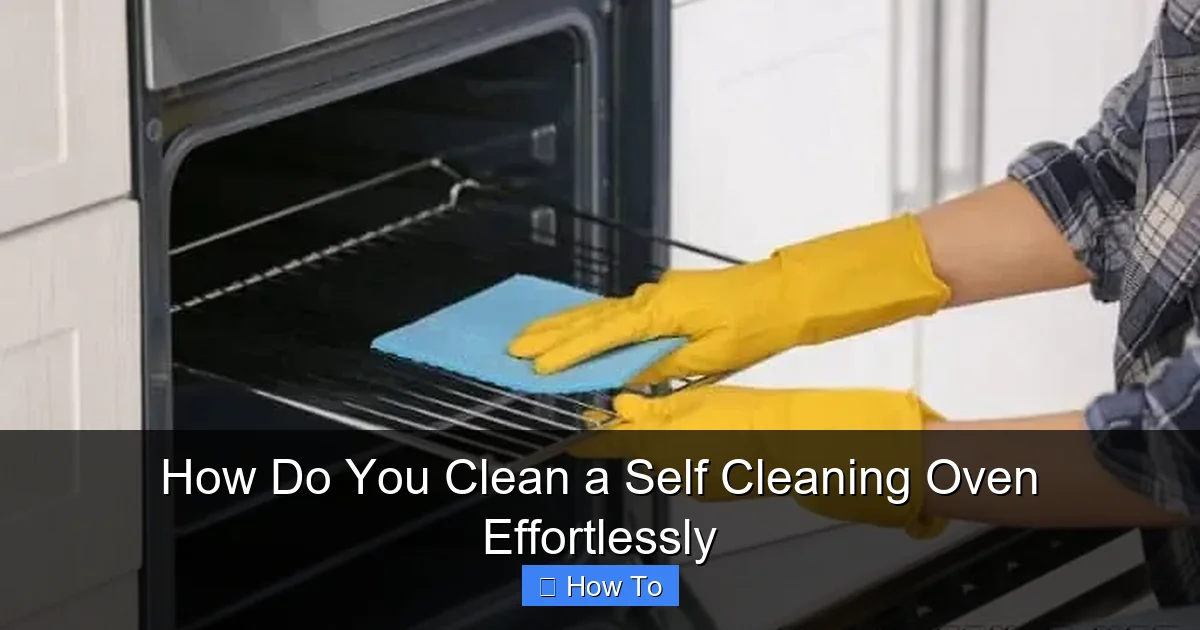
Visual guide about how to clean a self cleaning oven
Image source: howtofixit.net
Once removed, wash the racks in your sink with warm, soapy water. For tough buildup, soak them for 30 minutes before scrubbing with a soft sponge. Let them air dry—don’t rush this. While they’re soaking, you can prep the oven interior.
Warning: Never leave racks in during the self-clean cycle. Even if they look fine afterward, repeated exposure to high heat weakens the metal over time.
Step 2: Wipe Down Loose Debris
Before starting the self-clean cycle, grab a damp microfiber cloth and wipe the oven floor and walls. Remove loose crumbs, grease, and any food particles that haven’t fully baked on.
This step is crucial. Large debris can smoke excessively or create unpleasant odors during the high-heat cycle. Think of it like pre-rinsing dishes before the dishwasher—it makes the main job more effective.
Use a plastic scraper gently on stuck-on spots, but avoid metal tools that can scratch the enamel. You’re setting the stage to clean a self cleaning oven effortlessly, not damaging it.
Step 3: Close the Door & Lock It
Once the interior is wiped down, close the oven door completely. Most self-cleaning ovens have an automatic door lock that activates when the cycle starts—but it only works if the door is fully shut.
Check your oven’s manual to confirm the lock engages. You’ll usually hear a click or see a lock icon on the display. This safety feature prevents the door from opening during the intense heat phase.
Never force the door open during the cycle. It’s locked for your protection and to maintain the high temperature needed to burn off residue.
Step 4: Select the Self-Clean Cycle
Now, it’s time to start the magic. Press the “Self Clean” button on your oven’s control panel. Most models offer two options: a 3-hour cycle for regular cleaning or a 4–5-hour cycle for heavy buildup.
Choose based on how dirty your oven is. For light spills, 3 hours is enough. For a year’s worth of pizza drips? Go with the longer cycle. The oven will heat to around 880–900°F, turning grime into ash.
Set a timer on your phone. Even though the oven tracks time, it’s easy to forget. You don’t want to leave it running longer than necessary—especially if you’re not home.
Tip: Run the cycle during a time when you won’t need the oven. It gets *very* hot, and the kitchen can feel like a sauna afterward.
Step 5: Ventilate the Area
During the self-clean cycle, your oven may release smoke, fumes, and a strong odor—especially if there’s a lot of grease inside. This is normal, but you need to manage it.
Turn on your kitchen exhaust fan or open a window. If you have a range hood, set it to high. This helps clear the air and prevents smoke from setting off your fire alarm.
If you’re sensitive to smells, consider stepping outside for a bit. Some people report a “burnt toast” smell, which fades after 1–2 hours. Proper ventilation is key to cleaning a self cleaning oven effortlessly—and comfortably.
Step 6: Let It Cool Completely
When the cycle finishes, the oven will automatically shut off and begin cooling. Do not open the door until it’s fully cool—this can take 1–2 hours.
Opening it early risks burns and can damage the oven’s insulation. Plus, hot ash can be dangerous. Be patient. Use this time to finish drying the racks or wipe down the stovetop.
Once the oven is cool to the touch, unlock the door (the control panel will notify you) and open it slowly. You’ll see a fine layer of gray ash where the grime used to be.
Step 7: Wipe Away the Ash
Here’s the easiest part: cleaning the ash. Use a microfiber cloth or a slightly damp sponge to wipe down the interior. The ash wipes away like dust—no scrubbing needed.
For corners or crevices, use a vacuum with a crevice tool. This is especially helpful if you have a double oven or a model with a hidden heating element. Be gentle—don’t scratch the enamel.
Once the interior is ash-free, clean the oven door with glass cleaner or a vinegar-water mix. Wipe from top to bottom to avoid streaks. Now your oven looks and smells fresh.
Step 8: Reinstall the Racks
Once everything is dry and clean, slide the oven racks back in. Make sure they’re seated properly and can glide smoothly. If they’re sticky, wipe the rails with a dry cloth.
Double-check that all parts are back in place. A missing rack or loose part can affect cooking performance. Now your oven is ready for your next meal—clean, safe, and efficient.
Pro Tips & Common Mistakes to Avoid
Cleaning a self-cleaning oven isn’t hard, but small mistakes can lead to big problems. Here’s what the pros know:
- Don’t use the self-clean cycle too often. Once every 3–6 months is plenty. Overuse can degrade the oven’s insulation and door seals.
- Never leave plastic, aluminum foil, or utensils inside. They’ll melt or burn, causing smoke and damage.
- Check the oven light. If it’s cracked or loose, remove it before starting the cycle. High heat can shatter glass.
- Clean the door gasket with a damp cloth after the cycle. This rubber seal can collect ash and debris, affecting heat retention.
- Avoid vinegar or baking soda inside the oven during self-clean. These can react with heat and damage surfaces. Use them only on racks or the exterior.
Pro Tip: After the cycle, run a quick 30-minute bake at 350°F with a bowl of water inside. This helps eliminate any lingering odors and reconditions the oven interior.
One common mistake? Skipping the ash wipe. Even though the cycle “cleans” the oven, ash buildup can affect future cycles and create a gritty texture. Always wipe it out.
Another? Using the self-clean function on a brand-new oven. Wait until there’s actual buildup. New ovens often have protective oils that can smoke excessively if burned off too early.
FAQs About How Do You Clean a Self Cleaning Oven Effortlessly
Q: How often should I run the self-clean cycle?
A: Every 3–6 months is ideal, depending on use. If you cook daily, go for 3 months. For occasional use, once a year may be enough. Over-cleaning wastes energy and wears out parts.
Q: Can I clean the oven window during the self-clean cycle?
A: The window gets very hot, so it’s safer to clean it *after* the cycle cools. Use a glass-safe cleaner and a soft cloth. Avoid abrasive pads—they can scratch the tempered glass.
Q: What if my oven smells like smoke during the cycle?
A: Light smoke is normal. But if it’s heavy or sets off alarms, stop the cycle and check for large debris. Ventilate well and restart with a shorter cycle.
Q: Can I use the self-clean cycle on a convection oven?
A: Yes—most convection ovens have a self-clean option. Just remove the fan cover (if removable) and clean it separately. Check your manual for specifics.
Q: Is it safe to be home during the cycle?
A: Yes, but avoid the kitchen if you’re sensitive to smells or smoke. Keep pets and kids away. The oven gets extremely hot, and fumes can be irritating.
Q: What if ash won’t wipe off?
A: It should wipe easily. If it’s sticky, it might be residue from a previous cycle or a manufacturing coating. Use a damp cloth with a drop of dish soap—never steel wool.
Q: Can I use the self-clean cycle on a gas oven?
A: Yes, many gas ovens have self-clean modes. Just make sure the gas supply is stable and the igniter is working. The cycle uses electric heating elements, not the gas flame.
🎥 Related Video: Cleaning hack! Natural oven cleaner using lemons
📺 Selling The Suburbs
Final Thoughts
Learning how to clean a self cleaning oven effortlessly isn’t about magic—it’s about smart prep, proper use, and a little patience. The self-clean cycle does the heavy lifting, but your role is just as important. Remove the racks, wipe loose debris, ventilate the kitchen, and wipe the ash afterward.
Remember: this isn’t a one-and-done chore. Regular light wiping (after spills) reduces the need for frequent self-clean cycles. That means less wear on your oven and fewer smoky afternoons.
Next time your oven looks grimy, don’t reach for the chemical spray. Use the built-in tech the way it was meant to be used—and follow these steps to clean a self cleaning oven effortlessly, safely, and with minimal hassle. Your oven (and your nose) will thank you.
Now go enjoy that clean, fresh kitchen—and maybe bake a cookie to celebrate.