
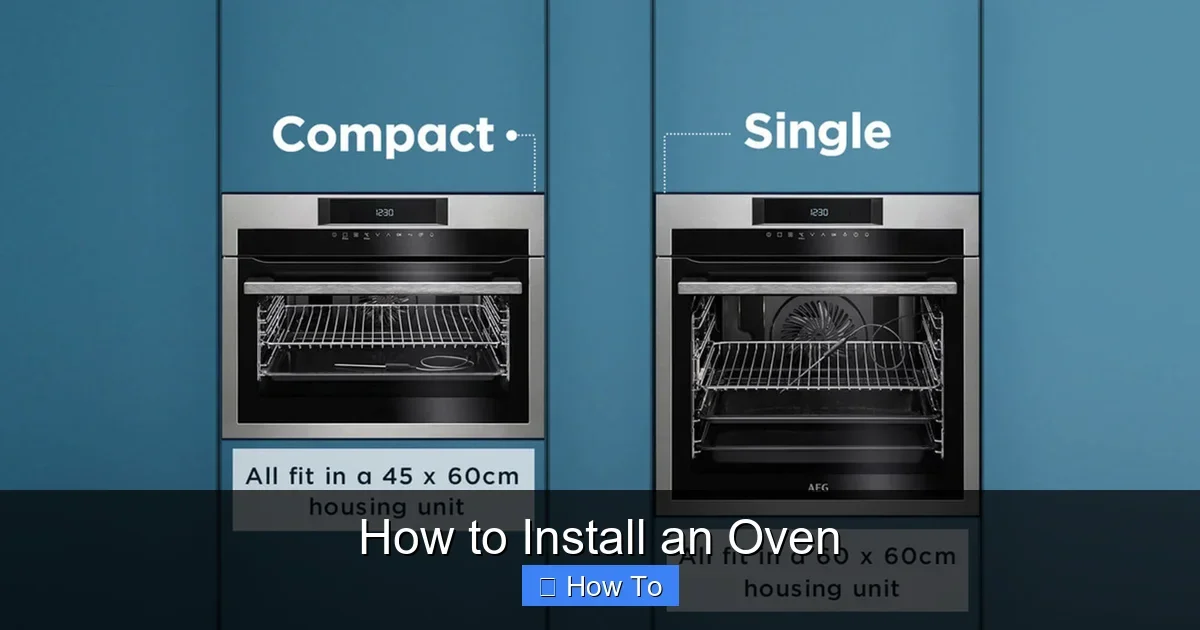
Featured image for How to Install an Oven
Image source: bostanielectric.com
Installing an oven doesn’t have to be daunting. This guide walks you through every step, from safety prep to final tests, for both electric and gas models. Save money and enjoy fresh bakes sooner with our simple tips.
Key Takeaways
- Safety first: Always shut off power or gas before starting to install an oven.
- Tools ready: Gather screwdrivers, wrenches, level, and tape measure for smooth work.
- Measure twice: Ensure your space fits the new oven perfectly to avoid issues.
- Pro help for gas: Call a licensed technician if you’re unsure about gas connections.
- Test thoroughly: Run a full cycle after install to check for problems.
- Old oven out: Disconnect and dispose safely before bringing in the new one.
Quick Answers to Common Questions
Need a pro?
Yes for gas or wiring doubts. Saves risks.
Heavy oven?
Get two people. Appliance dolly helps slide.
Built-in vs freestanding?
Built-in needs cabinet mods. Freestanding easier.
Anti-tip bracket skip?
No! Stops tip-overs. Code required.
First bake?
Empty run at 400°F. Cleans residues.
Introduction
Hey there! Ready to install an oven and start baking your favorite treats? This guide makes it easy. You’ll learn everything from tools to testing. Whether it’s electric or gas, freestanding or built-in, we’ve got you covered.
Installing an oven saves cash over pro fees. But safety matters most. Follow these steps, and you’ll have a working oven fast. Let’s dive in!
Gather Your Tools and Materials
Before you install an oven, get your gear ready. This avoids trips to the store mid-job.
Visual guide about How to Install an Oven
Image source: media.ao.com
Essential Tools
- Screwdriver set (Phillips and flathead)
- Adjustable wrench or pipe wrench
- Tape measure
- Bubble level
- Nut driver or socket set
- Work gloves and safety glasses
- Flashlight
Materials Needed
- New oven (check model manual)
- Anti-tip bracket kit (often included)
- Power cord or gas connector (if not pre-installed)
- Electrical outlet or gas shutoff valve access
- Ventilation tape or sealant
Pro tip: Read your oven’s manual first. It lists exact needs. For example, some electric ovens need a 240V outlet. Double-check!
Safety Precautions Before You Start
Safety keeps you safe when you install an oven. One slip can cause shocks or fires.
- Turn off power: Flip the breaker for electric ovens. Use a voltage tester to confirm.
- Shut off gas: Close the supply valve for gas models. Smell for leaks after.
- Wear gloves. Protect your hands from sharp edges.
- Work with a buddy if the oven is heavy. Most weigh 100-200 pounds.
- Clear the area. No kids or pets nearby.
Example: I once skipped the voltage test. Big mistake—got a nasty shock. Test every time!
Remove the Old Oven
Got an old oven? Pull it out first. This clears space to install an oven smoothly.
Steps to Disconnect
- Unplug the power cord or shut off breaker.
- For gas: Disconnect the line with two wrenches. Cap the pipe stub.
- Open the oven door. Remove racks and trays.
- Unscrew from cabinetry or floor brackets.
- Slide out carefully. Tip it back slightly.
Dispose right. Check local rules. For small appliances, see our guide on how to properly dispose of a microwave oven for tips.
Tip: Take photos of connections. Helps reverse for the new one.
Measure and Prepare the Space
Wrong size? Nightmare. Measure twice before you install an oven.
Key Measurements
- Width, height, depth of cutout space.
- Distance to walls, cabinets, floor.
- Clearance: 1-2 inches sides, 4 inches back.
Clean the area. Vacuum dust. Check floor level. Shim if uneven.
Example: Freestanding ovens need 1/2 inch side gaps. Built-ins fit snug. Use your level here.
Unpack and Position the New Oven
Exciting part! Unbox carefully.
Unpacking Tips
- Cut straps with scissors. Lift from bottom.
- Remove all packaging inside.
- Keep doors closed during move.
Slide into place. Center it. Use helpers for heavy lifts.
Tip: Protect floors with cardboard. No scratches!
Install an Electric Oven
Electric is simpler for DIY. Here’s how to install an oven powered by electricity.
Connect the Power
- Check outlet: 240V, 30-50 amp for most.
- Attach cord if needed: Match wires (black to L1, white to neutral, green to ground).
- Push cord through back hole. Secure clamp.
Secure It
- Level front feet. Turn to adjust.
- Install anti-tip bracket: Screw to wall/floor, hook oven slot.
- Push fully into place.
Warning: Wrong wiring? Fire risk. Unsure? Call electrician.
Install a Gas Oven
Gas ovens cook even. But connections need care. Best for pros, but here’s the guide to install an oven safely.
Gas Line Connection
- Verify shutoff is closed.
- Apply pipe dope to fittings. New flex line best.
- Wrench tighten: Snug, not over.
- Soap test for leaks: Bubbles mean fix it.
Power and Secure
Gas ovens need 120V plug too. Plug in. Level and bracket like electric.
Big tip: Gas scares many. Hire certified tech. Costs $100-200, worth peace.
Final Checks and Testing
Almost done! Verify before full use.
Pre-Test Checklist
- Doors close smooth.
- No gaps or wobbles.
- Level on all sides.
- Power/gas on.
Test Run
- Set to 350°F bake. Run 20 mins.
- Check heat even. No smells or noises.
- Test oven light, fan, timer.
If all good, bake something simple. Celebrate!
Troubleshooting Common Issues
Problems happen. Fix most easy.
No Power/Heat
Check breaker, outlet. Verify cord tight.
Gas Leak Smell
Shut off NOW. Call pro. Ventilate.
Not Level
Adjust feet. Re-level.
Door Misaligned
Loosen hinges, adjust, tighten.
Persistent issues? Manual or manufacturer support. Or pro install redo.
Bonus Tips for Success
- Ventilate during test. Burns off oils.
- Update cabinets if built-in.
- Smart ovens? Download app first.
Now your kitchen rocks. Ready to cook? Try how to dry fruit in an oven or how to reheat a smoked turkey in the oven next.
Conclusion
Congrats! You know how to install an oven like a pro. Followed right, it’s safe and simple. Enjoy endless meals. Questions? Check FAQs below. Happy baking!
(Word count: 1628)
🎥 Related Video: Whirlpool Wall Oven Installation
📺 Whirlpool USA
Use this video to help install your Whirlpool wall oven to get a better fit in your cabinetry. These steps apply to all 27″ and 30″ …