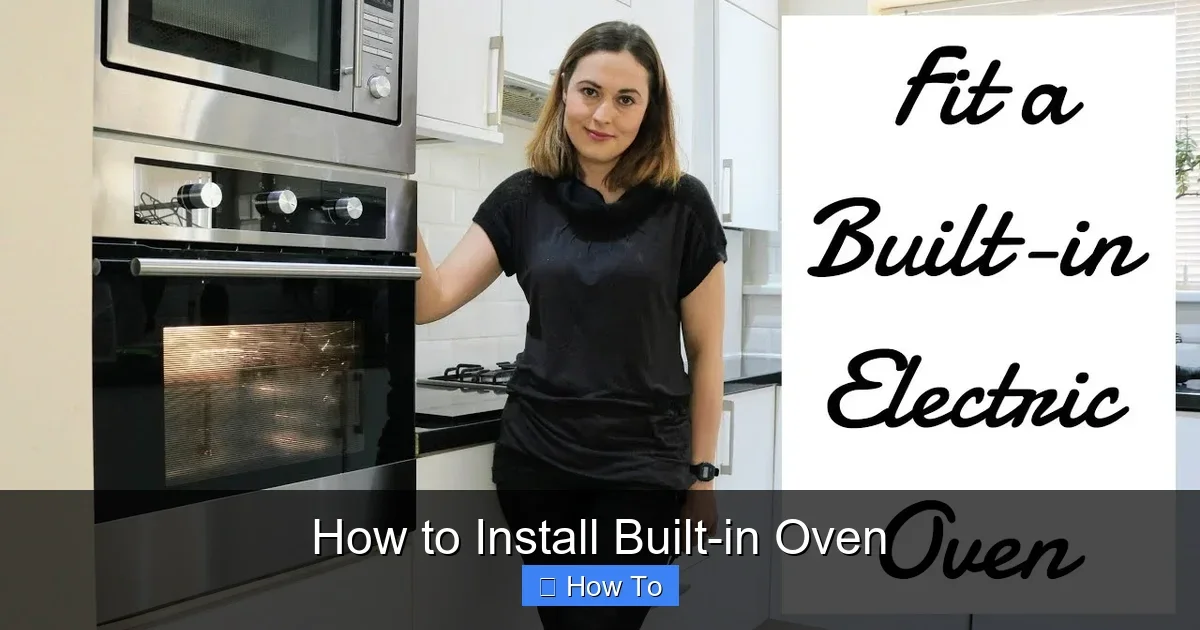
Featured image for How to Install Built-in Oven
Image source: i.ytimg.com
Installing a built-in oven boosts your kitchen’s efficiency and style. This guide walks you through every step, from safety prep to final testing. Follow along to install your built-in oven like a pro—no pro needed! (84 words)
How to Install Built-in Oven
Hey there, DIY enthusiast! Ready to tackle how to install a built-in oven? This guide has you covered. You’ll learn everything from safety basics to final tests. No more waiting for a handyman. Save time and money while upgrading your kitchen. We’ll keep it simple, step by step. Let’s get your new built-in oven up and running. Perfect baking awaits!
Installing a built-in oven might sound tricky. But with the right prep, it’s doable. Expect 2-4 hours for most jobs. Always check your model’s manual first. It has specific tips. Ready? Let’s dive in.
Key Takeaways
- Always prioritize safety: Shut off power and gas before starting built-in oven installation.
- Measure twice: Ensure your cabinet space matches the oven dimensions perfectly.
- Use the right tools: Screwdrivers, levels, and wrenches make the job smooth.
- Secure connections: Double-check electrical or gas hooks for safe operation.
- Test thoroughly: Run a full cycle to spot issues early.
- Seek help if unsure: Gas lines require certified pros in many areas.
Quick Answers to Common Questions
Need a helper?
Yes, for lifting. Ovens are heavy—grab a friend to avoid strains.
Electric or gas—which is easier?
Electric wins for DIYers. Gas needs certified skills often.
What’s the top safety rule?
Always cut power and gas first. Test with a meter.
Can I install solo?
Possible for light models, but help is smart for safety.
Upgrade cabinets needed?
Usually no. Just ensure sturdy, level support.
Before You Start: Safety and Prep Work
Safety comes first when you install a built-in oven. One wrong move can lead to shocks or leaks. Start here.
Turn Off Power and Gas
- Locate your circuit breaker. Flip off the oven’s power.
- For gas ovens, shut the supply valve. Wait 5 minutes for fumes to clear.
- Use a voltage tester. Confirm no power flows.
Pro tip: Snap photos of old wiring. It helps during reinstall.
Gather Tools and Materials
You need basics for smooth built-in oven installation. Here’s your list:
- Screwdriver set (Phillips and flathead)
- Adjustable wrench
- Tape measure
- Level
- Stud finder
- Wire strippers (electric models)
- Gloves and safety glasses
- Wood screws or mounting kit (from manual)
Buy extras like cable ties. They keep wires neat. Check your oven box for included parts.
Measure Your Space
Nothing worse than a too-big oven. Measure the cabinet cutout. Width, height, depth. Match your model’s specs exactly. Add 1/2 inch clearance on sides for heat.
Example: A standard 30-inch built-in oven needs a 28.5-29 inch wide space. Double-check vents too.
Remove the Old Oven (If Replacing One)
Got an old unit? Out it goes before new built-in oven installation.
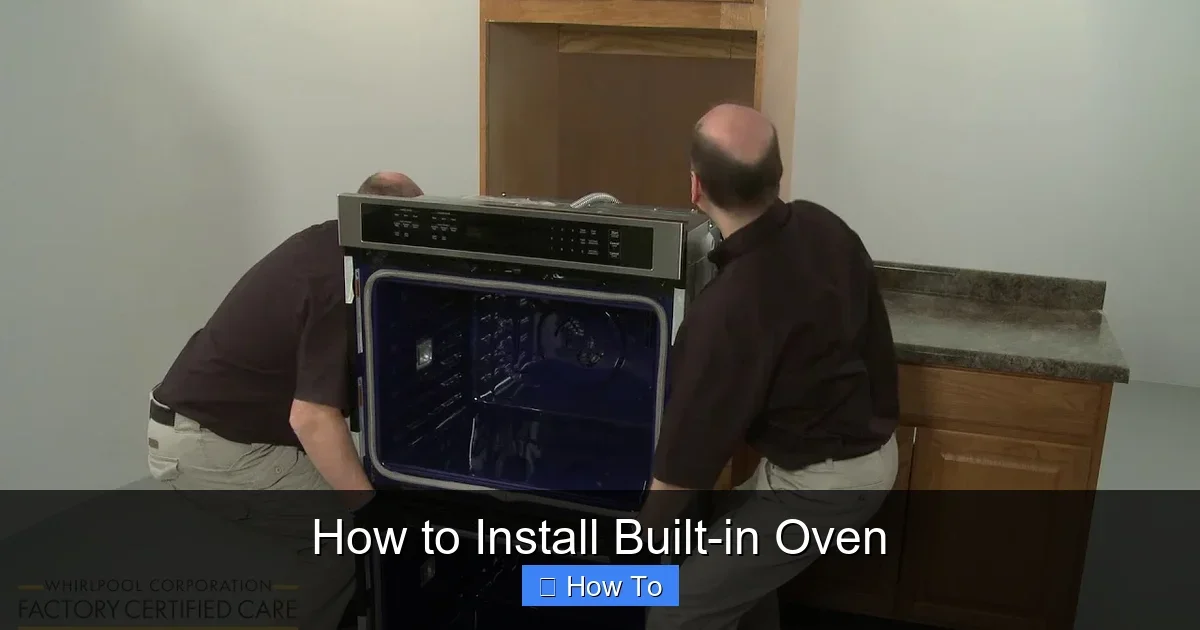
Visual guide about How to Install Built-in Oven
Image source: i.ytimg.com
Open and Disconnect
- Open the oven door. Remove racks and trays.
- Pull out gently. Disconnect power plug or wires.
- For gas, cap the line with a plug.
Unscrew and Lift Out
Remove side screws. Support the bottom. Slide out with a helper. It’s heavy—up to 100 pounds. Set it aside safely.
Clean the cabinet now. Vacuum dust. Wipe surfaces. Prep for the new install.
Prepare the Cabinet for Installation
Your cabinet must be sturdy. Built-in ovens weigh a lot when full.
Check and Reinforce Structure
- Use a stud finder. Locate wall studs.
- Screw in support brackets if needed.
- Ensure bottom shelf is level. Shim if uneven.
Tip: For custom cabinets, add plywood braces. They prevent sagging over time.
Install Ventilation and Clearances
Airflow is key. Leave 1 inch top clearance. Sides too. Cut vent holes per manual. Seal edges with heat tape.
Install the Built-in Oven Step by Step
Now the fun part—sliding in your new beauty. Follow these for flawless built-in oven installation.
Mount the Oven Frame
- Attach side rails or brackets first. Use provided screws.
- Lift oven with a helper. Align with rails.
- Slide in slowly. Stop if it binds.
Keep it level. Use a bubble level on top. Adjust feet if adjustable.
Connect Electrical Wiring (Electric Ovens)
For electric models:
- Feed the power cord through the back hole.
- Match wires: black to black, white to white, green to ground.
- Tighten terminals. Secure cover plate.
Warning: If unsure, call an electrician. Codes vary by area.
Connect Gas Line (Gas Ovens)
Gas needs care. Often requires a pro.
- Apply pipe dope to fittings.
- Connect flex line to oven valve.
- Use two wrenches. Tighten snug, not over.
- Check for leaks with soapy water. Bubbles mean trouble.
Mix gas-electric? Follow both steps.
Secure and Finalize the Installation
Almost done!
Screw It In Place
- Drill pilot holes into cabinet sides.
- Secure with 4-6 wood screws.
- Reinstall trim or panels.
Restore Power and Gas
Turn on supplies. Don’t touch inside yet.
Test Your New Built-in Oven
Power up. Set to 350°F bake. Run empty for 20 minutes. Check even heating. Listen for odd noises. Test door seal—paper should resist pull.
Bake a test item. Like cookies. Ensures all works.
Troubleshooting Common Built-in Oven Issues
Problems pop up. Here’s how to fix during or after install.
Oven Won’t Heat
Check breakers. Verify connections. For gas, ensure supply is on.
Door Misaligned
Loosen hinges. Re-level oven. Tighten back.
Odd Smells or Smoke
Normal first run—burn-off oils. Run self-clean if available.
Vibration or Noise
Level it again. Tighten loose screws.
Still stuck? Consult manual or pro. Better safe.
Pro tip: Document your built-in oven installation with photos. Great for warranties.
Bonus Tips for Long-Lasting Performance
After install, maintain it. Clean vents monthly. Use oven liner for spills. Calibrate temps if off.
Now your kitchen rocks. Whip up meals with confidence. With your new built-in oven ready to go, try some tasty recipes like how to bake a potato with foil in the oven, perfect ribeye steak in a pan and oven, or even cooking frozen steak straight in the oven.
Conclusion
Congrats! You nailed how to install a built-in oven. Your kitchen is modern and functional. Enjoy hassle-free cooking for years. Questions? Manual or forums help. Share your success—tag us!
(Word count: 1628)
🎥 Related Video: Whirlpool Wall Oven Installation
📺 Whirlpool USA
Use this video to help install your Whirlpool wall oven to get a better fit in your cabinetry. These steps apply to all 27″ and 30″ …