Featured image for How to Measure Oven for Replacement
Image source: wikihow.com
Replacing your oven? This guide shows you exactly how to measure oven for replacement to get the perfect fit. Follow simple steps for dimensions, tools, and tips to avoid mistakes. Save time and money on your new kitchen upgrade.
How to Measure Oven for Replacement
Hey there, ready to swap out that old oven? Whether it’s on its last legs or you just want a shiny new model, knowing how to measure oven for replacement is key. This guide walks you through every step. You’ll learn to grab the right dimensions, spot common pitfalls, and pick a perfect match. No more guessing games or returns. By the end, you’ll confidently shop for your upgrade. Let’s dive in!
Key Takeaways
- Measure the cutout first: Always start with the cabinet opening’s width, height, and depth for built-in ovens.
- Use the right tools: Tape measure, level, and notepad ensure precise measurements.
- Check oven type: Freestanding, built-in, or wall ovens have different measurement needs.
- Account for clearances: Include space for doors, vents, and electrical hookups.
- Double-check everything: Measure twice to prevent fit issues with your replacement oven.
- Verify utilities: Note gas, electric specs, and voltage before buying.
Quick Answers to Common Questions
Need a flexible tape?
Use a tailor’s tape for curves around doors.
Unsure about cutout?
Remove trim for true inside measure.
Gas oven?
Shut off valve first, call pro if unsure.
Measure in inches?
Yes, standard for appliances. Convert if metric.
Buying online?
Cross-check seller specs with your notes.
Why Accurate Measurements Matter
Picture this: You buy a sleek new oven, excited to bake. But it doesn’t fit. Ouch. Proper measuring prevents that headache. It ensures your replacement slides right into the space. For built-in ovens, the cabinet cutout is crucial. Freestanding models need countertop checks too. Miss a detail, and installation costs skyrocket. Plus, wrong sizes mess with airflow and safety. Spend 30 minutes measuring now, save hours later. Trust me, it’s worth it.
Gather Your Tools and Prep the Space
Before you start how to measure oven for replacement, grab these basics:
Visual guide about How to Measure Oven for Replacement
Image source: itrendworld.com
- Tape measure (at least 25 feet)
- Level (to check flatness)
- Notepad and pencil
- Flashlight (for tight spots)
- Helper (optional, but handy)
Step 1: Safety First
Unplug the oven. Turn off gas if applicable. Slide it out carefully. Wear gloves to avoid sharp edges. Clear the area around it. This keeps you safe and gives full access.
Step 2: Clean for Accuracy
A grimy oven hides true sizes. Wipe down edges. For tough spots on grates, check out our quick guide on cleaning oven grates. Sparkling surfaces mean spot-on measurements.
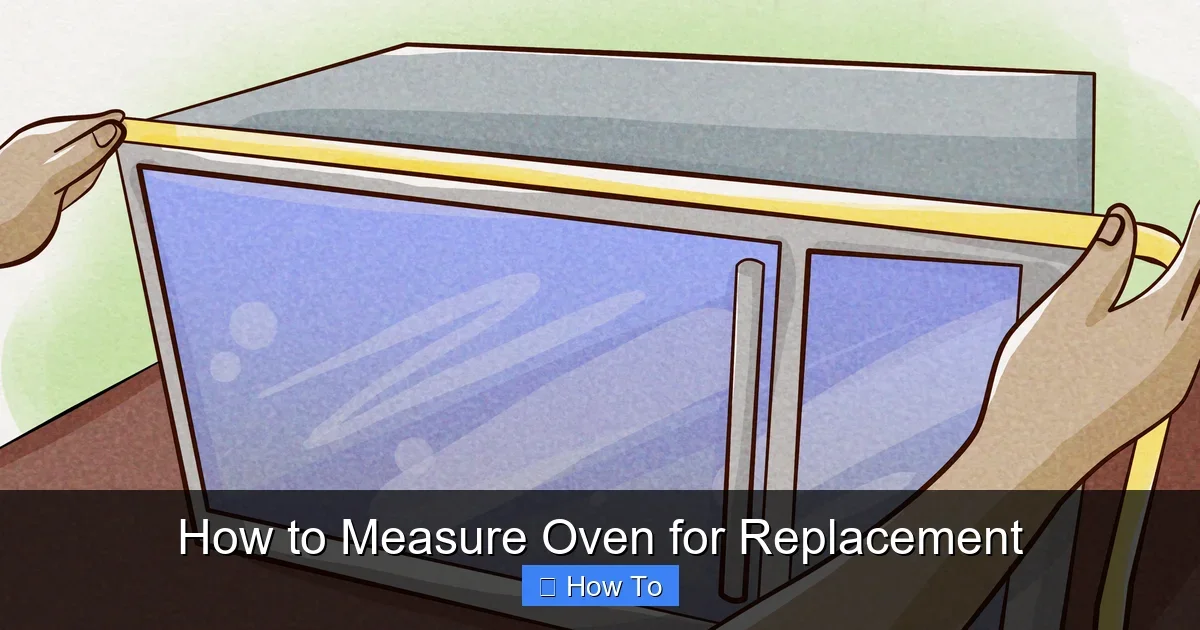
Measure the Cutout Opening
The cutout is the hole in your cabinetry. This is vital for built-in or wall ovens. Measure inside the opening, not the oven frame.
Step 1: Width
Measure side to side. Hook tape at one side. Stretch to the other. Note the smallest width if irregular. Standard is 30 inches, but confirm. Do it at top, middle, bottom. Use the narrowest.
Step 2: Height
From countertop or floor to top frame. Measure front and back. Ovens need 1-2 inches clearance. Typical height: 27-28 inches.
Step 3: Depth
Front to back of cutout. Account for door swing. Standard: 24-25 inches. Push tape fully in.
Example: My kitchen cutout was 29.5″ wide, 27″ high, 23.75″ deep. Jot all three.
Measure the Oven Itself
Now size your current oven. This confirms the replacement match.
Measure Exterior Dimensions
Width: Side panels. Height: Top to bottom. Depth: Front to back, door closed. Add 1/2 inch tolerance.
Check Door and Handle
Measure door width when open 90 degrees. Ensure no wall bumps. Handles add inches—note that.
Pro tip: Snap photos of each measurement. Label them clearly.
Inspect Clearances and Utilities
Space around the oven matters for heat and access.
Side and Top Clearances
Most need 1-2 inches sides, 2 inches top. Check manual or manufacturer specs.
Ventilation and Doors
Bottom vents? Measure path. Door opens fully? Test swing space.
Electrical or Gas Specs
Look at plug: 240V? Amps? Gas line size? Note location. New oven must match. Snap pic of panel.
Special Cases: Oven Types
Not all ovens are alike.
Freestanding Ovens
Measure cabinet width under counter. Depth to back wall. Easier fit, but check toe kick.
Built-In or Wall Ovens
Cutout is king. Double-check framing.
Double Ovens
Height doubles. Ensure support beams hold.
Quick example: Replacing a freestanding? My old one was 30″W x 28″H x 24″D. New matched perfectly.
Record and Verify Measurements
Make a chart:
- Cutout: W x H x D
- Oven exterior: W x H x D
- Clearances: Sides/Top/Bottom
- Utilities: Voltage/Gas
Measure twice. Wait a day, measure again. Compare. Tiny errors cause big issues.
Troubleshooting Common Mistakes
Seen these slip-ups? Fix ’em.
Mismatched Depth
Too deep? Hits cabinets. Solution: Measure to back wall exactly.
Forget Clearances
Door won’t open? Always add space.
Ignoring Utilities
Wrong voltage? No power. Verify early.
Uneven Floors
Use level. Shim if needed.
Still stuck? Consult installer. Better safe.
What to Do After Measuring
Armed with numbers, shop smart. Compare to new models. For pizza lovers, see how to choose the best oven for pizza features.
Old oven? Dispose responsibly. Check local rules or our tips on properly disposing of old appliances.
Conclusion
There you have it—your full guide on how to measure oven for replacement. Follow these steps, and your new oven fits like a glove. Enjoy baking, roasting, and more. Questions? Drop a comment. Happy cooking!
(Word count: 1672)
🎥 Related Video: How to Measure for a New Wall Oven | Before You Buy
📺 Don’s Appliances
In the market for a new wall oven? You will first need to measure your existing space to see what size you will need. In this video …