Oven drying fruit is a simple, cost-effective way to preserve fresh produce and create delicious, shelf-stable snacks. With just a few basic steps, you can transform ripe apples, bananas, strawberries, and more into naturally sweet, chewy treats using your regular kitchen oven.
Key Takeaways
- Choose ripe, high-quality fruit: Use fresh, unbruised fruit at peak ripeness for the best flavor and texture after drying.
- Slice evenly for consistent drying: Uniform thickness ensures all pieces dry at the same rate, preventing burnt or under-dried spots.
- Pre-treat certain fruits to preserve color: Apples, pears, and peaches benefit from a quick lemon juice or citric acid soak to prevent browning.
- Use the lowest oven setting possible: Most ovens should be set between 140°F and 170°F (60°C–77°C) to gently remove moisture without cooking the fruit.
- Rotate trays and check frequently: Drying times vary, so rotate pans halfway through and test for doneness to avoid over-drying.
- Store properly for long-term freshness: Cool completely, then store in airtight containers in a cool, dark place to maintain quality for months.
Quick Answers to Common Questions
Can I oven dry fruit without a dehydrator?
Yes! A regular oven works perfectly for drying fruit. Just use the lowest temperature setting and prop the door open slightly to allow moisture to escape.
How long does it take to oven dry fruit?
Drying time varies by fruit type and thickness, but most fruits take 4 to 8 hours in the oven. Check every hour after the first 3 hours.
Do I need to peel the fruit before drying?
It’s optional. Peeling can reduce drying time and improve texture, but leaving the skin on adds fiber and nutrients. Choose based on your preference.
Can I dry multiple fruits at once?
Yes, but use separate trays and avoid mixing strong-flavored fruits like pineapple with milder ones like apples to prevent flavor transfer.
How do I know when the fruit is fully dried?
The fruit should be leathery and pliable with no visible moisture. Crisp fruits like apples may be brittle, while others remain slightly chewy.
📑 Table of Contents
Why Oven Dry Fruit at Home?
Have you ever bought a big batch of fresh fruit only to watch it spoil before you could eat it all? Or maybe you’ve craved a sweet, chewy snack that’s free from added sugars and preservatives? Oven drying fruit is a simple, affordable solution that lets you preserve seasonal produce and enjoy healthy snacks all year long.
Unlike store-bought dried fruit, which often contains added sugar, sulfites, or artificial flavors, homemade oven-dried fruit is pure and natural. You control the ingredients—just fruit, maybe a splash of lemon juice, and time. Plus, it’s a great way to reduce food waste and make the most of summer’s bounty. Whether you’re drying apples for a crunchy topping on oatmeal or making banana chips for a quick energy boost, oven drying is a skill every home cook should have in their toolkit.
What You’ll Need to Get Started
One of the best things about oven drying fruit is that you don’t need any fancy equipment. Most of what you need is probably already in your kitchen. Here’s a quick rundown of the essentials:
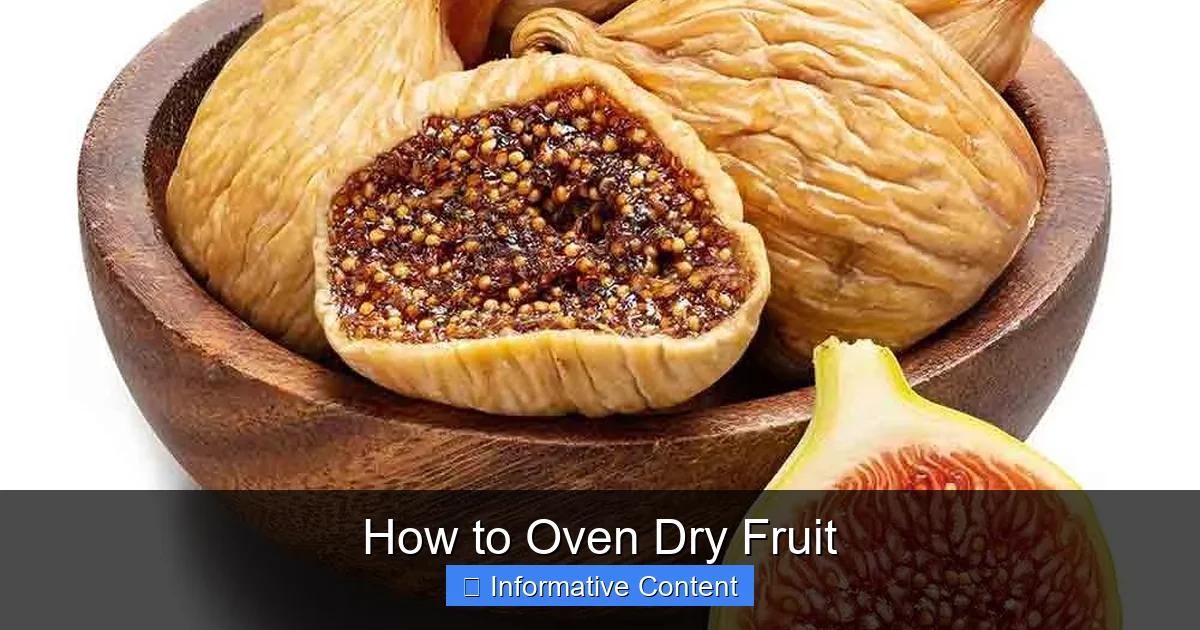
Visual guide about How to Oven Dry Fruit
Image source: ruperhat.com
Basic Equipment
- A standard kitchen oven: Gas or electric works fine, though convection ovens dry faster due to better air circulation.
- Baking sheets: Use rimmed baking sheets to prevent juices from dripping.
- Parchment paper or silicone baking mats: These prevent sticking and make cleanup easier.
- Sharp knife or mandoline slicer: For even, thin slices.
- Cutting board and mixing bowl: For prepping and pre-treating fruit.
Optional but Helpful Tools
- Oven thermometer: Many ovens run hotter or cooler than displayed, so a thermometer helps ensure accurate low temperatures.
- Food dehydrator trays (if available): These can be placed on baking sheets to improve airflow.
- Citric acid or lemon juice: For pre-treating fruits prone to browning.
Choosing the Right Fruit for Oven Drying
Not all fruits dry equally well, but many common varieties turn into delicious, chewy snacks when oven-dried. The key is choosing fruit that’s ripe but not overripe—overly soft fruit can become mushy or burn easily.
Best Fruits for Oven Drying
- Apples: Crisp and sweet when dried. Choose firm varieties like Fuji, Gala, or Honeycrisp.
- Bananas: Naturally sweet and creamy. Use slightly underripe bananas for a firmer texture.
- Strawberries: Become tangy and candy-like. Slice them evenly to avoid uneven drying.
- Pears: Similar to apples, pears dry into chewy, flavorful chips. Use ripe but firm pears.
- Peaches and nectarines: Juicy and fragrant when dried. Remove pits and slice uniformly.
- Mangoes: Tropical and sweet. Peel and slice into thin strips for even drying.
- Pineapple: Bright and tangy. Remove the core and slice into rings or chunks.
Fruits to Approach with Caution
Some fruits, like watermelon or grapes, have very high water content and may take excessively long to dry in a regular oven. Grapes can be dried into raisins, but they often require a dehydrator for best results. Citrus fruits like oranges and lemons can be dried, but they’re best used as garnishes or zest rather than snacks due to their intense flavor.
Step-by-Step Guide to Oven Drying Fruit
Now that you’ve gathered your tools and selected your fruit, it’s time to start drying. Follow these simple steps for perfectly dried fruit every time.
Step 1: Prep the Fruit
Wash the fruit thoroughly under cool running water. Peel if desired—some people prefer peeled apples or bananas, while others like the texture of the skin. Remove any stems, seeds, or pits. For fruits like apples and pears, core them first.
Slice the fruit into uniform pieces, ideally ¼-inch (6 mm) thick. Thinner slices dry faster and are great for crispy chips, while thicker slices remain chewy. A mandoline slicer helps ensure even thickness, but a sharp knife works just fine with a steady hand.
Step 2: Pre-Treat (If Needed)
Some fruits, especially apples, pears, and peaches, tend to brown when exposed to air. To prevent this, soak the slices in a solution of 1 cup water mixed with 1 tablespoon lemon juice or ½ teaspoon citric acid for 5–10 minutes. This not only preserves color but can also enhance flavor with a slight tang.
Drain the fruit and pat dry with a clean towel before placing on the baking sheet. Avoid overcrowding—leave a little space between slices so air can circulate.
Step 3: Arrange on Baking Sheets
Line your baking sheets with parchment paper or silicone mats. Arrange the fruit slices in a single layer, making sure they don’t overlap. If you’re drying multiple types of fruit, use separate trays to avoid flavor mixing and ensure even drying.
Step 4: Set the Oven Temperature
The ideal temperature for oven drying fruit is between 140°F and 170°F (60°C–77°C). Unfortunately, most ovens don’t go this low, so you’ll need to use the “warm” or lowest setting, usually around 170°F (77°C). If your oven doesn’t go below 200°F (93°C), you can prop the door open slightly with a wooden spoon or oven-safe object to let heat escape and moisture vent out.
For better results, use an oven thermometer to monitor the actual temperature. Convection ovens work best because the fan circulates hot air, speeding up the drying process.
Step 5: Dry the Fruit
Place the baking sheets in the oven and let the fruit dry for 4 to 8 hours, depending on the type and thickness. Check every hour after the first 3 hours. Rotate the trays front to back and switch shelf positions to ensure even drying.
The fruit is done when it’s leathery and pliable, with no visible moisture. It should not be sticky or wet. Crisp fruits like apples may become brittle when fully dried, while bananas and mangoes stay slightly chewy.
Step 6: Cool and Test
Once the fruit is dry, turn off the oven and let the slices cool completely on the baking sheets. As they cool, they may continue to dry slightly. Test a piece—if it’s still soft or moist, return it to the oven for another 30 minutes to an hour.
Storing Your Oven-Dried Fruit
Proper storage is key to keeping your dried fruit fresh and flavorful. Once completely cooled, transfer the fruit to airtight containers such as glass jars, plastic containers, or resealable bags. Store in a cool, dark, dry place like a pantry or cupboard.
Most oven-dried fruit will last 6 to 12 months when stored correctly. For longer shelf life, you can refrigerate or freeze the fruit. Label your containers with the date and type of fruit so you know what you have on hand.
To check for spoilage, look for signs of mold, off smells, or a sticky texture. If any of these appear, discard the fruit.
Creative Ways to Use Oven-Dried Fruit
Oven-dried fruit isn’t just for snacking—it’s incredibly versatile in the kitchen. Here are a few delicious ideas:
- Trail mix: Combine dried apples, bananas, and mangoes with nuts and seeds for a homemade energy boost.
- Baking: Chop dried fruit and add it to muffins, cookies, or granola bars.
- Oatmeal and yogurt toppings: Sprinkle over breakfast bowls for natural sweetness.
- Salad garnish: Add chewy dried peaches or pears to green salads for a sweet contrast.
- Cheese boards: Pair with nuts, crackers, and soft cheeses for an elegant appetizer.
Troubleshooting Common Issues
Even with the best intentions, things can go wrong. Here’s how to fix common problems:
- Fruit is too chewy or moist: It’s under-dried. Return to the oven and continue drying, checking every 15–30 minutes.
- Fruit is burnt or overly crispy: The oven was too hot or the fruit was left in too long. Reduce temperature or check more frequently next time.
- Fruit is browning too much: Skip pre-treatment or reduce drying time. Some browning is natural, especially with bananas.
- Fruit sticks to the pan: Use parchment paper or a silicone mat, and avoid moving slices too soon—let them dry slightly before checking.
Final Thoughts
Oven drying fruit is a rewarding, economical, and healthy way to preserve fresh produce. With minimal equipment and a little patience, you can create delicious snacks that last for months. Whether you’re drying apples for a crunchy treat or mangoes for a tropical twist, the process is simple and customizable to your taste.
Plus, making your own dried fruit means you know exactly what’s in it—no added sugars, no preservatives, just pure fruit flavor. So the next time you have extra fruit on hand, don’t let it go to waste. Fire up the oven, slice up some fruit, and enjoy the sweet rewards of your effort.
Frequently Asked Questions
What’s the best temperature for oven drying fruit?
The ideal temperature is between 140°F and 170°F (60°C–77°C). If your oven doesn’t go that low, use the warmest setting and prop the door open slightly to reduce heat and vent moisture.
Can I use a convection oven to dry fruit?
Yes, and it’s actually better! Convection ovens circulate hot air, which speeds up drying and ensures more even results. Reduce drying time by about 25% and monitor closely.
Why did my dried fruit turn brown?
Browning is natural, especially in apples, pears, and peaches. To minimize it, soak slices in lemon water or citric acid before drying. Some browning is harmless and doesn’t affect taste.
Can I rehydrate oven-dried fruit?
Yes! Soak dried fruit in warm water, juice, or tea for 15–30 minutes to restore some moisture. It’s great for cooking, baking, or adding to cereals.
Is oven-dried fruit healthy?
Yes, as long as no sugar or preservatives are added. Dried fruit is rich in fiber, vitamins, and natural sugars, but it’s more calorie-dense than fresh fruit, so enjoy in moderation.
Can I freeze oven-dried fruit?
Absolutely. Freezing extends shelf life up to 18 months. Store in airtight containers or freezer bags, and thaw at room temperature before eating.