Featured image for How to Replace Oven Heating Element
Image source: blog.puls.com
Replacing your oven heating element is a straightforward DIY task that can save you time and money. Follow our simple steps to safely swap out the old element for a new one and get your oven baking again. Always prioritize safety by unplugging power first.
How to Replace Oven Heating Element
Has your oven stopped heating properly? Maybe the bottom doesn’t get hot enough for baking, or the top broil element flickers out. You’re likely dealing with a faulty oven heating element. Don’t worry—this is one of the most common oven repairs you can do yourself.
In this complete guide, you’ll learn how to replace oven heating element step by step. We’ll cover safety, tools, detailed instructions, tips, and troubleshooting. By the end, your oven will be ready for action. Expect the job to take 30-60 minutes. No advanced skills needed—just basic DIY know-how.
Why replace it yourself? New elements cost $20-50 online or at hardware stores. A repairman charges $100-200 plus parts. Plus, you’ll gain confidence fixing appliances. Let’s dive in!
Key Takeaways
- Safety first: Unplug the oven or turn off the circuit breaker before starting to avoid shocks.
- Match the part: Buy the exact replacement heating element for your oven model to ensure compatibility.
- Simple tools suffice: You’ll need basic items like a screwdriver, pliers, and a multimeter.
- Disconnect wires carefully: Take photos before removing terminals to reconnect correctly.
- Test after install: Run an empty oven cycle to verify the new element works.
- Common issue: If it still doesn’t heat, check wiring or thermostat next.
- Pro help if needed: Gas ovens require a technician; stick to electric for DIY.
Quick Answers to Common Questions
Electric or gas oven?
Stick to electric for DIY. Gas needs a licensed pro for safety.
New element won’t fit?
Double-check model number on door frame. Return mismatches promptly.
Wires too short?
Use wire nuts to extend. Strip 1/2 inch, twist securely.
How often replace?
Every 5-10 years, or at first sign of failure like cracks.
Cost to DIY?
$20-50 for part. Tools if you don’t have: $30 more.
Safety Precautions Before You Start
Safety is non-negotiable when learning how to replace oven heating element. Electricity and heat can cause shocks or fires if mishandled.
Key Safety Steps
- Unplug the oven: Pull the plug from the wall outlet. If it’s hardwired, switch off the circuit breaker at your panel.
- Let it cool: Wait 30-60 minutes if recently used. Elements hold heat.
- Wear gear: Use insulated gloves, safety glasses, and close-toed shoes.
- Work in a ventilated area: Ovens can have residue; avoid fumes.
- Gas ovens? Stop here: Gas models need a pro. Call a technician.
Double-check power is off with a voltage tester. No lights or hum means go time.
Tools and Materials You’ll Need
Gather everything first. This prevents mid-job trips to the store.
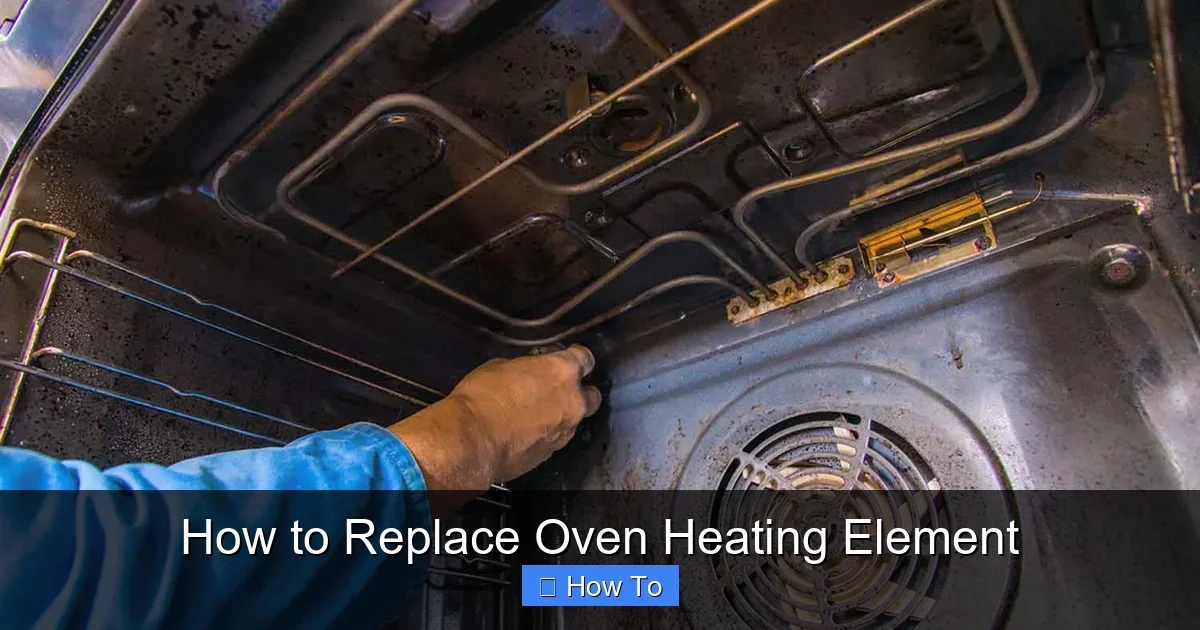
Visual guide about How to Replace Oven Heating Element
Image source: media.angi.com
Essential Tools
- Screwdriver set (Phillips and flathead)
- Needle-nose pliers
- Socket wrench or nut driver (for brackets)
- Multimeter (for testing)
- Voltage tester
- Flashlight
- Work gloves and towel (for handling)
Required Parts
- New oven heating element (match your model—check door label or manual)
- Wire nuts or connectors if needed
Pro tip: Search “replacement oven heating element [your model]” on sites like Amazon or RepairClinic. Reviews confirm fit.
Step 1: Locate and Access the Heating Element
Most homes have electric ovens with two elements: bake (bottom) and broil (top). We’ll focus on the common bake element. Broil is similar but accessed differently.
- Open the oven door fully.
- Remove racks: Pull out wire racks and set aside. Some slide off stops—wiggle gently.
- Inspect the element: It’s a looped coil at the bottom. Note brackets or screws holding it.
If it’s the broil, remove oven door first (lifts off hinges on many models). Check your manual.
Step 2: Disconnect the Power and Old Element
Power off confirmed? Now detach.
Sub-Steps
- Unscrew brackets: Two screws at the back secure it. Use Phillips screwdriver. Support the element so it doesn’t drop.
- Pull forward: Slide element halfway out. You’ll see two wires with terminals.
- Take a photo: Snap where each wire connects—left to left, etc.
- Disconnect wires: Use pliers to gently pull terminals off. Twist if stuck. Note colors if different.
- Remove fully: Pull element out through front. Inspect for breaks, blisters, or burns—confirms it’s bad.
Got it out? Test with multimeter: Set to ohms, probes on terminals. Infinite or zero reading means faulty.
Step 3: Install the New Oven Heating Element
Compare old and new. Terminals match? Length and wattage (usually 2600-3500W)? Good.
Installation Sub-Steps
- Thread wires through hole: If present, push wires back slightly.
- Position new element: Slide terminals into place per photo. Push firmly but don’t force.
- Secure brackets: Align holes, screw tight. Don’t overtighten—strips threads.
- Tug test: Gently pull—stays put? Wires clear?
- Reinstall racks: Slide back in.
Close door. Plug in or flip breaker.
Step 4: Test Your Newly Replaced Oven Heating Element
Don’t bake dinner yet. Test safely.
- Set oven to 350°F bake for 10-15 minutes. Empty—no food.
- Listen for glow: Element should redden evenly. Fan may run.
- Check temp: Use oven thermometer. Accurate?
- Broil test if needed: Same process.
If it works, celebrate! Try a simple test bake like baking a potato with foil in the oven to confirm. Or reheat wings using our guide on how long to reheat wings in the oven. For steak lovers, test with cooking ribeye steak in a pan and oven.
Practical Tips for Success
Make how to replace oven heating element easier with these hacks:
- Label wires with tape if no photo.
- Lift oven slightly (two people) for under-access if needed.
- Buy OEM part for best fit—aftermarket can warp.
- Clean cavity while open: Wipe crumbs to prevent fires.
- Video the process on your phone for reverse reference.
Example: My neighbor’s Whirlpool oven had corroded terminals. He sanded them lightly—fixed loose connection.
Troubleshooting Common Issues
Not heating after replacement? Don’t panic. Here’s how to diagnose.
Problem 1: No Heat at All
Check breaker, thermostat, wiring. Test element continuity again.
Problem 2: Uneven Heating
Element loose? Reseat terminals. Or faulty thermostat—call pro.
Problem 3: Trips Breaker
Short circuit. Inspect wires for frays. Replace if damaged.
Problem 4: Broil Works, Bake Doesn’t
Separate circuits. Focus on bake element wiring.
Still stuck? YouTube model-specific videos or hire help. Better than a dead oven.
Bonus: If repair fails and oven’s old, learn how to properly dispose of appliances safely.
Conclusion
Congrats! You’ve mastered how to replace oven heating element. Your kitchen’s back online, wallet intact. Regular checks prevent future fails—inspect elements yearly.
Now fire it up for favorites. Questions? Drop a comment. Happy baking!
(Word count: 1628)
🎥 Related Video: How To Replace: Electric Oven Bake Element
📺 AppliancePartsPros
How To Replace: Oven Bake Element http://www.appliancepartspros.com/range-cooktop-oven-heating-element.html Symptoms: …