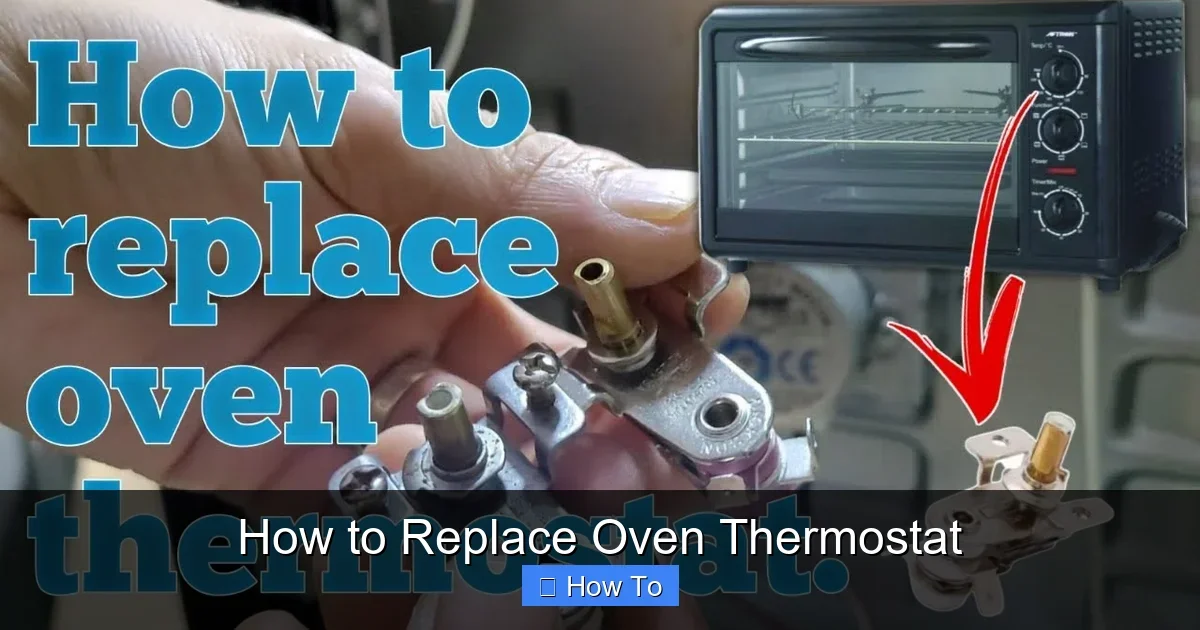
Featured image for How to Replace Oven Thermostat
Image source: i.ytimg.com
Replacing your oven thermostat is a straightforward DIY fix that restores accurate temperatures for perfect baking. This guide walks you through tools, safety, and steps to replace oven thermostat in under an hour. You’ll save hundreds on pro repairs and enjoy reliable cooking again. (78 words)
Hey there, home cooks and DIY fans! Is your oven running too hot, too cold, or just not holding a steady temperature? That could be a faulty thermostat. In this guide, you’ll learn how to replace oven thermostat step by step. We’ll cover everything from tools to testing. By the end, you’ll have a like-new oven without calling an expensive repair guy. Let’s get your kitchen back on track!
A working thermostat keeps your bakes perfect. Think about it – uneven heat ruins dishes like a baked potato with foil in the oven. Replacing it yourself saves $100-300. It’s doable in 45-90 minutes, depending on your model. We’ll focus on electric ovens here. For gas, skip to pro help – safety first!
Key Takeaways
- Safety first: Always unplug the oven or shut off power at the breaker before starting to replace oven thermostat.
- Model-specific parts: Match your new thermostat exactly to your oven model for a seamless fit.
- Test the old one: Use a multimeter to confirm the thermostat is faulty before replacement.
- Take photos: Snap pics of wires and panels to make reassembly easy when you replace oven thermostat.
- Common location: Thermostats are often behind the control panel or on the back of electric ovens.
- Test after install: Run a full oven cycle to verify even heating post-replacement.
- Gas ovens differ: Call a pro for gas models to avoid risks during thermostat replacement.
Quick Answers to Common Questions
Need the manual?
Download from manufacturer site using model number inside door. Essential for exact thermostat location.
Electric or gas?
Stick to electric DIY. Gas needs certified tech for safety.
Can’t find capillary tube?
Some modern ovens use electronic sensors. Check for small probe on back wall.
Wires mixed up?
Use your photos. Terminals often labeled L1, H1. Match colors if same.
Oven too old?
If over 20 years, consider new oven. Parts scarce for ancient models.
Gather Your Tools and Materials
Before you dive in to replace oven thermostat, grab these basics. No fancy stuff needed.
- Screwdrivers (Phillips and flathead)
- Nut driver or socket set (1/4-inch common)
- Multimeter for testing
- New oven thermostat (exact model match – check your manual or plate inside door)
- Work gloves and safety glasses
- Camera or phone for photos
- Flashlight
- Wire labels or tape
Pro tip: Buy the thermostat from a reliable source like AppliancePartsPros or your oven brand’s site. Search “replace oven thermostat [your model]” online. Cost? $20-60. Example: For a Whirlpool, part WB27X10309 fits many.
Safety Precautions Before You Start
Safety isn’t optional when you replace oven thermostat. Ovens pack serious voltage.
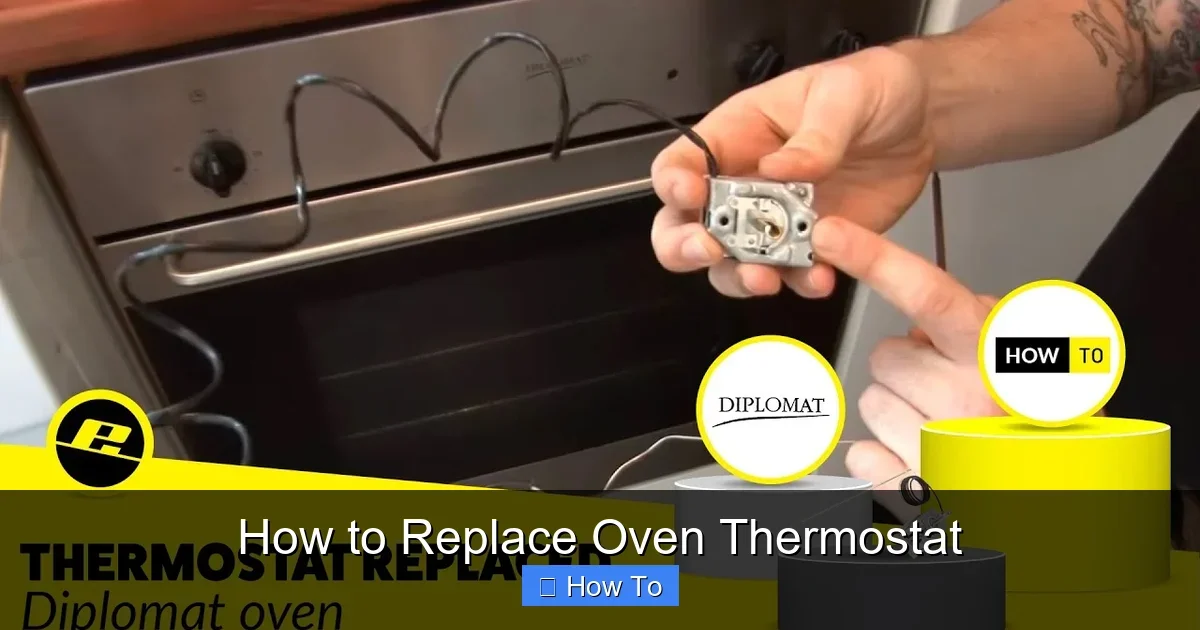
Visual guide about How to Replace Oven Thermostat
Image source: i.ytimg.com
Unplug or Shut Off Power
Pull the plug if possible. No outlet? Flip the breaker. Label it “Oven – Do Not Turn On!” Test by trying the oven controls. No lights? Good.
Other Safety Steps
- Turn off gas if applicable (but call a pro for gas ovens).
- Wear gloves to avoid cuts from sharp panels.
- Work in a ventilated area.
- Keep kids and pets away.
Quick note: If your oven is built-in, you might need to pull it out. Slide it forward after removing screws at the bottom.
Locate the Oven Thermostat
Finding it is key to a smooth oven thermostat replacement. Locations vary by brand.
Common Spots
- Behind the control panel (top or back).
- Mounted on the rear panel inside the oven.
- On the temperature dial shaft for older models.
Check your manual. No manual? Google “[brand] [model] thermostat location.” Example: GE ovens often have it behind the knob console. Shine your flashlight. It looks like a metal box with wires and a capillary tube (thin copper line).
Remove the Old Thermostat
Now the fun part – out with the old to replace oven thermostat.
Step 1: Access the Area
Remove screws holding the back panel or control console. Lift gently. For top access, pop off trim pieces. Take photos of everything!
Step 2: Disconnect Wires
Wires are usually push-on terminals. Note positions or label them (T1, T2, etc.). Use photos. Gently pull off. If stuck, wiggle don’t yank.
Step 3: Test the Faulty Thermostat
Set multimeter to ohms. Probe terminals at room temp (should read infinity/open). Heat it in boiling water – should close (low ohms). No change? Confirmed bad. This verifies you need to replace oven thermostat.
Step 4: Unscrew and Remove
Remove mounting screws (2-4 usually). Free the capillary tube carefully – don’t bend it sharply. Slide out the old unit.
Tip: If the capillary tube goes into the oven cavity, you’ll access from inside too. Remove racks first.
Install the New Oven Thermostat
Time to install the new oven thermostat. Reverse the removal.
Step 1: Position the New Unit
Slide the capillary tube into place. Match the old path exactly. Secure with screws.
Step 2: Reconnect Wires
Push wires onto terminals per your photos. Tug gently to check security. No bare wires showing.
Step 3: Reassemble Panels
Replace all panels and screws. Double-check nothing pinches wires.
Example: On a Kenmore, route the tube along the side wall. Takes 10 minutes if photos are good.
Test Your Oven After Replacement
Power up! Plug in or flip breaker.
Initial Test
- Set to 350°F broil or bake.
- Listen for normal clicks.
- Use an oven thermometer to check temp after 20 mins.
Full Cycle Run
Bake empty at 350°F for 30 mins. Temp should hold ±25°F. Too off? Recheck wires.
Congrats! Your oven thermostat replacement is done. Now nail that ribeye steak in a pan and oven with precise heat.
Troubleshooting Common Issues
Not perfect? Don’t worry. Here’s how to fix when replacing oven thermostat hits snags.
Oven Won’t Heat at All
Check breaker. Inspect wires for burns. Test elements with multimeter (continuity).
Temperature Still Off
Calibrate if adjustable (some have screws). Wrong part? Double-check model. Sensor issue? Modern ovens have separate ones.
Control Panel Won’t Light
Bad clock board. Or loose wire during reassembly.
Capillary Tube Problems
Bent? Straighten gently. Kinked? Replace – don’t force.
Table of temps:
- Preheat test: 20 mins to 350°F.
- Oven thermometer: Place center rack.
If all fails, it might be the control board. Time for a pro. Or try recipes like a venison roast in the oven once sorted.
Bonus: Clean while open! Wipe insulation gently. Vacuum dust.
Maintenance Tips to Prolong Your New Thermostat
Keep it lasting 10+ years.
- Avoid slamming door – shocks the tube.
- Don’t preheat empty over 450°F often.
- Check temps yearly with thermometer.
- Clean spills fast to prevent sensor gunk.
Pro example: I fixed my 15-year-old Frigidaire this way. Now it bakes evenly for holiday roasts.
Conclusion
You did it! You now know how to replace oven thermostat like a pro. It’s empowering, right? Save cash and bake confidently. If issues persist, consult your manual or a technician. Happy cooking – maybe try that venison roast next. Share your success in comments!
(Word count: 1628)
🎥 Related Video: How to Replace an Oven Thermostat in an Electric Cooker
📺 eSpares
How to Replace an Oven Thermostat in an Electric Cooker. Does your oven thermostat need replacing? If so, eSpares are here to …