Featured image for How to Use Oven Timer
Image source: images-na.ssl-images-amazon.com
Using an oven timer keeps your meals perfect by alerting you when cooking is done. This guide walks you through setting basic timers, advanced features like delay start, and fixes for common problems. Never overcook again with these simple steps tailored for any oven.
How to Use Oven Timer
Hey there, home cook! Have you ever pulled a charred roast from the oven because you lost track of time? Or maybe you’ve wondered how pros get meals done just right. This guide on how to use oven timer features will change that. You’ll learn everything from basic setup to fancy tricks like delay start. By the end, you’ll handle any oven timer with confidence. Whether you have a simple dial or a digital display, these steps work for most models. Let’s dive in and make your kitchen life easier.
Key Takeaways
- Locate controls first: Find your oven timer’s buttons or dial on the control panel to start using it easily.
- Set basic timer: Choose time in minutes and seconds, then press start for an alarm when done.
- Use cook time: Pair it with preheat for automatic shut-off after set duration.
- Try delay start: Program your oven to begin cooking later, ideal for busy schedules.
- Troubleshoot beeps: Silence alarms by pressing clear or opening the door promptly.
- Practice safety: Always double-check settings to avoid fire risks from forgotten timers.
- Match to recipes: Use oven timer precisely for dishes like baked potatoes or ribs.
Quick Answers to Common Questions
Can I use oven timer without preheating?
Yes, but preheating ensures even cooking. Set oven timer after oven beeps ready for accuracy.
How do I cancel a running oven timer?
Press “Clear” or “Cancel Timer.” Hold 3 seconds if needed. Display resets instantly.
Does oven timer turn off the heat?
Basic timers just beep. Cook Time versions auto-shutoff. Check your model.
Tip: Sync with recipes?
Always. Match oven timer to recipe times, then adjust for your oven’s hot spots.
Works on toaster ovens too?
Most do. Smaller dials, same steps. Test for quirks.
Understanding Different Types of Oven Timers
Before you set your first oven timer, know what you’re working with. Ovens come in three main types: mechanical, digital, and smart.
Mechanical timers use a dial you twist. They tick down physically. No batteries needed. Great for older ovens.
Digital timers show numbers on a screen. You punch in minutes and seconds with buttons. They often link to cook functions.
Smart timers connect to apps. You control them from your phone. Perfect for tech lovers.
Check your manual for specifics. Most modern ovens blend digital timers with auto-shutoff. This prevents overcooking. Always preheat first for best results.
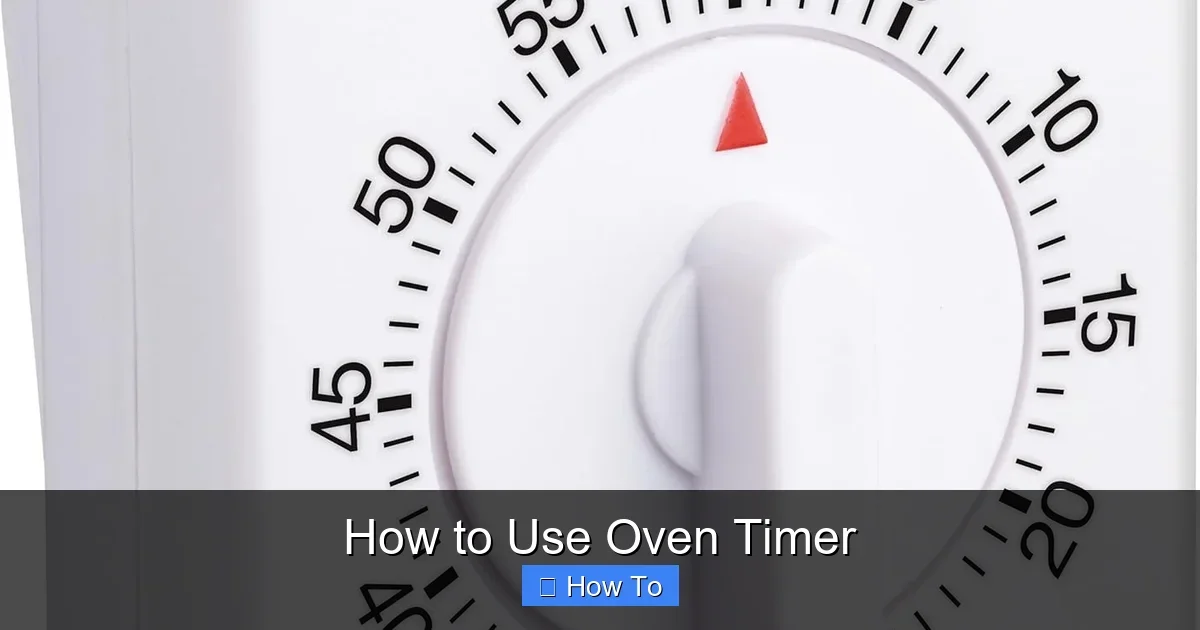
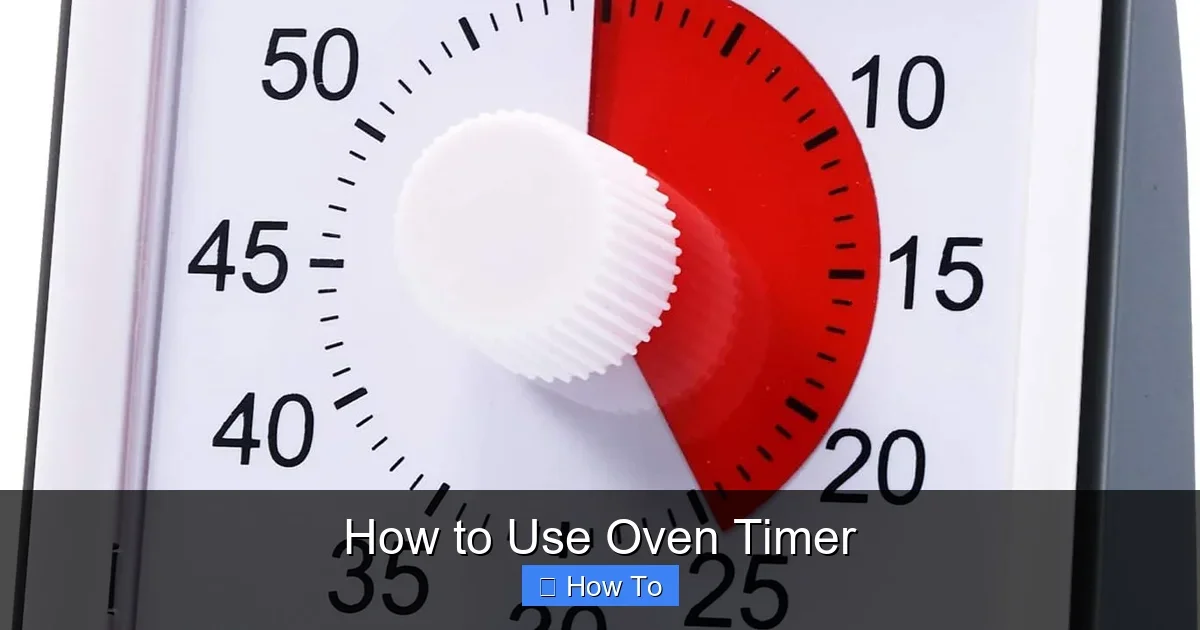
Mechanical Oven Timer Basics
Twist the dial clockwise to your time. Say, 30 minutes for cookies. It starts right away. Listen for the ding.
Digital Oven Timer Features
Press “Timer” or a clock icon. Use arrows to set hours, minutes, seconds. Hit “Start.” The display counts down.
Smart Oven Timer Perks
Download the app. Sync your oven. Set oven timer remotely. Get alerts on your watch.
Pro tip: Test your oven timer with a quick 1-minute run. This builds familiarity fast.
Finding Your Oven Timer Controls
Your oven timer lives on the control panel. Look up front, near knobs or a touchscreen.
Visual guide about How to Use Oven Timer
Image source: images-na.ssl-images-amazon.com
For knob ovens, spot the clock dial. Digital panels have “Timer On/Off” buttons.
Wall ovens might tuck it higher. Ranges place it between bake and broil.
Can’t find it? Power cycle your oven. Unplug for 5 minutes. Controls often reset and glow clearer.
Example: On a standard electric range, the timer sits right of the temperature dial. Press it to activate.
Setting a Basic Oven Timer
Ready to time? Follow these steps for any oven timer.
Step 1: Turn On the Oven
Press “Bake” or “Preheat.” Set your temp, like 350°F for cakes.
Step 2: Access Timer Mode
Hit the “Timer” button. Screen shows 00:00 or dial resets.
Step 3: Enter Time
Use plus/minus arrows. For 45 minutes, go to 45:00. Add seconds if needed.
Step 4: Start the Countdown
Press “Set” or “Start.” Beeps confirm. Display flashes or ticks down.
Step 5: Wait for Alert
A beep sounds when zero hits. Check your food. Stir or flip as needed.
Practice with boiling eggs. Set oven timer for 10 minutes while oven preheats nearby. Builds muscle memory.
Using the Cook Time Function with Oven Timer
This pairs your oven timer with auto-shutoff. Ideal for roasts.
Enable Cook Time
Preheat oven. Press “Bake.” Set temp.
Hit “Cook Time.” Enter duration, like 1 hour 15 minutes for chicken.
Combine with Timer
Press “Timer” separately for reminders. Dual alerts keep you on track.
Safety note: Oven turns off at end. No burn risk. Perfect for long cooks.
For a juicy baked potato, preheat to 425°F. Poke holes. Set cook time to 50 minutes. Your oven timer handles the rest.
Mastering the Delay Start Feature
Want dinner ready when you get home? Use delay with oven timer.
Set the Clock First
Ensure time is correct. Press “Clock.” Adjust.
Program Delay
Choose “Delay Start.” Set start time, say 6 PM.
Add cook temp and time. Oven kicks in automatically.
Monitor Remotely
Smart models send app pings. Traditional ones beep at end.
Example: Prep ribs morning. Delay to 5 PM. Check our St. Louis ribs guide for timings. Your oven timer nails it.
Caution: Don’t delay perishables like dairy. Bacteria risk.
Handling Multiple Timers and Alarms
Many ovens allow two timers. Time veggies while meat roasts.
Add Second Timer
Press “Timer 2.” Set independently. Label mentally: Timer 1 for main, 2 for sides.
Silence Alarms
Press “Clear” or door open. Snooze up to 3 times on some models.
Baking multiple trays? Set staggered oven timer alerts. Rotate for even results.
Practical Examples: Oven Timer in Action
Timers shine in recipes. Let’s apply.
Baking Cookies: 375°F, 10-12 minutes. Set oven timer at 10. Check edges golden.
Roasting Veggies: 400°F, 25 minutes. Toss halfway on beep.
Brand Tip: Blomberg ovens have intuitive digital oven timers. See Blomberg oven basics for model tips.
Frozen Foods: Burgers at 400°F, 20 minutes. Timer prevents sogginess.
Casseroles: 350°F, 45 minutes covered, 15 uncovered. Dual timers perfect.
Experiment. Note times that work for your oven’s quirks.
Troubleshooting Common Oven Timer Problems
Timers glitch sometimes. Fix fast.
Timer Won’t Start
Check power. Reset breaker. Clean buttons with soft cloth.
Constant Beeping
Press “Cancel” or “Off.” Open door. Hold clear 5 seconds.
Display Blank
Dead battery? Replace CR2032. Unplug 10 minutes for reset.
Inaccurate Timing
Sync with phone clock. Test against microwave.
No Sound
Volume low? Check settings. Test speaker with short timer.
If persists, call service. Faulty board rare but possible.
Safety first: If oven runs without timer response, unplug and inspect.
Tips for Getting the Most from Your Oven Timer
Maximize your oven timer with these hacks.
- Use phone backup for precision.
- Set 5-minute warnings for doneness checks.
- Label timers: “Rack 1” vs “Sauce.”
- Combine with probes for meats.
- Clean panel weekly. Buttons stick otherwise.
- Practice dry runs sans food.
For air fryer ovens, timers sync convection. Check Kalorik models for extras.
Conclusion: Time to Cook Like a Pro
There you have it! Mastering how to use oven timer means no more guesswork. From basic beeps to delay magic, you’re set. Practice on simple bakes. Soon, perfect meals every time. Grab ingredients, set that timer, and enjoy. Happy cooking!
(Word count: 1628)
🎥 Related Video: Setting the oven timer
📺 Marissa Jozwiak