Featured image for how to make deer jerky in the oven
Image source: i.ytimg.com
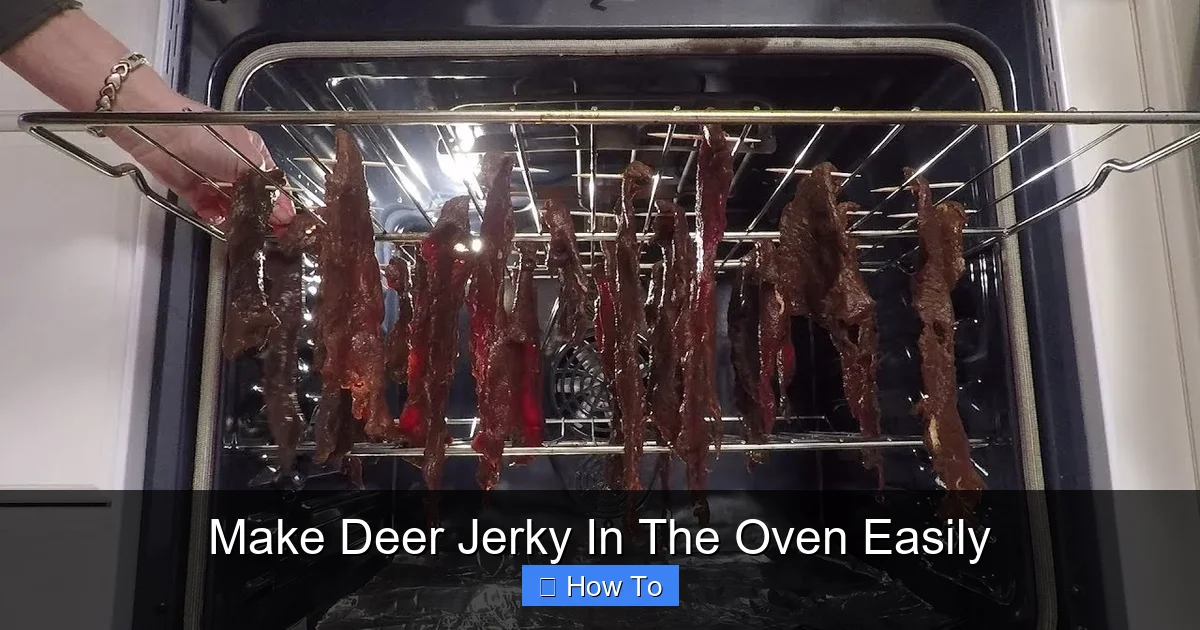
Transform your deer meat into delicious, protein-packed jerky right in your oven with minimal effort. Simply slice the meat thinly, marinate for flavor, and bake at a low temperature until perfectly dried. This easy method ensures a savory, homemade snack without needing any special equipment.
“`html
How to Make Deer Jerky In The Oven Easily
Why This Matters / Understanding the Problem
Have you ever brought home fresh deer meat and wondered how to preserve it without special equipment? Many hunters end up with freezer-burnt meat or struggle with complicated dehydration methods. Learning how to make deer jerky in the oven easily solves these problems.
Traditional jerky making requires expensive dehydrators or smokers. But your ordinary kitchen oven works perfectly. This method lets you create delicious, protein-packed snacks without buying extra gear.
Whether you’re a seasoned hunter or someone with access to venison, this technique transforms tough cuts into tender jerky. You’ll save money on store-bought versions while controlling exactly what goes into your food.
What You Need
Gathering your supplies beforehand makes the process smooth. Here’s what you’ll need to make deer jerky in the oven easily:
Visual guide about how to make deer jerky in the oven
Image source: i.pinimg.com
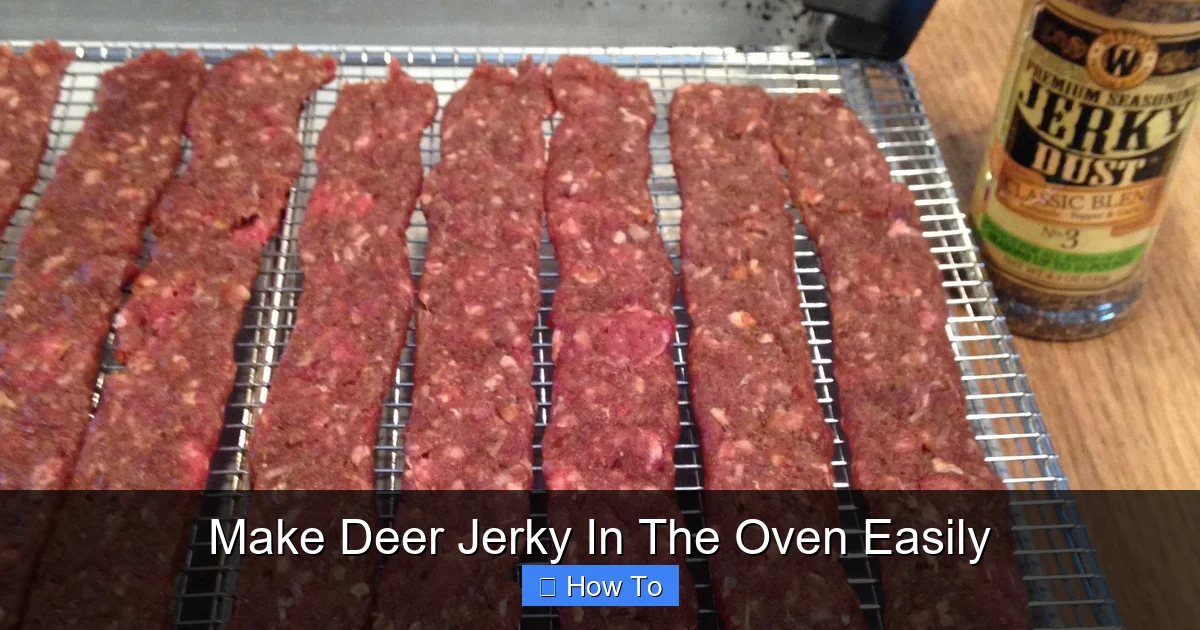
- 2 pounds of deer meat (hindquarter or round work best)
- 1 cup soy sauce or tamari
- ¼ cup Worcestershire sauce
- 2 tablespoons brown sugar
- 1 teaspoon black pepper
- 1 teaspoon garlic powder
- ½ teaspoon onion powder
- Optional: 1 teaspoon liquid smoke for authentic flavor
- Sharp knife and cutting board
- Mixing bowls
- Baking sheets
- Wire racks that fit your baking sheets
- Paper towels
Step-by-Step Guide to Make Deer Jerky In The Oven Easily
Step 1: Prepare Your Deer Meat
Start with partially frozen meat. This makes slicing much easier. Cut against the grain for tender jerky, or with the grain for chewier results.
Visual guide about how to make deer jerky in the oven
Image source: huntingmagazine.net
Aim for consistent ¼-inch thick slices. Uniform thickness ensures even drying. Remove all visible fat and silver skin, as these can cause spoilage.
Pat the slices dry with paper towels. Moisture on the surface prevents proper marinade absorption and extends drying time.
Step 2: Create Your Marinade
Combine soy sauce, Worcestershire sauce, brown sugar, and spices in a bowl. Whisk until the sugar dissolves completely.
For deeper flavor, add liquid smoke if using. This gives that classic smoky taste without a smoker.
Taste your marinade and adjust seasonings. Remember the flavor will concentrate as the jerky dries.
Step 3: Marinate the Meat
Place meat slices in a resealable bag or shallow dish. Pour marinade over, ensuring all pieces are coated.
Remove excess air from the bag before sealing. This helps the marinade penetrate evenly.
Refrigerate for 4-12 hours. Longer marinating creates stronger flavor, but don’t exceed 24 hours as the texture can become mushy.
Step 4: Drain and Arrange
Remove meat from marinade and shake off excess liquid. Don’t rinse the slices.
Place wire racks on baking sheets. Arrange meat in single layers without overlapping.
Blot tops with paper towels to remove surface moisture. This step significantly reduces drying time.
Step 5: Oven Setup and Drying
Preheat your oven to 175°F (the lowest setting). If your oven doesn’t go this low, use 200°F and check frequently.
Place baking sheets in the oven. Keep the door slightly ajar using a wooden spoon for air circulation.
Dry for 4-6 hours, flipping halfway through. Jerky is done when it bends without breaking and shows no moist spots when torn.
Pro Tips & Common Mistakes to Avoid
Slice Consistency is Key: Use a meat slicer or very sharp knife for even thickness. Uneven slices mean some pieces dry out while others remain underdone.
Don’t Rush the Drying: Higher temperatures cook rather than dry the meat. Low and slow is the golden rule for perfect texture.
Watch for Fat: Remove every bit of visible fat. Deer fat becomes rancid quickly and can spoil your entire batch.
Test for Doneness: Take a piece out after 4 hours and let it cool completely. Jerky continues to firm up as it cools.
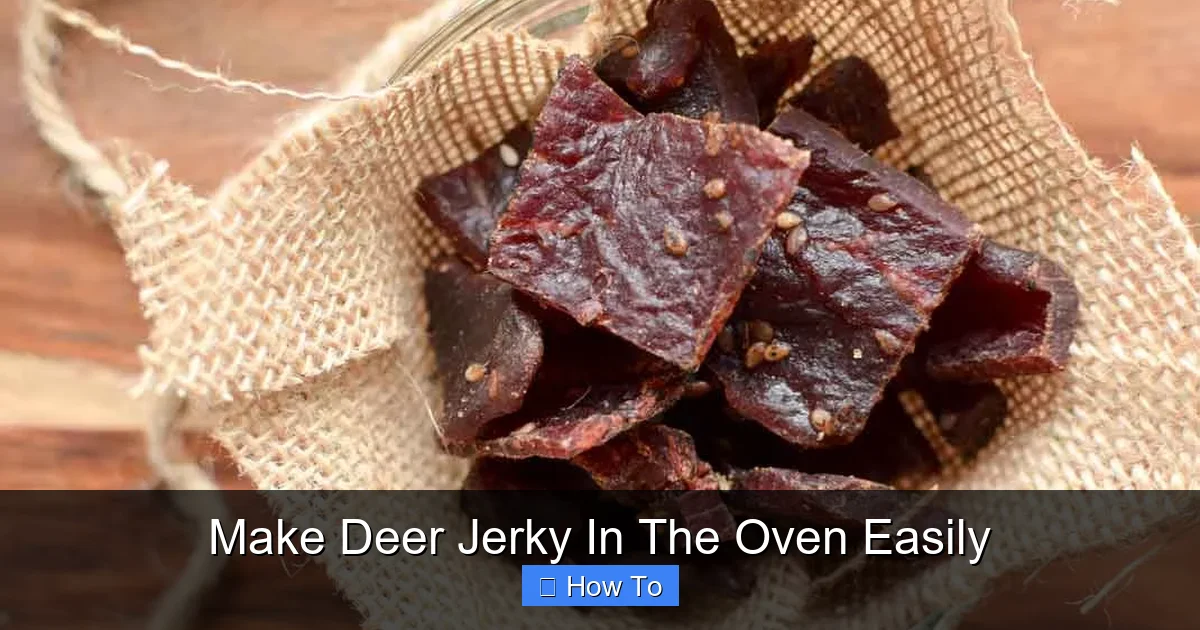
Storage Matters: Store completely cooled jerky in airtight containers. Add a desiccant packet for longer shelf life.
FAQs About Make Deer Jerky In The Oven Easily
How long does homemade deer jerky last?
Properly dried and stored jerky lasts 1-2 months at room temperature. For longer storage, refrigerate for up to 6 months or freeze for a year.
Can I use this method with other meats?
Absolutely! This technique works with beef, turkey, or elk. Adjust marinating time based on meat density – poultry needs less time than red meat.
Why does my jerky turn out too tough?
Over-drying is the usual culprit. Check doneness earlier next time. Slicing against the grain also creates more tender results.
Is it safe to make jerky without curing salt?
Yes, when using proper drying techniques. The combination of salt in marinades and thorough drying creates an environment where bacteria can’t thrive.
Can I make jerky if my oven doesn’t have low temperatures?
Use your oven’s warm setting or lowest possible temperature. Prop the door open wider and reduce drying time by checking every hour after the third hour.
How do I know when the jerky is properly dried?
Proper jerky bends like a green branch without snapping. When you tear a piece, there should be no visible moisture and very few white fibers.
What’s the best cut of deer meat for jerky?
Hindquarter muscles like top round or bottom round work best. They’re lean and easy to slice evenly. Avoid shoulder cuts with more connective tissue.
🎥 Related Video: EASY & DELICIOUS OVEN VENISON JERKY
📺 Mountain Standard Outdoors
Simple and delicious recipe for making deer jerky in the oven at home. No dehydrator required. Ingredients used: 1 pound …
Final Thoughts
Making deer jerky in your oven is simpler than most people think. The key is patience with the drying process and attention to slice consistency.
Start with a small batch to master the technique. Once comfortable, you can scale up and experiment with different marinades.
Remember that learning how to make deer jerky in the oven easily means you’ll always have a way to preserve your harvest. You’ll create healthier snacks than store-bought options while using equipment you already own.
Your next batch of deer meat doesn’t have to end up in the freezer. Transform it into delicious jerky that’ll fuel your adventures for months to come.
“`